


Don't Start Your Seeds too Early!
It’s January and I know very soon, I’m going to be itching to plant my seeds indoors. This is such a joyful time of hope and anticipation.
I know, you’re itching to start your garden too. But hold on to your horses…
One of the most common mistakes you can make is starting crops too early inside.
Why is this a problem?
Nothing stresses a plant more than being confined for too long.
They deplete resources from the potting mix and they start to grow their roots in circles, becoming root-bound in their tiny pots.
Unless you have A LOT of space and plenty of lights, it’s best to practice restraint and start your seeds a bit later.

Here’s how to figure out planting dates for your garden plants.
Figure out your last frost date.
Read the back of your seed packet or look up your specific variety in a seed catalog. It should give recommendations on when to plant indoors. They will say something like: plant 6-8 weeks before the last frost. For this specific example, I’d go with the 6-week start date.
If they recommend to direct seed, start indoors only 2 weeks before planting out OR just direct seed. These plants usually don’t appreciate root disturbance.
Write down on your calendar what you’re starting and when.
Take notes as you go, throughout the growing season. If something gets really root-bound and is sluggish to grow after you pop it in the garden, make a note. You might try to start a week later the following year. Your garden journal is your biggest friend. If you don’t have one, start one NOW.
So, you might be wondering what I’m starting first?
By the way, I’m starting seeding a full week later than last year.
In 2022, all my cool season crops were spot on in regard to planting time. But all my warm loving crops could have benefited from getting started a week (or two) later.
Just for you, here’s a sneak peek at my first week of seed starting, which is coming up fast folks!
Turnstone Farm seed starting the week of March 12th:
Oregano
Sage
Rosemary
Thyme
Snapdragon - Potomac Varieties. These guys grow relatively slow and love the cool spring temps. I try to start these as early as I can because they can be planted before the last frost.
If I was starting perennials that I may want to bloom the first year, I’d start them now too.
Thats it for my first week of planting.
Happy garden planning!
How to harden off your plants
One of the most important parts of growing a successful garden is getting your plats hardened off.
What plants do you need to harden off?
Not all plants need hardening.
If you’re growing in a greenhouse, any plants going in there don’t need to go through this process.
Direct seeded plants don’t need hardening (maybe this is obvious). If you’re seeding directly into your garden beds, your seedlings will pop up all ready to deal head-on with the elements. This is a big benefit of direct seeding.
ALL other plants will need some hardening off.

Stock, snapdragons and other cool-hardy flowers getting hardened off under shade cloth.
Plants need some sort of gradual adjustment to outdoor conditions. After being cozy and warm indoors for their entire lives, it can be stressful to get popped directly outdoors.
The first plants I harden off in the spring are all the “cool-hardy’s”. These are plants that can survive a light frost and include the following:
Most salad greens
Spinach
Kale
Broccoli
Peas
Onions
Snapdragons
Bupleurum
Poppies
Rudbeckia
Calendula
Ammi
Strawflower
Campanula
Nigella
Most perennial flowers that are suited to your zone.
In general, to get fully hardened off, plants need about 3-5 days in the shade.
When nighttime temps are steadily in the 30s, the above varieties can be set out in a shady spot. In previous years I was moving my plants all over the place, from shady spot to shady spot.
This year I finally streamlined my process and started using hoops (made of thick wire and then stuck in the ground) and draping 30% shade cloth over the top.
My cool loving plants go in here and in 3-5 days we’re good for planting!
For warm-season plants, I’m a little more cautious. Ideally, before hardening these crops, our night temperatures would be in the 45 + zone. In Alaska, this can be a tall order!
So for these, I watch the weather and put them in their shade hoop when temps are in the 40s or higher. Using past last frost dates can work but since each spring is so different sometimes it’s hard to predict.
To help any early-planting anxiety you may have about cold temps, you can always add extra protection by putting a layer of Agribon over the hoop as well.
In fact, this would have helped me this season as I pushed it a little with a few varieties and killed off a few trays during a spotty frost that struck our neighborhood last week.
(sigh)
I guess it’s just a good reminder that a good fail is always the best way to be successful in the end!

30% shade cloth hooped over my cool-hardy flowers.
Time to Plant Garlic
I’m a flower farmer but the one thing that I also let into my commercial garden is garlic. I LOVE garlic. It is easy and SO FUN to grow. Plus, once you’ve tried it fresh from your garden there is no going back to store-bought.

Freshly harvested garlic from the Turnstone Farm gardens.
Hopefully, after reading through these easy steps, you too will find BIG success with growing garlic.
But before we begin let’s do a brief garlic primer! So that we’re all on the same page, here are some basic garlic definitions.
A HEAD of garlic is the entire bundle that is made up of 2+ cloves.
A CLOVE is the individual piece of garlic that you would peel before cooking.
SOFTNECK garlic is a variety typically grown in more southern climates. Each head has many cloves and it is easily braided together into those quintessential garlic braids (maybe you’ve seen these at markets or in your grandma’s kitchen!?).
HARDNECK garlic is the best variety for Alaskan growing. It tends to produce fewer but larger cloves than softneck.

Garlic emerging in the early summer.
Ok, now on to the fun stuff. Here are 4 easy steps to successful garlic growing:
1) Prep your site: I like to start by clearing any old garden remnants and weeds, then adding any amendments like compost or soil nutrients that you may need. A comprehensive soil test will give you all the necessary info here. Loosen the soil with a broadfork or pitchfork.
2) Make your rows. I plant 4 rows to a 2.5ft wide bed. Dig a shallow trench about 3-4 inches deep with a flat-ended shovel.
3) Plant garlic. Place garlic cloves in the ground, about 3 inches deep with the pointy side pointing up. There is no need to peel the garlic clove but you do need to separate it from the garlic head (each head holds 2+ cloves).
4) Mulch. Mulching will protect the garlic cloves from any freeze-thaw action that occurs in the fall or spring.
NOTE, if you ordered seed garlic and it’s not here yet, don’t despair! MULCH your beds now to keep the soil insulated until you’re ready to plant.
Easy, right?! Now go do some planting. Your future self will thank you :)
In general, you will have the most success planting at any point from mid-September through mid-October. Although I have planted in early November in a pinch.

Lush garlic plants in the Turnstone Farm garden.
May 20th Photo Garden Tour
It’s May 20th! Here’s what the Turnstone Farm flower field looks like today.

The garden is almost 75% planted! I brought on an employee for the summer (super excited!) and we’re making fast work of getting the flower babies in the ground. Here’s strawflower with a good view of my drip line irrigation system.

Dahlias are in! My designated dahlia bed at my 16th Ave plot is full. But not to worry - I’m opening a NEW plot in Rogers Park and will have space for many more :)
Note - if you’re planting dahlias, don’t forget to label the plant. I just cut leftover yogurt containers into strips, write the name with a grease pen (marker may wear off by the end of the season - I learned the hard way), and attach to the base.

Garlic - one of my all time favorite plants to grow! And I dedicated a precious full bed to it this year. If you haven’t grown this, you must. It’s something you plant in the fall, so don’t forget to mark your calendars to order seed garlic in late summer.

The tulips are SO CLOSE! I’m out there everyday checking the bloom status. Once they start blooming it happens fast! Just seeing these wavy and elegant leaves makes me so happy.

I put in 25 peonies last fall! Full disclosure - I am a peony NEWBIE. You can follow me along as I learn to grow this beauty. WIN #1 - they ALL survived the winter.
A handful of these were specialty and heirloom varieties from my farming friends at https://www.lyndakerfarms.com/. SO excited!!! Brides - be ready to be majorly wowed.
Best of 2020: My Favorite Varieties from the Veggie Garden
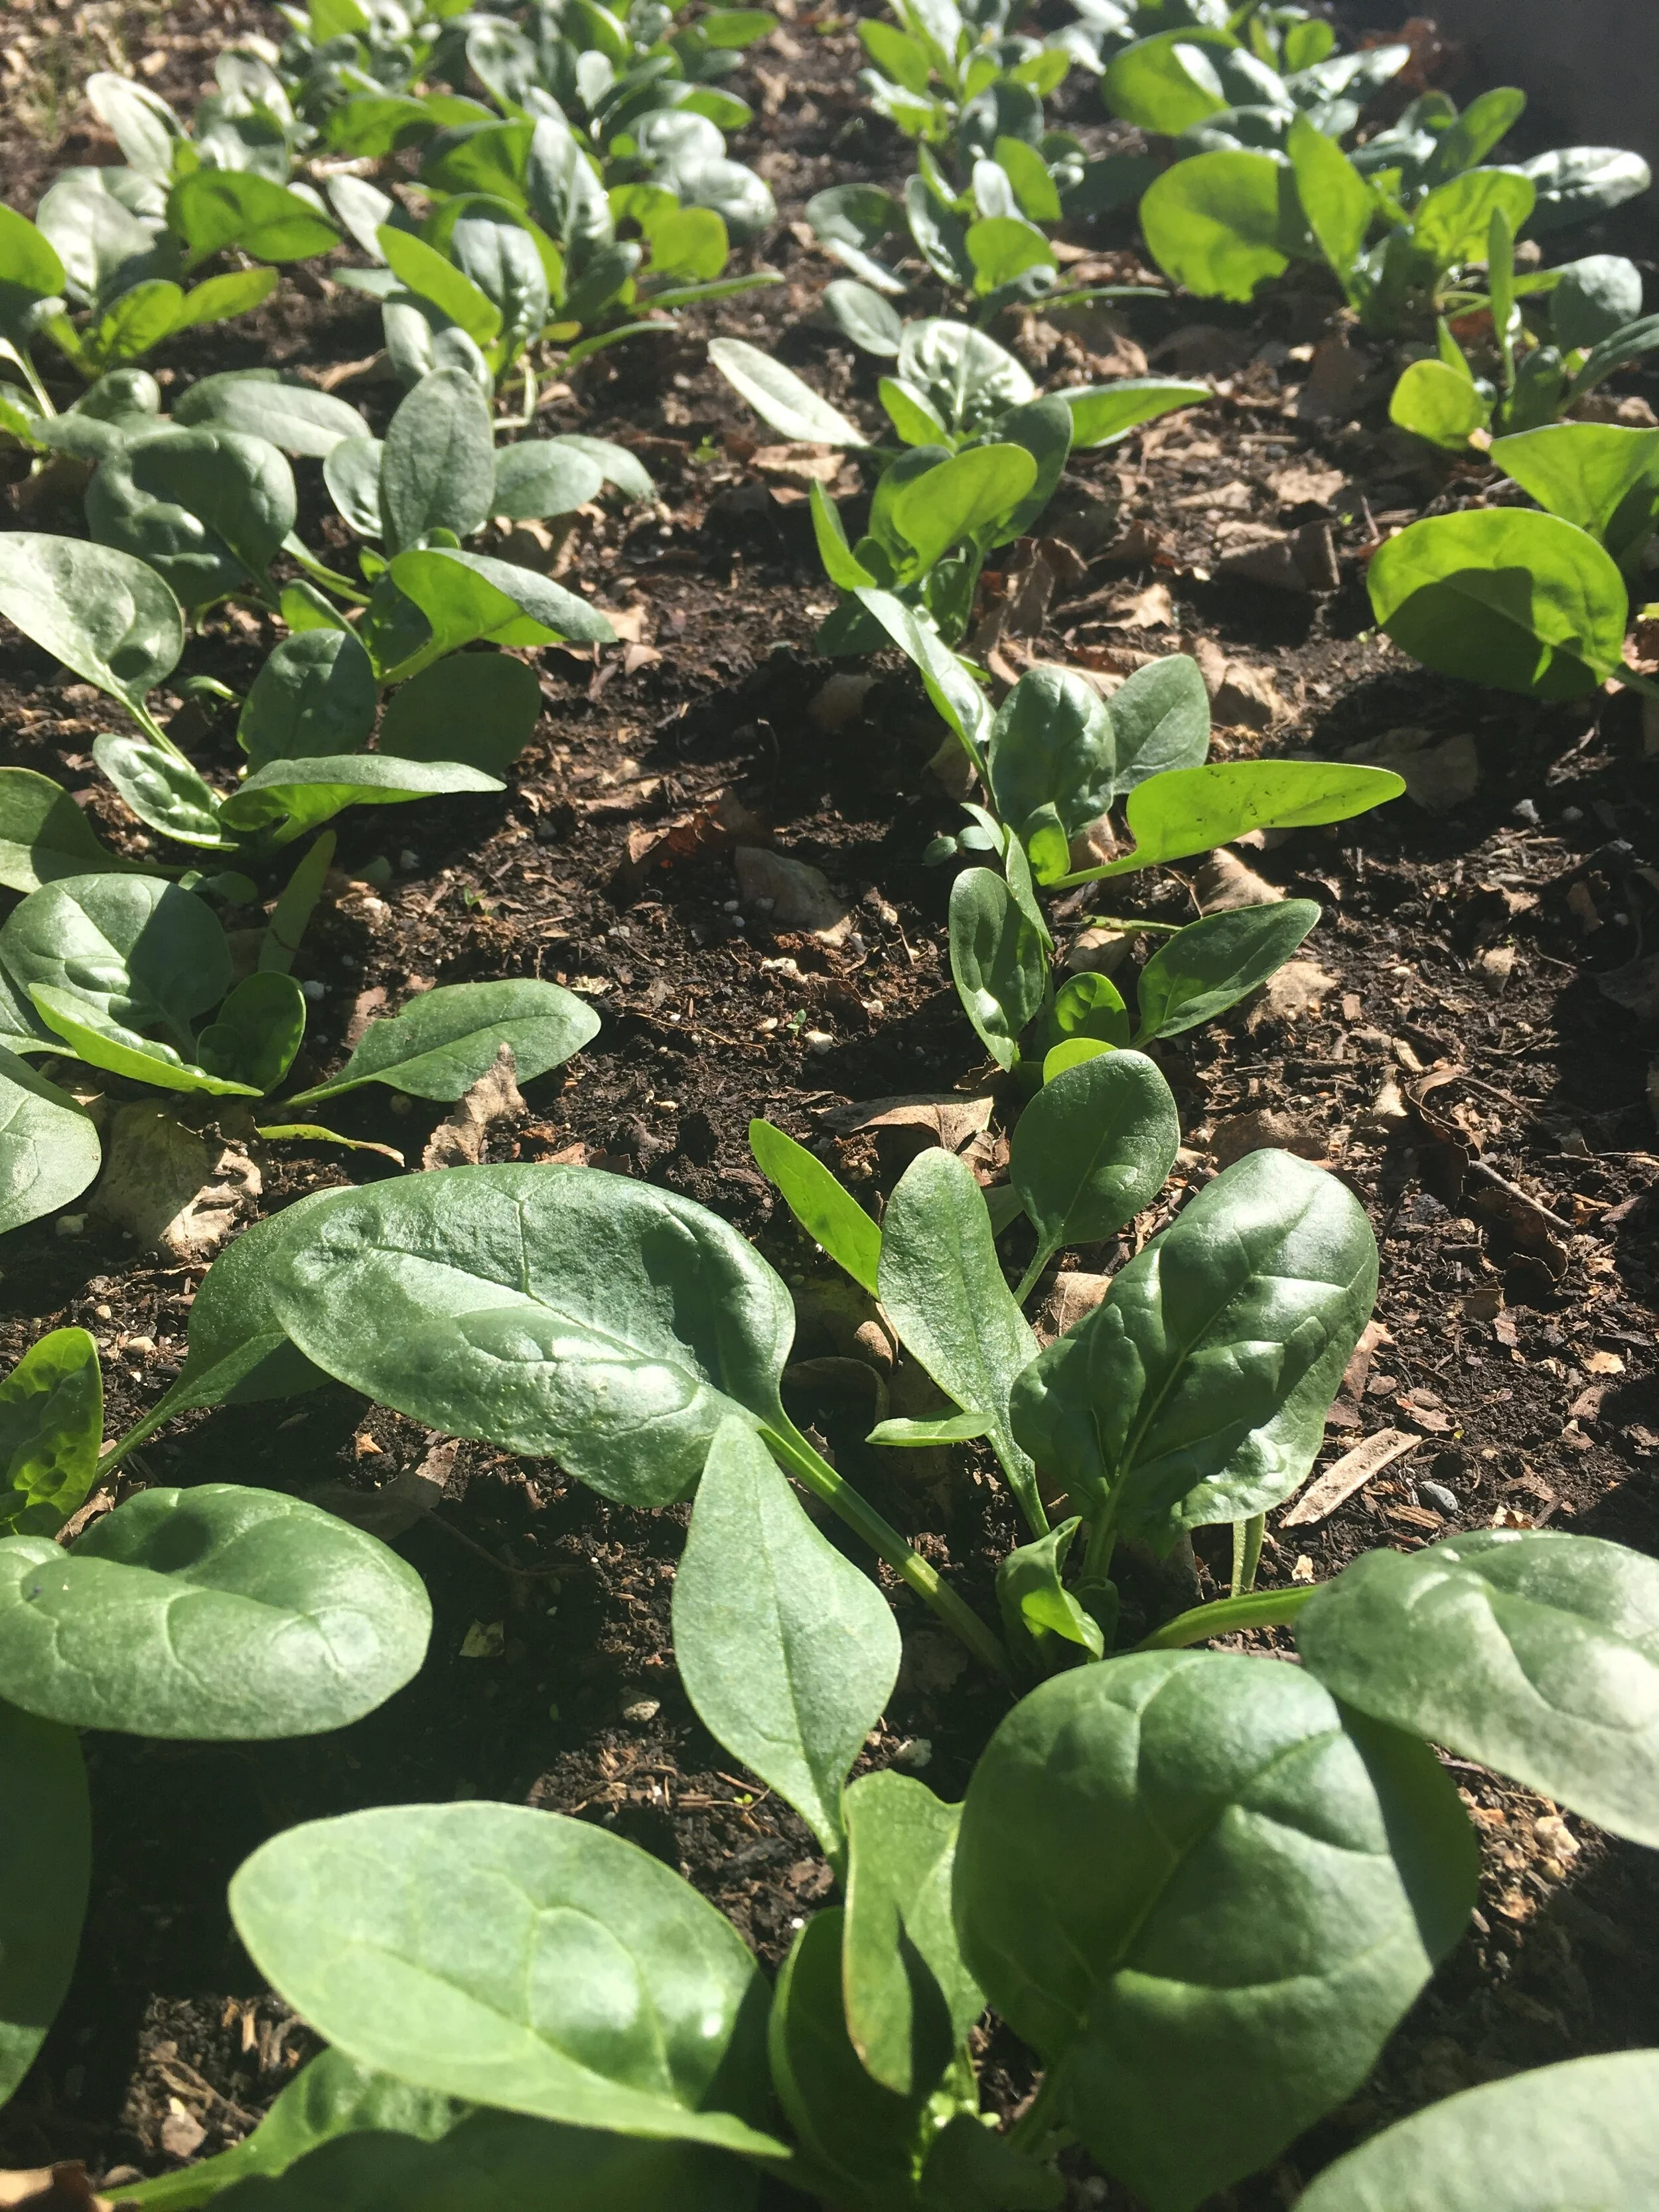
Corvair is a slow to bolt spinach variety that needs a place in every home garden.
In addition to growing flowers, I grow a big veggie garden in our backyard.
Every year our lawn gets smaller and our veggie garden gets bigger.
Here are some of my favorite veggies from the garden this year:
Tomato: Sun Gold. A sweet, early and prolific cherry tomato. The past two years I’ve been thinking: “maybe I should just grow all Sun Golds!” But I also like to have variety.
You will not be disappointed. I grow mine in an unheated hoop house. Next year I will trial these outdoors.
Kale: Red Russian. I’ve been growing Red Russian for six years. It is just my absolute favorite kale year after year.
It’s meaty and sweet in the fall. Plus you can grow it as a baby green by planting densely OR grow into a large plant for bunching. Once cut and massaged with dressing it makes THE BEST kale salad.
And get this folks, we still have kale in the garden now (it’s November as I write this)! We planted a HUGE bed of kale early in the summer. The leaves are frozen but you can go pick and they saute into an amazingly sweet and delicious side dish.
Carrot: Yaya. A yummy 5-6 inch sweet and tender carrot. Great for eating right out of the garden. With kids around, I just can’t keep carrots in the ground till the end of summer :)
Broccoli: Blue Wind and Belstar. I loved both of these varieties. Delicious and huge! Once the main head on Belstar is harvested it goes on to produce lots of side shoots. Blue Wind, not so much. It’s more of a one-and-done variety.
Cucumber: Socrates. A great cuke for Alaska. 52 days to maturity (once transplanted out). It’s seedless, sweet and tender. The kids (and myself) ate these like candy all summer long!
I’d like to try these outdoors next year to see how they perform. But in my unheated hoop house, they did amazing in pots. I trellis these straight up to the roof of the hoop house in order to squeeze in more plants.
Zucchini: Dunja. A classic, high-yielding zucchini that I grow every year! Don’t make the mistake and grow these too big. Although it’s fun to have big zucchini in the garden, they are the most succulent when picked at the proper stage (when fruits are 6-8 inches long).
Cilantro: Calypso. If you avoid growing cilantro because it bolts too fast, try this one! It is the slowest to bolt! Then when it does, you can cut the flowers to put in a vase (they smell heavenly) or wait till it forms seeds and use them as fresh coriander. Yum!
Spinach: Corvair. A delicious, juicy spinach. This is slow to bolt, so does well into the early summer.
And of course there are more!
If you need a suggestion for a certain variety, ask below in the comment section OR send me an email at turnstonefarm@gmail.com.
There’s nothing I love more than talking about gardening.