


7 aromatic herbs that also look great in a vase!
I grow lots of herbs. Most are easy to grow and have many multi-purpose benefits for the home gardener and flower farmer.
In this blog, I want to introduce you to 7 herbs I grow every year that not only do culinary wonders but also look great in a vase.
In addition to being a fun addition to the vase, here are some additional benefits of growing herbs:
If you have a tiny garden, growing herbs maximizes your space since you’ll be growing a plant for both culinary and cut flower purposes. I’m all about the multi-purpose plant!
If you don’t have much space to grow, most herbs do great in planters on your porch. In fact, since I like to keep mine close at hand I often grow them in pots just so I can quickly pop out to the porch to pick them.
Once gone to flower, herbs attract and nourish beneficial insects which help keep away the insects you don’t want around.
Fresh herbs are often hard to find and can be expensive at the grocery store. Lucky for you, they are best from the garden anyway!
Picking herbs and keeping a small jar of herbs on your kitchen counter is the best way to keep them once harvested (don’t let them rot in the crisper). My husband and I joke that the crisper is where veggies go to die. This will give you super easy access to them the next time you cook and will bring a nice pop of greenery into your kitchen.
So here are 7 herbs you must add to your home garden.
Chive: Chives, while not easy to start from seed are easy to grow once established. They spread steadily, so every few years you’ll have to dig and replant or give away a clump. The flowers on chives are SO delicious and do great in a vase.
Cilantro: Calypso is a slow to bolt variety great for growing in any northern climate. Use this culinary herb in your favorite dishes. I love a good homemade salsa with lots of cilantro.
Once it has gone to flower, harvest for an aromatic bouquet. The seed heads are also a lovely and fun addition in a bouquet.
Dill: Bouquet variety is specifically for the cutting garden but is also edible so it’s a win-win! This is a super fast grower. You can use the flower or seed head once fully open. The seed heads are also great for drying.
Fennel: Bronze leaf is a beautiful variety. It produces gorgeous flowers and seed heads. Harvest flowers once they are beginning to bloom or use foliage to add texture and a unique color.
Mint: both Common and Mountain varieties are fantastic. Common mint is a rapid spreader so make sure to plant in pots or be prepared to cut it back every year.
Mountain mint is not a spreading variety but in my experience, is very slow to grow and doesn’t always come back year after year. If I plant 10 plants I may get 2-3 to come back again the following year.
Oregano: Greek variety is a best bet. My oregano comes back year after year but even so, I usually start a few plants every spring just in case.
I love letting these go to flower before I cut for the vase. They are long lasting in the vase and fill in an arrangement nicely. Oregano leaves dry well for later use.
Sage: Common sage is a perennial that will flower the second year. Use foliage in culinary dishes, dry for use all winter or use foliage or flowers as greenery in a bouquet.
In my garden, sage will come back for 2 to 3 years and then die out. Because of this, I start a few new plants each spring to keep my garden well stocked.
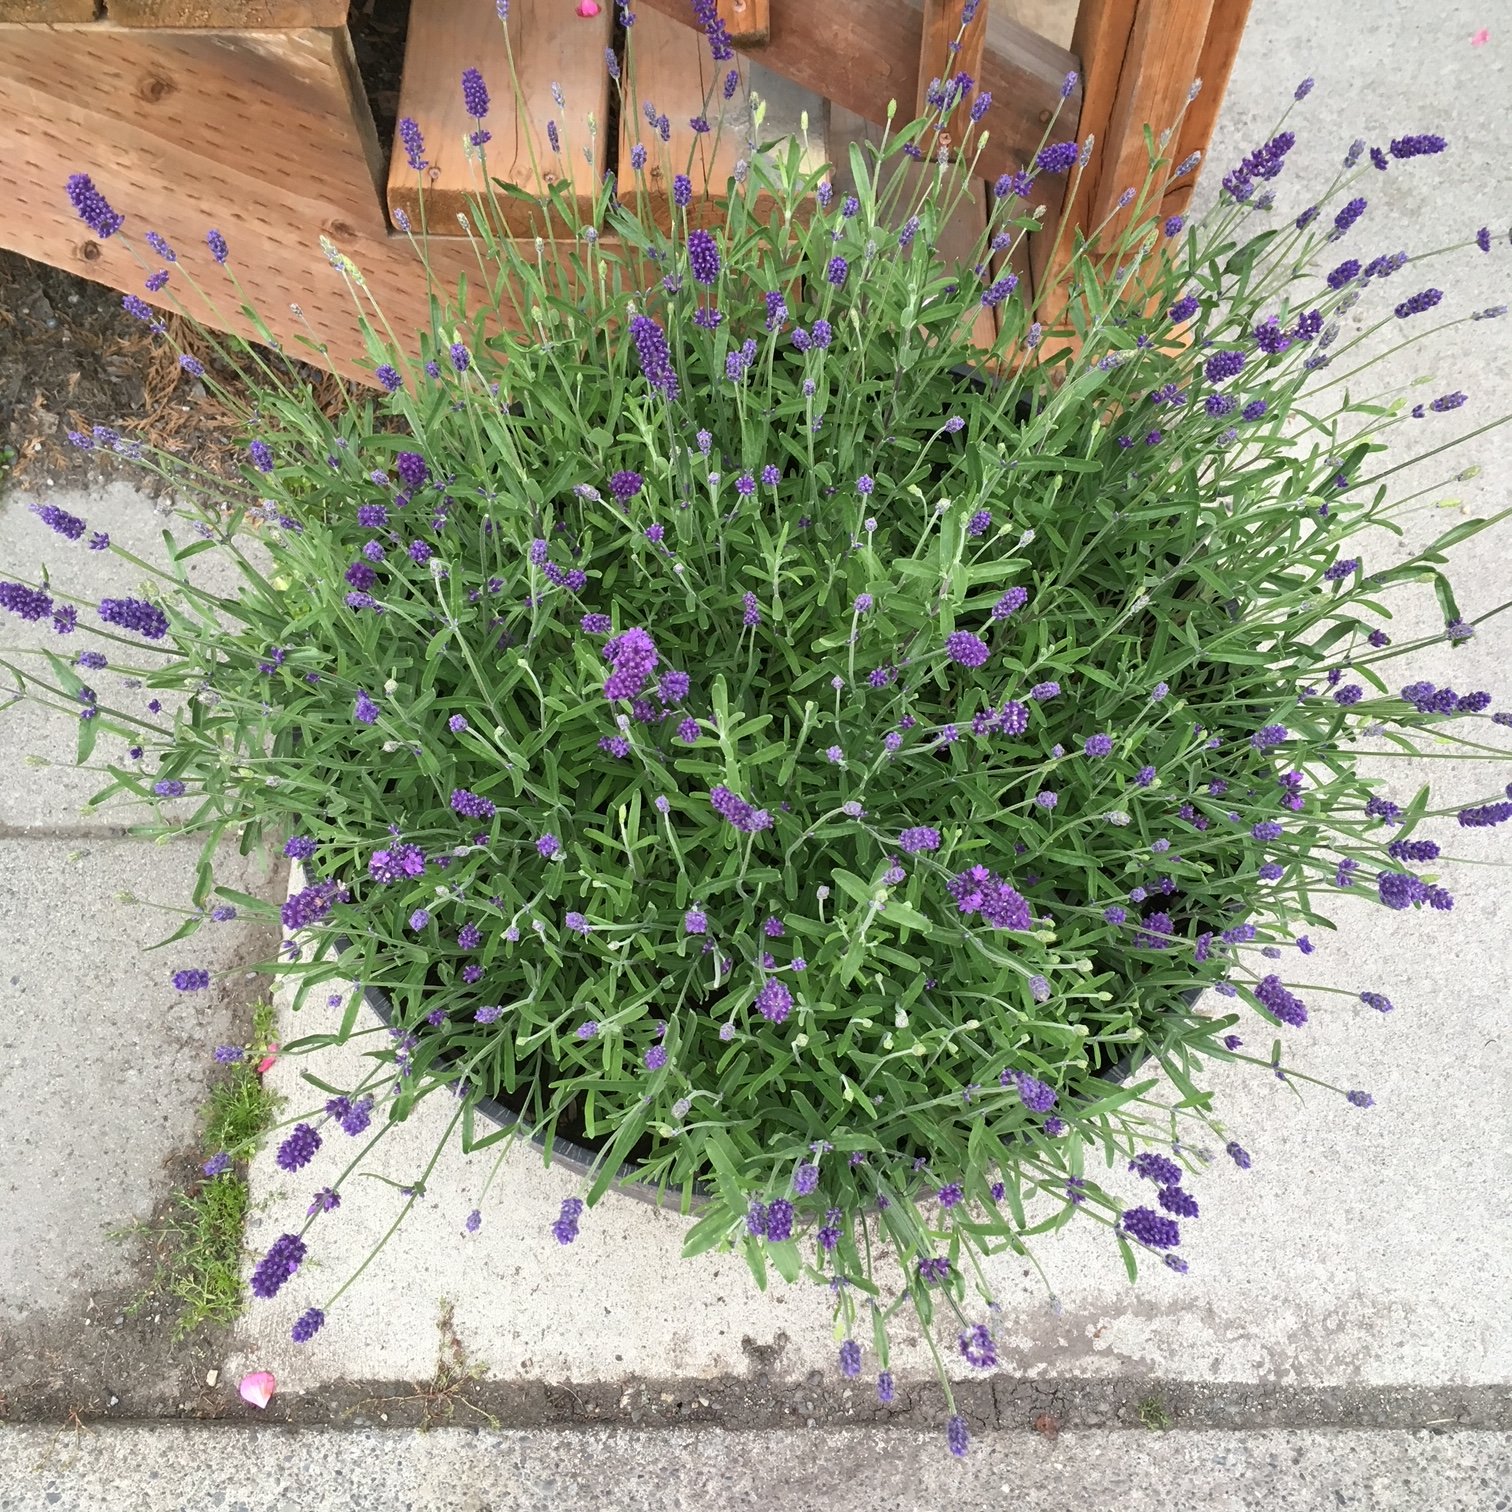
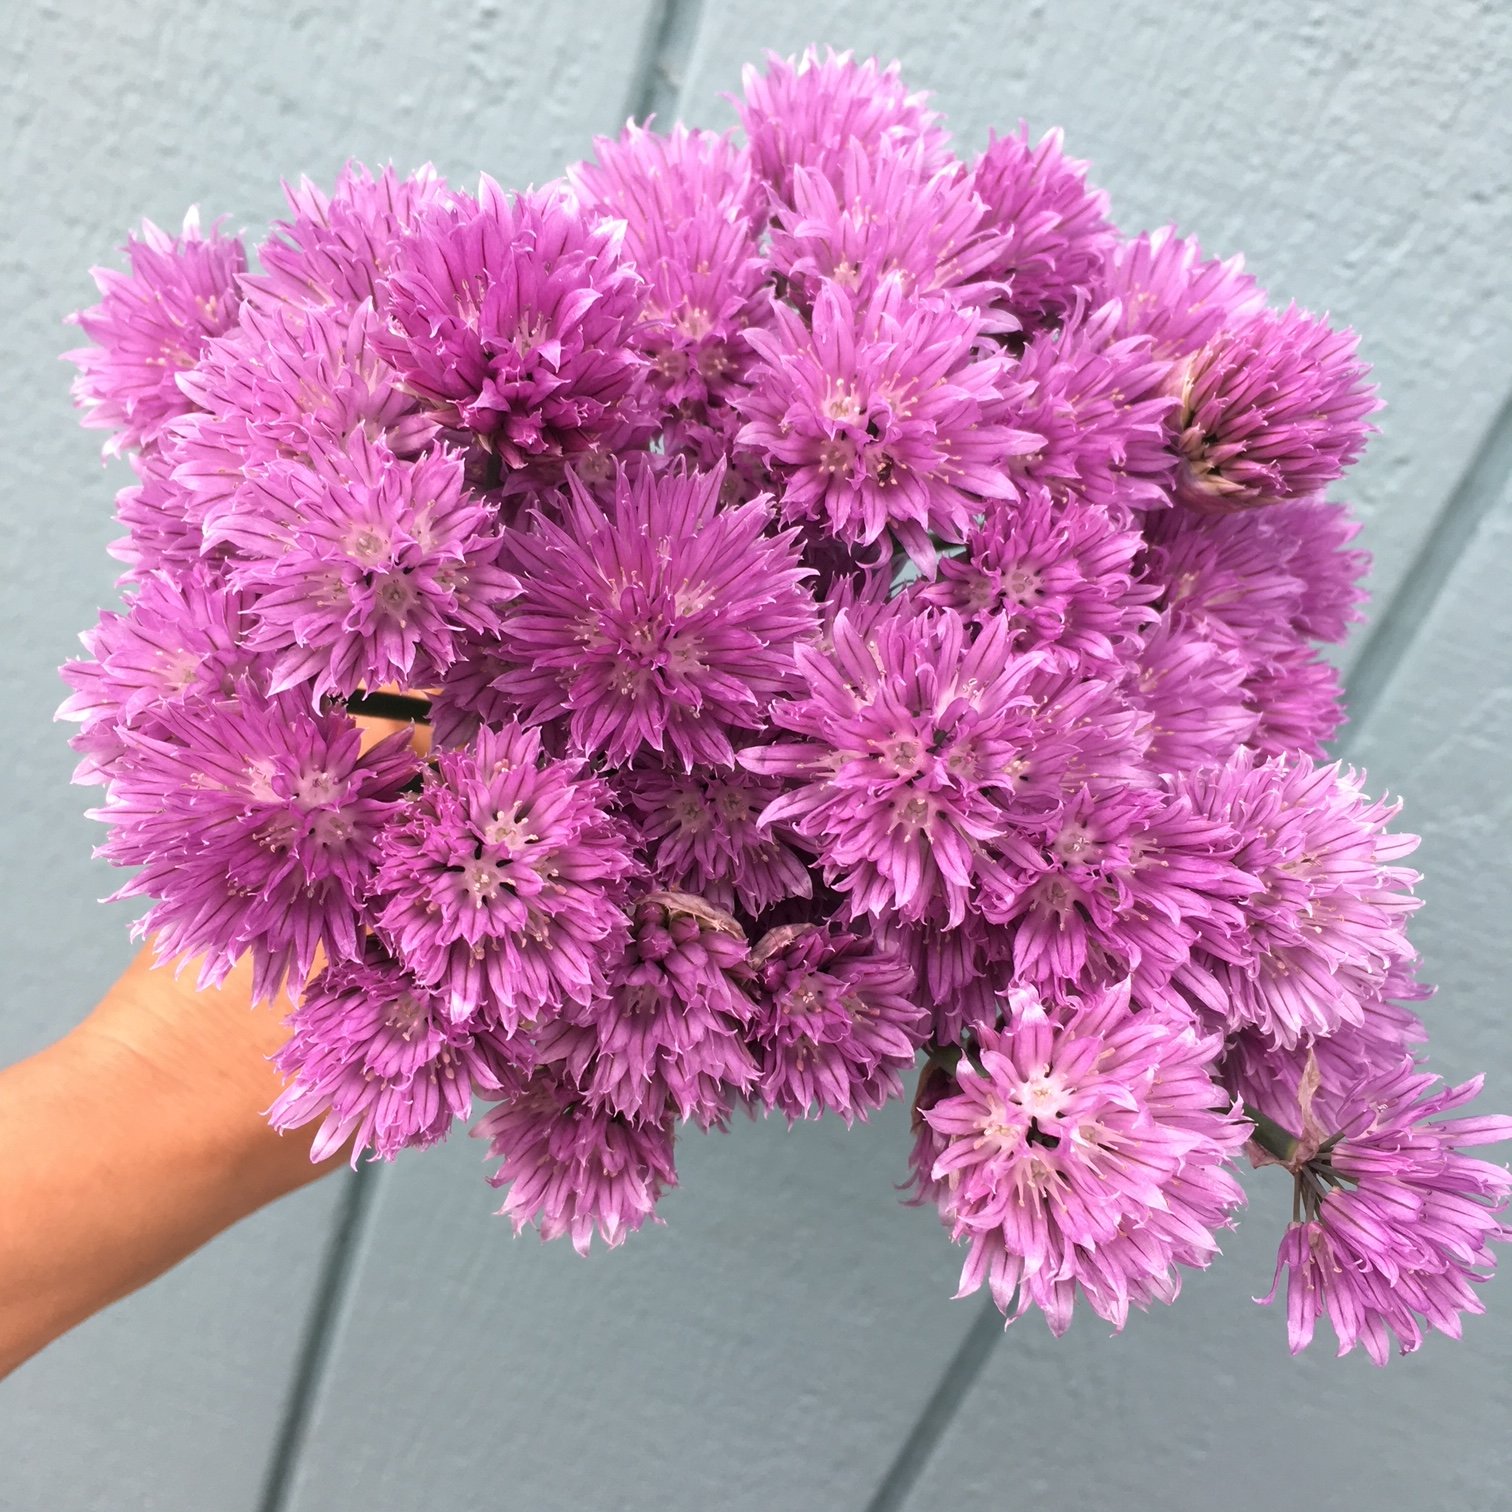
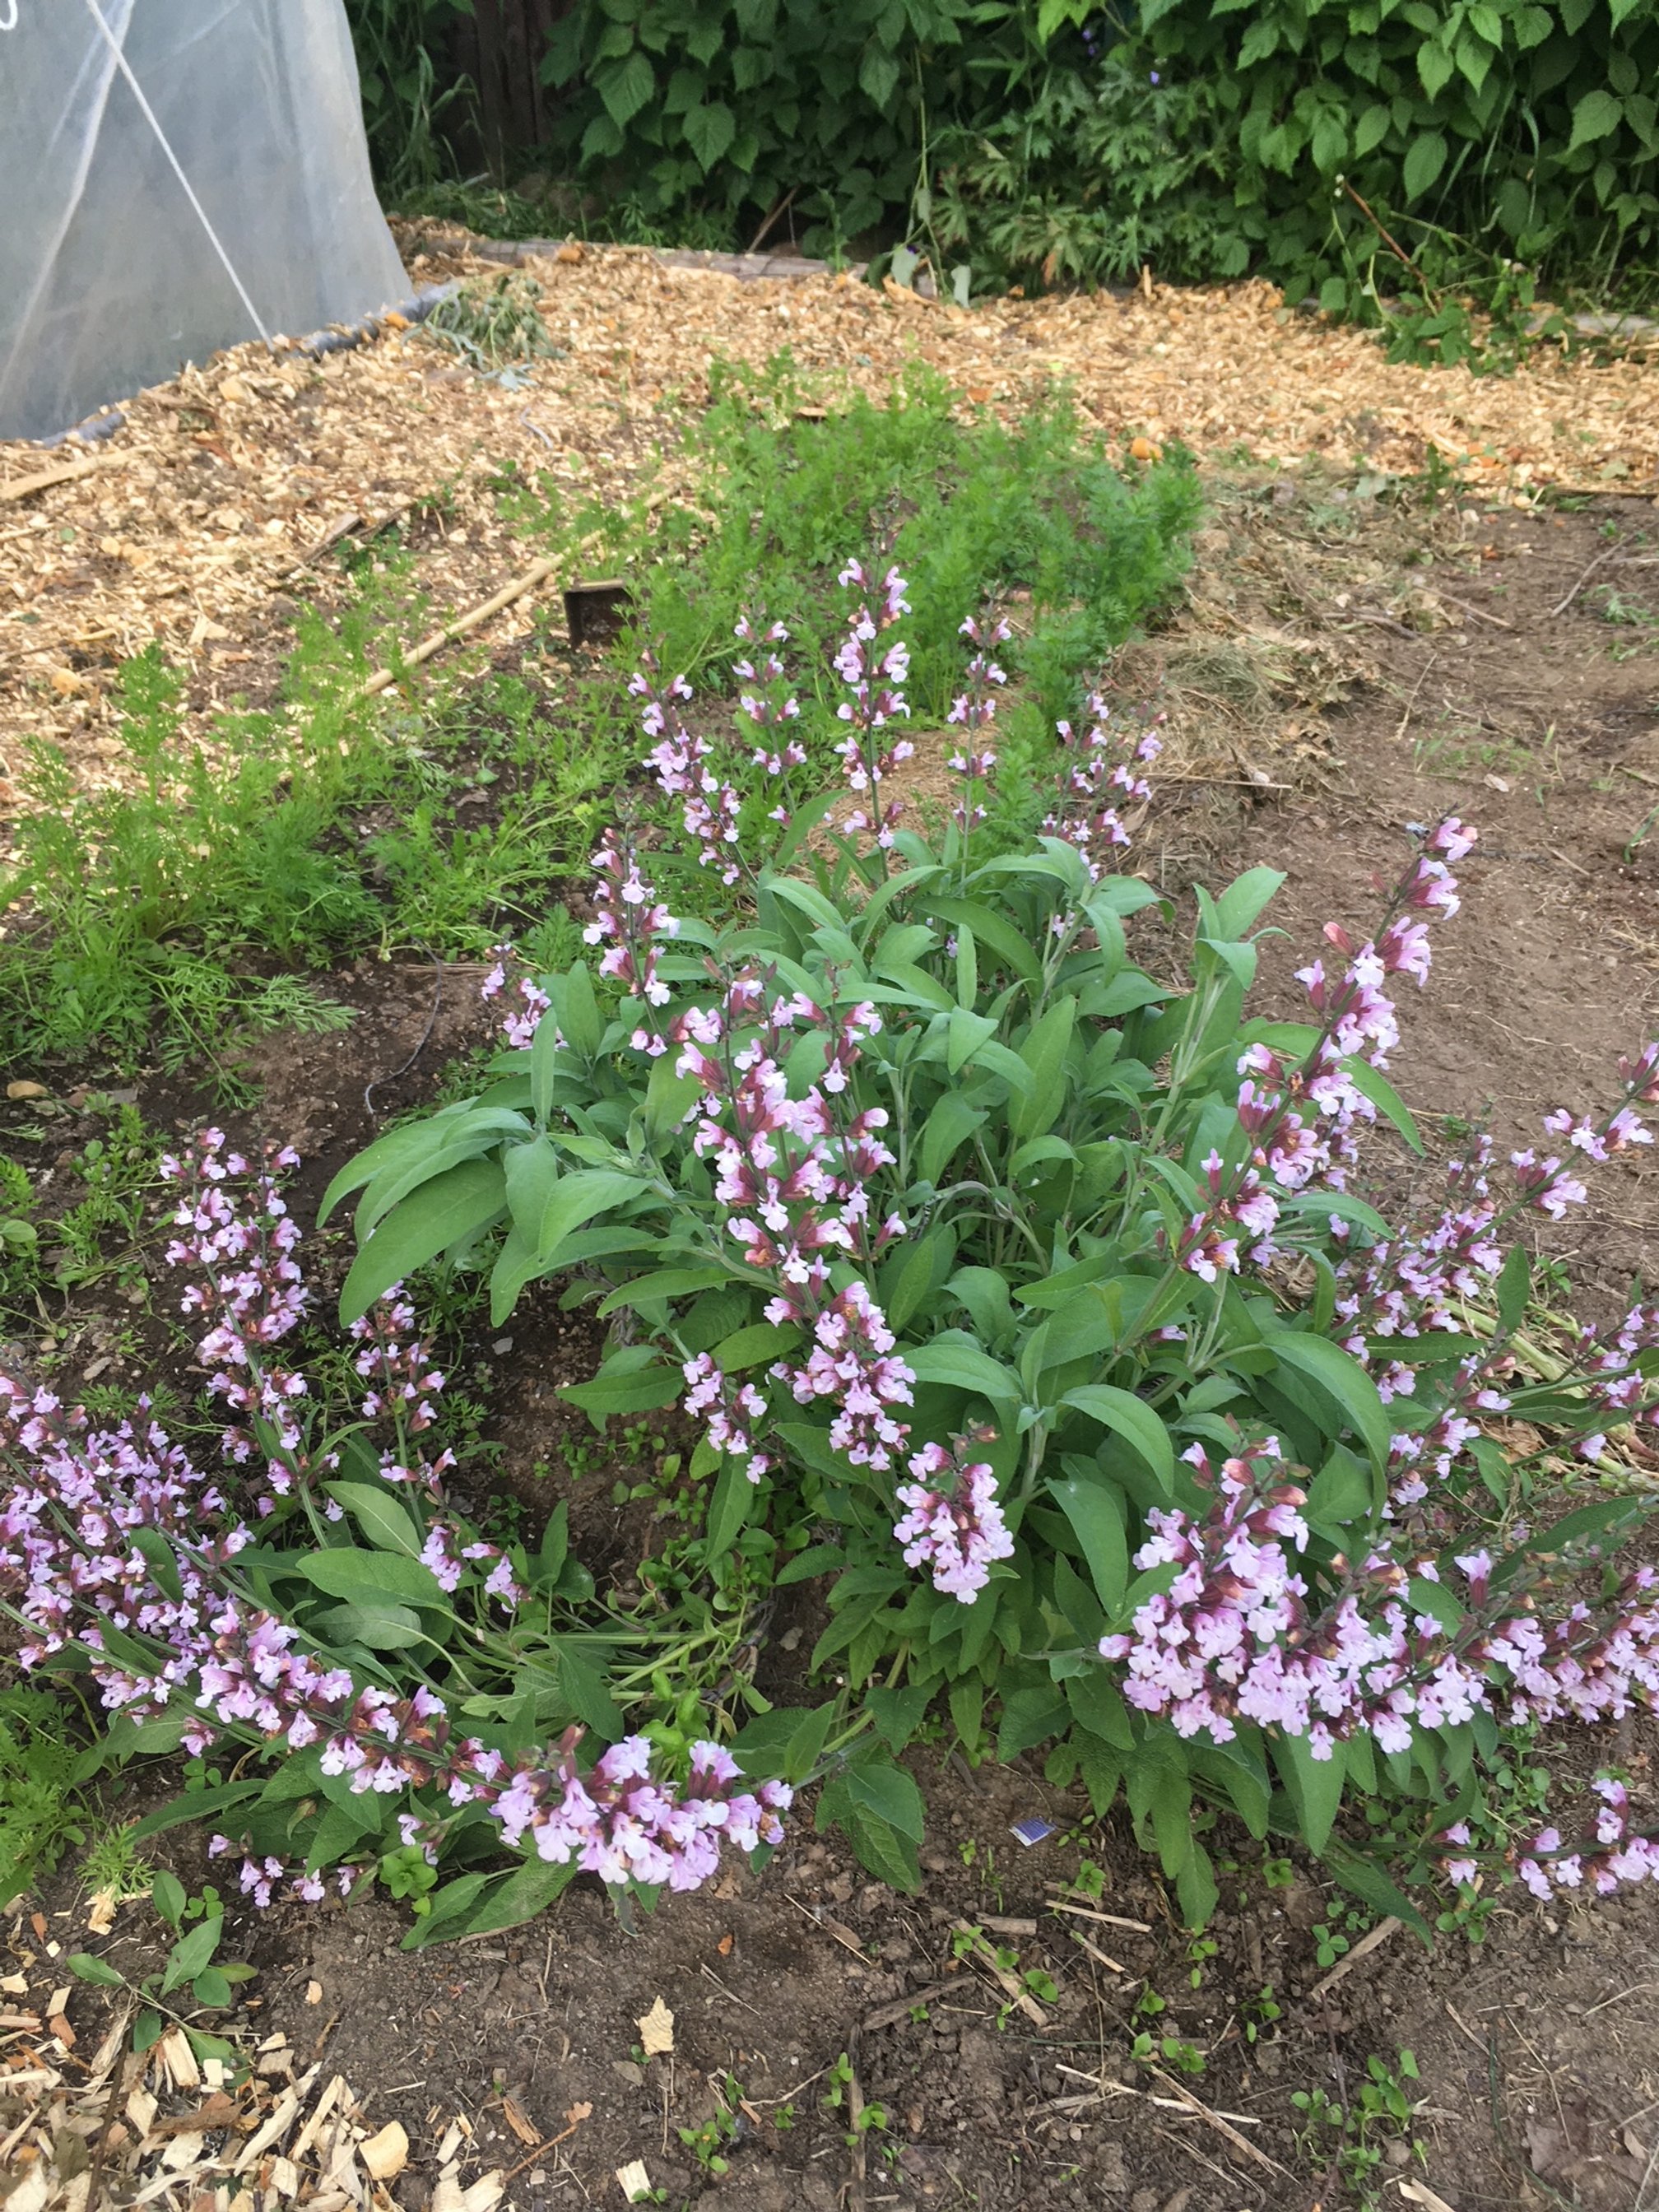
Left to right: Lavender thriving in a planter, Chive flowers - my mouth is watering just looking at these, Sage flowering big time in my home garden.
Plus a bonus herb I encourage you to try!
In addition to these fabulous and relatively easy-to-grow culinary herbs I also want to mention another favorite flower/herb: Lavender. I grow the Elegance variety.
Lavender is more challenging to grow in my northern climate. It is a slow grower and thrives in warmer temps.
This is one of the earliest plants I start by seed. I then make sure to plant it in a warm, sheltered environment which usually means in a pot on my super sunny front porch.
Harvest mature flowers for the vase or harvest each stem when flowers are budding if you want to hang for drying. Lavender keeps its aroma and color well after drying.
If you’re up for a challenge, try this amazing herb. The beauty, aroma, and happiness you will enjoy from this plant are priceless and well worth the difficulty!
Garden Supply Check-list
Spring will be here faster than you think and with that, it’ll be planting time! So let’s get organized.
I want to get you set up early so you’re ready to break ground, or pop those seeds in the soil, as soon as you can.
With supply chain issues going on this year I also want to make sure you buy anything additional that you need soon so you have EVERYTHING you need for a great growing season.
Here’s my challenge to you: over the next 10 days, grab this checklist and head into your garden shed for an early season inventory!
Seeds - inventory what you have - most seeds are viable for 2-3 years
Potting soil for seed starting
Grow lights
Shelving for your plants and lights
Trays and domes - you can use these again and again just be sure to wash before planting
Heat mats & thermostat
Timer for your lights
4 packs or 6 packs - you can use these again and again just be sure to wash before planting
3 inch pots or 4 inch pots - you can use these again and again just be sure to wash before planting
Gallon pots - you can use these again and again just be sure to wash before planting
Plant labels - buy or make your own
Dish gloves or latex gloves - for seed sowing indoors these help keep my hands from getting all dried out
Watering can - I like a kids specific one for watering indoors
Soil test - DIY kit or identify a lab to send out to
Organic soil amendments per your soil test
Compost - home-made or commercial
Trowel
Weeding tools
Pitch fork or broad fork
Bed prep rake or stiff tined rake
Pots and planters and/or garden beds - I know they’re all covered in snow, just make a plan, especially if you need more
Trellising and staking supplies
Garden journal or calendar
Your garden plan and garden map
Garden gloves - I love having a leather pair and a more waterproof pair
Knee pads or equivalent
Did I forget anything? Comment below to share your must-haves for the season.

4 Ways to Enjoy Your Bouquet Subscription
Thank you so much to all my awesome bouquet subscribers. I couldn’t do this without you!
As a farmer, I have a lot of expenses up front: seeds, soil amendments (organic of course), labor, seed starting supplies, marketing material, etc. A lot of money goes out the door before I have even one flower blooming in the garden. EEK!
Farmers around the nation have embraced this “community supported agriculture” or “CSA” model to give them a vital cash boost when they most need it - the early spring/summer. In return the farmer gives back produce or flowers ALL SUMMER LONG or as agreed upon.
It’s a big ask for customers - to come up with a bulk payment up front and I AM SO GRATEFUL TO YOU!!
So when your much anticipated bouquet subscription starts I wanted to give you a few fun ideas for how to enjoy your flowers :)
1) Display in a classic tall vase.
If you just want a no-fuss way to display our flowers, this is for you! Get your bouquet home, fill a vase with water, re-cut the stems and place in water. Enjoy :)
Cut stems and place in a tall vase.
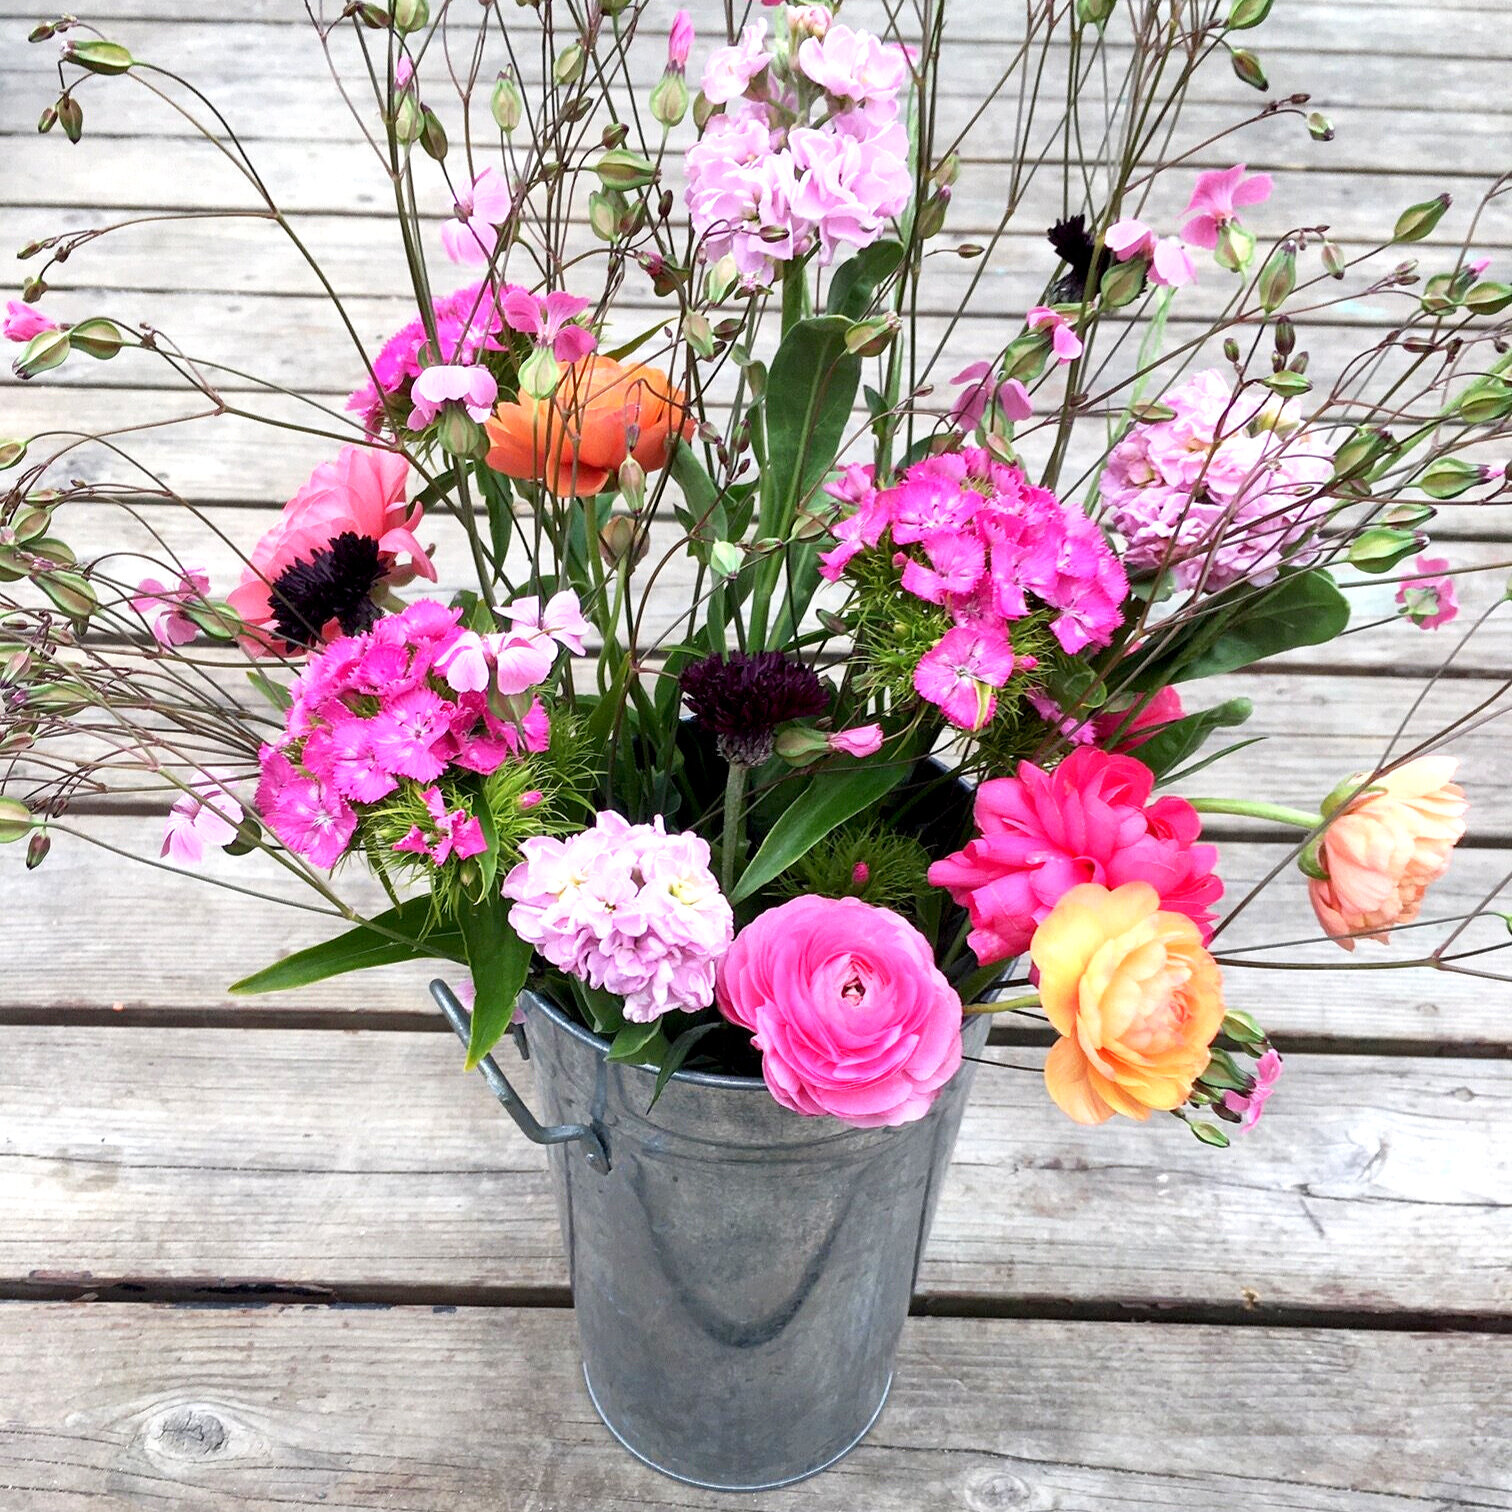
2) Arrange in a low vase or urn.
This will be a fun, creative process for those wanting to play a little more with arranging.
If you’re doing some extra arranging, feel free to snip a few additional stems from your yard or garden. I love adding a bit of spruce (this also adds some nice structure for the other flowers in a low vessel) or a snip of aspen. If you have other perennial foliage or flowers in your garden, don’t be afraid to cut a few! Not everything does amazing in the vase, but you don’t know until you try.
I like to start with some sturdy foliage (why I love spruce), then add some flowers (be sure to cut as short as desired). Then just keep adding flower by flower, adding foliage here and there. Don’t look for perfect! Just look for done :)

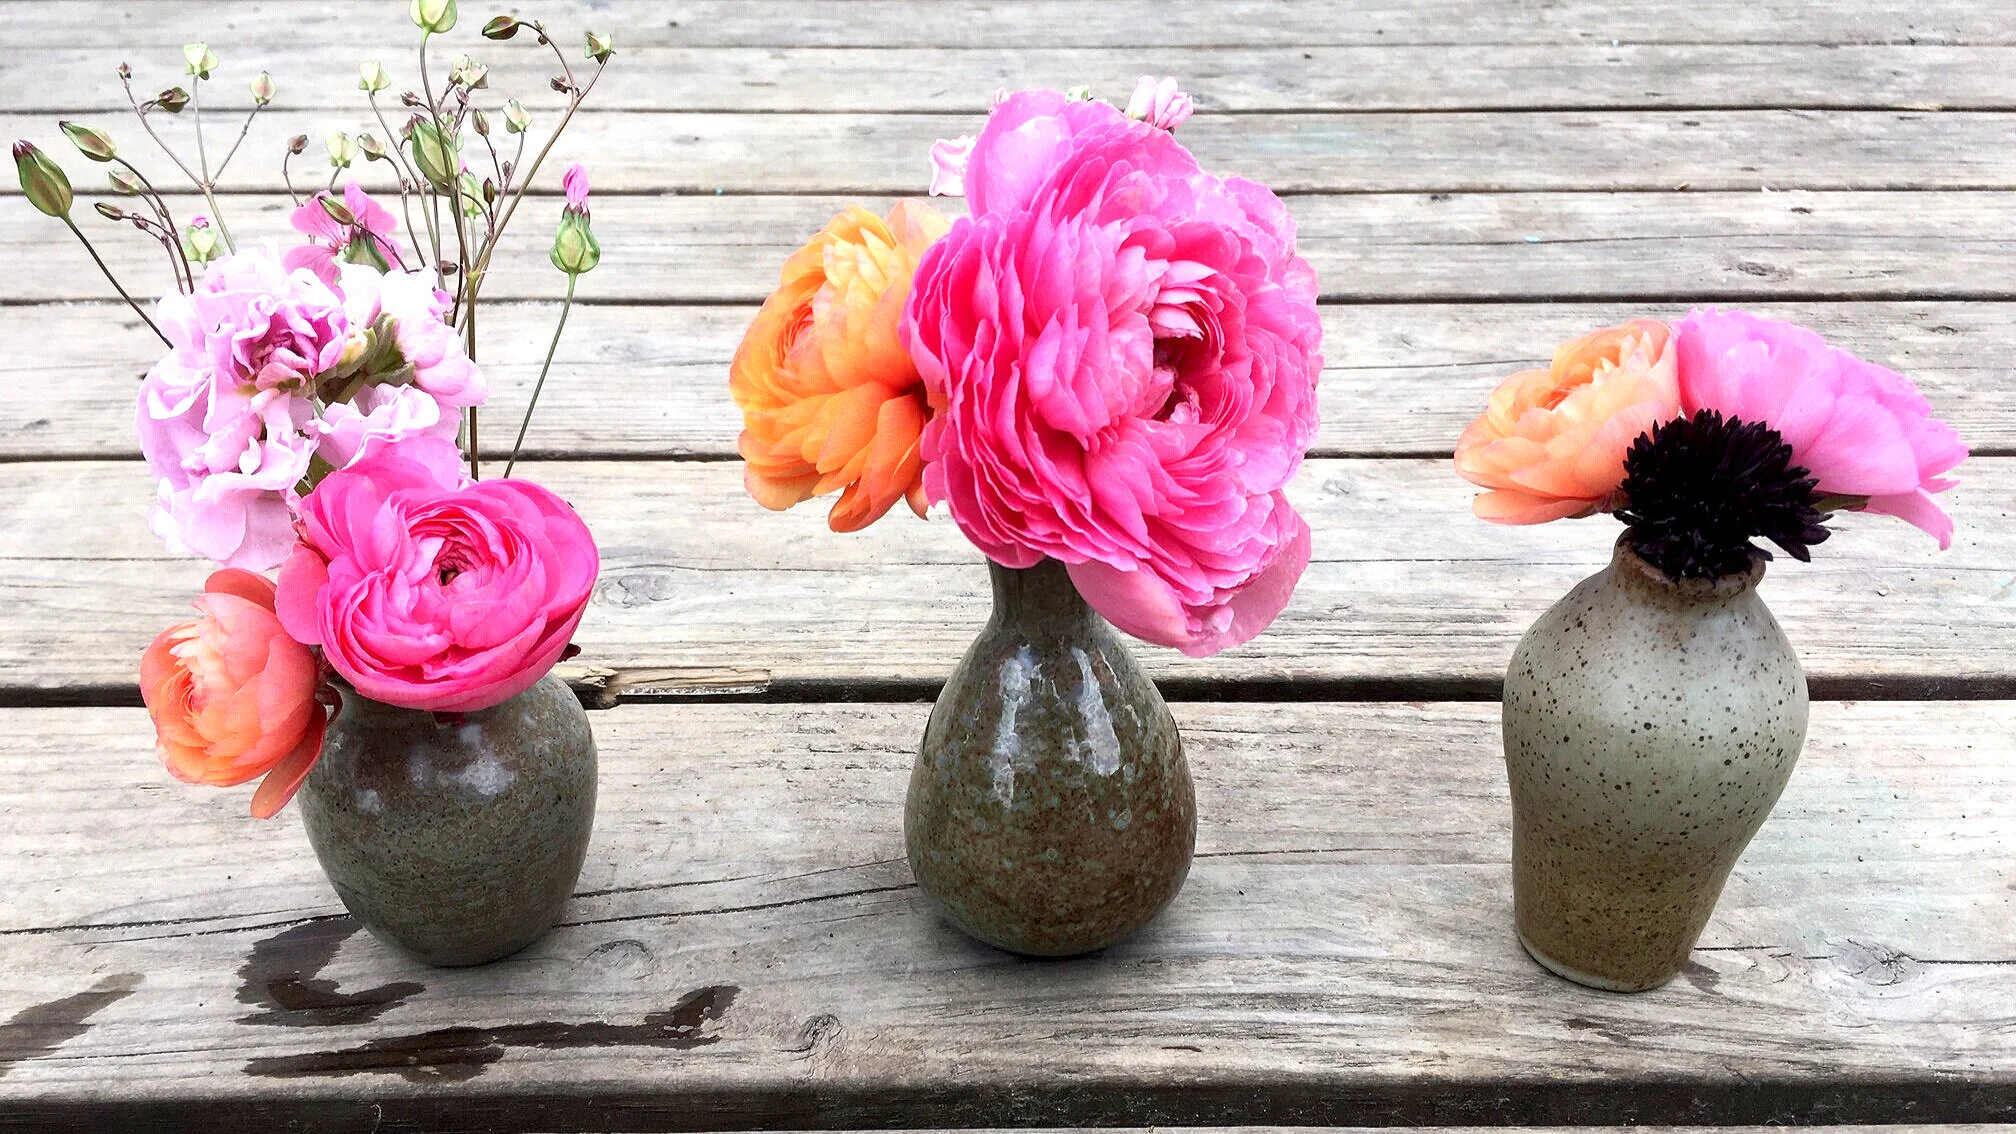
3) Disassemble and place stems into individual bud vases. It’s as easy as that.
I love putting these all over the house: in the bathroom to freshen things up, on the kitchen windowsill (although keep out of direct sun), on your bedside table (if you really want to pamper yourself), etc.
Make sure to check daily for adequate water - flowers really drink big and tiny vases can go dry in no time.
Take apart your bouquet apart and place individual stems in bud vases.
4) Float larger blooms in a shallow bowl or jar.
Cut the stems short and float large and/or double bloomed flowers in water. Flowers that do well floating include peonies, dahlias, ranunculus, roses, and large double zinnias. This is by no means an exhaustive list! Experiment :)

Larger blooms float beautifully!
There you have it!
Now I want to hear from you! How do you love to display your flowers? Comment below OR send me an email at turnstonefarm@gmail.com! Include photos :) You can also tag me on facebook or instagram @turnstonefarm.
Starting Seeds with Soil Blocks
Last year I was inspired to change up my seed starting system to include soil blocking. If you’re not sure what this is, please read on! Soil blocking requires taking a wet grow medium and using a little blocking press to create perfect stand alone squares in which to sow a seed or transplant. I invested in a 3/4” blocker for germinating slow growers and tiny seeds and a 2” blocker for transplanting into or sowing larger or quick growing seeds. These are available from Johnny’s Seeds (my favorite online planting/growing store).

New Methods
A few years ago I was inspired to change up my seed starting system to include soil blocking. I now use it exclusively.
If you’re not sure what soil blocking is, I’ll walk you through the whole process! Soil blocking requires taking a wet growing medium and using a little blocking press to create perfect stand alone squares in which to sow a seed or transplant.
I invested in a 3/4” blocker for germinating slow growers and tiny seeds and a 2” blocker for transplanting into or sowing larger or quick growing seeds. These are available from Johnny’s Seeds (my favorite online planting/growing store).
After lots of experimenting with growing medium (I’ve mixed my own, I’ve purchased all sorts of seed starting mix) I’ve settled on Pro-mix MP Mycorrhizae Organik. I purchase large bales at Southside Garden Supply each spring.
If you’re interested in trying to mix your own starting mix, here’s a recipe from Lisa Mason Ziegler. She’s author of Cool Flowers (a great book about maximizing your cool shoulder seasons for planting early in the spring or late in the fall - I’m still trying to perfect this method in a snowy climate, and honestly still sort of flailing):
Recipe
16 C sifted peat or coco fiber (I used our local Fishy Peat mix available at Mill and Feed)
4 C of sifted compost (I used Susitna Organics humidified compost)
1/4 C greensand (available at Southside Garden Supply - let me put a plug in for this awesome local shop. Thanks to the marijuana industry, this place is loaded with great stuff for the urban farm or garden set-up)
1/4 rock phosphate (Mill and Feed or Southside Garden Supply)
6-7 C water
How To
Mix all ingredients well in a large tote or bin. One batch makes around 600 mini blocks.
If you’re using Pro-mix MP Mycorrhizae Organik or another pre-made mix, just mix a set amount of soil in a tub and add water until it’s a very wet mud.
Once your planting medium is all mixed grab your blocker, dip in a dish of water (aids in releasing blocks), firmly press your blocker down into soil medium a few times to really pack it in, scrape off excess, and while holding just above the bottom of your seeding tray depress the plunger until blocks release.
It takes a few tries to get the hang of it! Seeds can then be planted in the little depression left my the blocking pin.
Get creative about what you use for trays. I use regular seedling tray bottoms with no holes. I reuse these every year for 3-5 years! Folks also use lunch trays, plates, left over styrafoam trays, yogurt lids, etc.
Growing on
To water, less is more. Although you don’t want to desiccate your precious seedlings it’s easy to over water and get disastrous results (like damping off). Be sure to water from the bottom to preserve the delicate soil block structure. They wick up water like crazy.
Once the 3/4” blocks are ready to transplant, plant directly outdoors or up-pot into a 2” or 4” block. I up-block into a 2” block for most of my starts.
The larger seed blockers come with a different blocking pin that creates a square indent that perfectly fits a 3/4” block.
Now go grow some epic plants!