5 Cut Flowers for the Advanced Gardener
Try these 5 cut flowers for the advanced grower.
If you’re ready for more challenge in your garden, you are going to love these 5 cut flower!
They are a staple in my commercial cutting garden year after year. And while they take a bit more care that easier varieties, with practice you will have great success.
Dahlias
While dahlias are not hard to grow, they offer more challenges than just planting a seed.
To read more in depth on growing dahlias go here to read my blog: https://www.turnstonefarmalaska.com/garden-blog/how-to-grow-dahlias
There are hundreds of dahlias varieties that are great for the garden and the vase. Go here to read up on dahlia varieties: https://www.turnstonefarmalaska.com/garden-blog/choosing-dahlia-varieties
Harvest when the flower has fully opened but before the petals on the back side have started to wither. Dahlias do not last long in the vase but you should get a solid 3-5 days of beauty on your dining room table.
Cornel and Dreamcatcher dahlias tucked into a Turnstone Farm wedding flower arch. Photo courtesy of Lauren Roberts
Nigella
I’m planting nigella in week 16 and 19.
Varieties I love include: Black Albion Pod, Love-in-a-mist and Delft Blue.
While these aren’t officially a hard flower to grow, mine seem to take special care. In fact I wrote in my notes section next to my planting date: “take special care!”.
Nigella prefers to be direct seeded and since I don’t direct seed anything besides salad greens in my garden I think they suffer a little when transplanted.
This is a fun and super unique flower that can be harvested for the flower and for the pod. The pod dries great for everlasting bouquets.
Nigella pod in a Turnstone Farm boutonniere. Photo courtesy of Lauren Roberts
Ranunculus
I start ranunculus by corms in week 16. There is a special process for planting these so be sure to read up by clicking the link below.
Ranunculus loves cool weather. That’s why they are a great flower for northern growers. Most growers plant one round of ranunculus for spring and early summer blooms.
I recently learned how to also get in a fall crop by planting a second round in week 20. This can be a bit of a gamble because if we have a warm summer they will not thrive. But it’s worth the effort! The past two years I’ve gotten a fall harvest although the blooms seem to be smaller than my spring crop.
These can be cut for harvest as soon as the buds feel like soft marshmallows. The more stems you cut, the more blooms you get per plant.
For a more in depth look at growing ranunculus GO HERE to read my blog: “How To Grow Ranunculus”
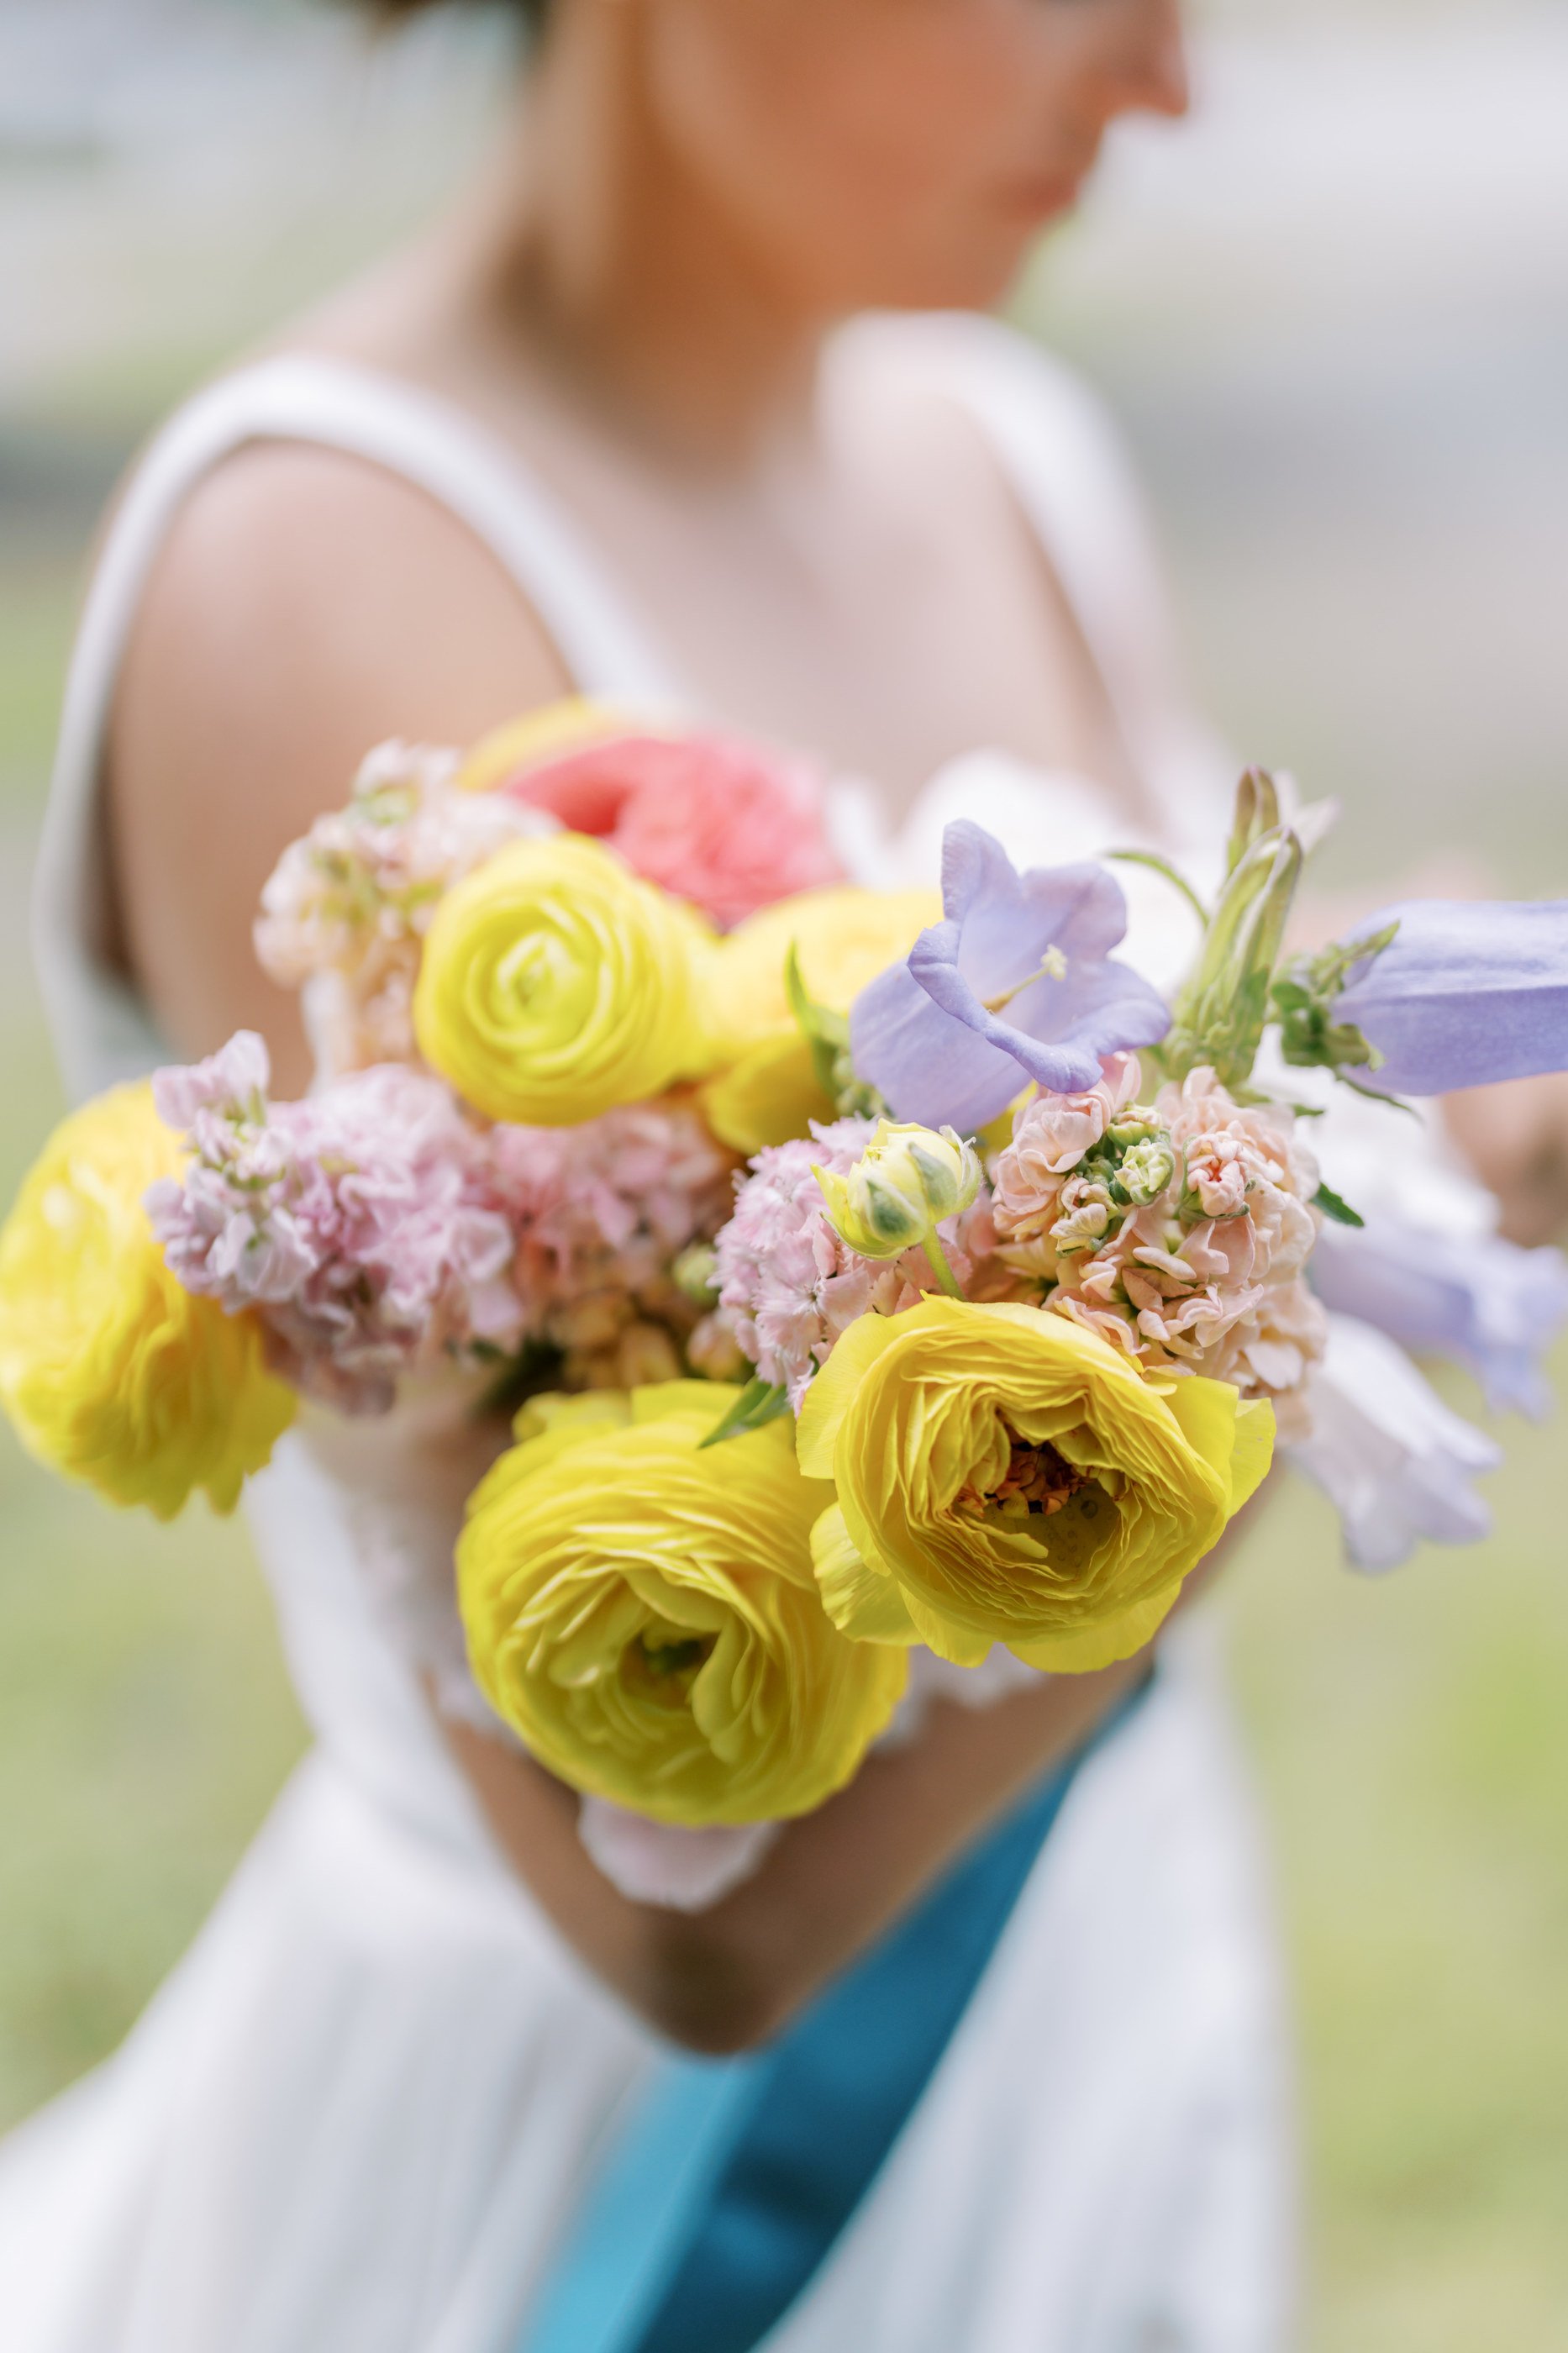
Yellow ranunculus is a luxurious and wildly popular wedding flower. Photo credit Corrine Graves
Anemones
Anemones are one of my absolute favorite flowers. I grow different varieties each year, so just search around for colors that look amazing to you. I’m starting mine in week 13 only.
These are started very much like ranunculus. Follow the instructions for planting ranunculus here: https://www.turnstonefarmalaska.com/garden-blog/how-to-grow-ranunculus
Ideally you’ll harvest these for the vase after the flower has fully opened once and closed once (they close at night). This is just about impossible to keep track of, so I just harvest when the flower is almost fully open.
Anemones have a fabulous vase life. They don’t ship well so you will almost never see good looking ones anywhere but in your garden, at a farmers market or in your Turnstone Farm bouquet.
Anemones from the Turnstone Farm garden.
Stock
I’m starting all my stock in week 13. This is considered a one and done flower, meaning you grow one plant for one bloom and then the plant is done.
Because of this, I would usually plant 2-3 successions. But because stock dislikes heat I stick to only one early season planting. It would be worth testing a planting that’s mature in time for fall. Perhaps I’ll try a few this year to see how they fare!
Stock is an early season bloomer that helps fill the gap between tulips and all the other garden varieties.
Its smell cannot be beat and the flowers are edible.
It lasts for a solid week to two in the vase and the dried petals can make a heavenly smelling potpourri once dried.
It comes in a variety of colors: white, apricot, purple, light and bright pink and yellow.
While a more challenging flower to grow as it must be started earlier, dislikes dry conditions (spring 2022 anyone!), and dislikes heat, it is well worth the challenge.
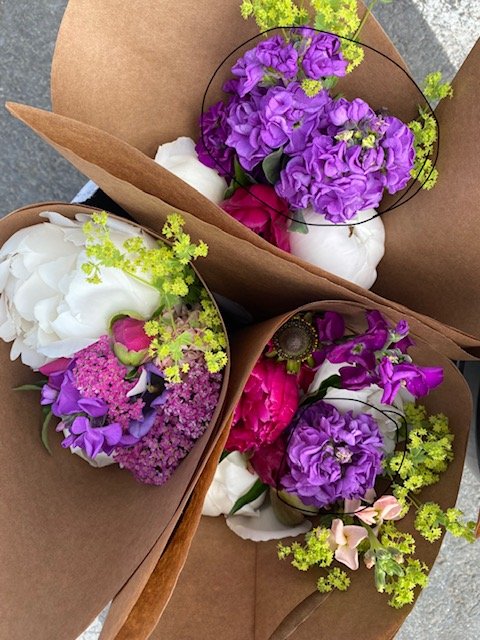
Purple stock helps fill out these early season Turnstone Farm bouquets.
Dahlia Saving Part 2
Congratulations: you’ve dug, washed, and dried your dahlia tubers!
Now it’s time to divide and pack them away for next year :)
Some folks don’t divide until spring but I prefer (at least for now) to divide before I pack for storing. This saves space and then I can inventory now so I know how many I’ll have come planting time.
Follow these easy steps to divide and save your tubers!
The first step is to grab your tuber bunch and cut it in half. This will make the whole job more manageable. Sometimes it’s hard to know where to start! Once you make that first cut, it is a little easier to see each tuber individually.
I like to use a sharp knife or a pair of felco snips for cutting. You can try both to see which one works best for you.
Don’t worry if you destroy a few tubers in this process. You will still have plenty to work with.
Once you’ve broken down the tuber bunch it’s time to start dividing individual tubers.
Here’s the most important part: for each intact tuber body you need to have an intact “neck” (the place between the tuber body and the place where the “eye” has formed), and and eye. If you don’t have these components, your tuber will not sprout in the spring
If you’re not sure what a dahlia eye looks like I'm pointing one out here with my pencil. Eyes are either slightly green/yellow (like above) or a purple/red color (like below).
This picture is showing the proper cut to give you the three key components: 1) tuber body, 2) intact neck and 3) eye (you're looking at the cut at the center of the photo. Disregard the broken tuber!).
Once my tubers are cut I dip the cut end in cinnamon (a natural, anti-fungal to ward off mold and rot) and lightly sprinkle in cinnamon.
To store my tubers for the winter I take a paper or plastic bag and put a layer of wood shavings, then a layer of tubers, then a layer of shavings, etc.
Make sure to label your varieties! I leave a plastic label in the bag AND label the paper bag.
All my bags then go in plastic totes with lids and get stored in my crawlspace (which is roughly 40-50 degrees).
Be sure to check your tubers monthly until planting time to make sure they are not drying out too much or rotting!
I hope this helps you save all your gorgeous tubers for next year! Know that for each tuber you plant in the spring you will get 5-15 new tubers for next year. Soon you will be rich in dahlias. They make great gifts or you can trade your neighbors for fun new varieties.
Also, note that you can save the entire tuber bundle intact without dividing. It takes up more space but if you’re only saving a few varieties this might be the way to go. It will save you lots of time!
Please post any questions below. I’m happy to problem-solve with you.


