


How to Grow Ranunculus
One of the most popular flowers right now in the modern florist and wedding flowers world has to be ranunculus.
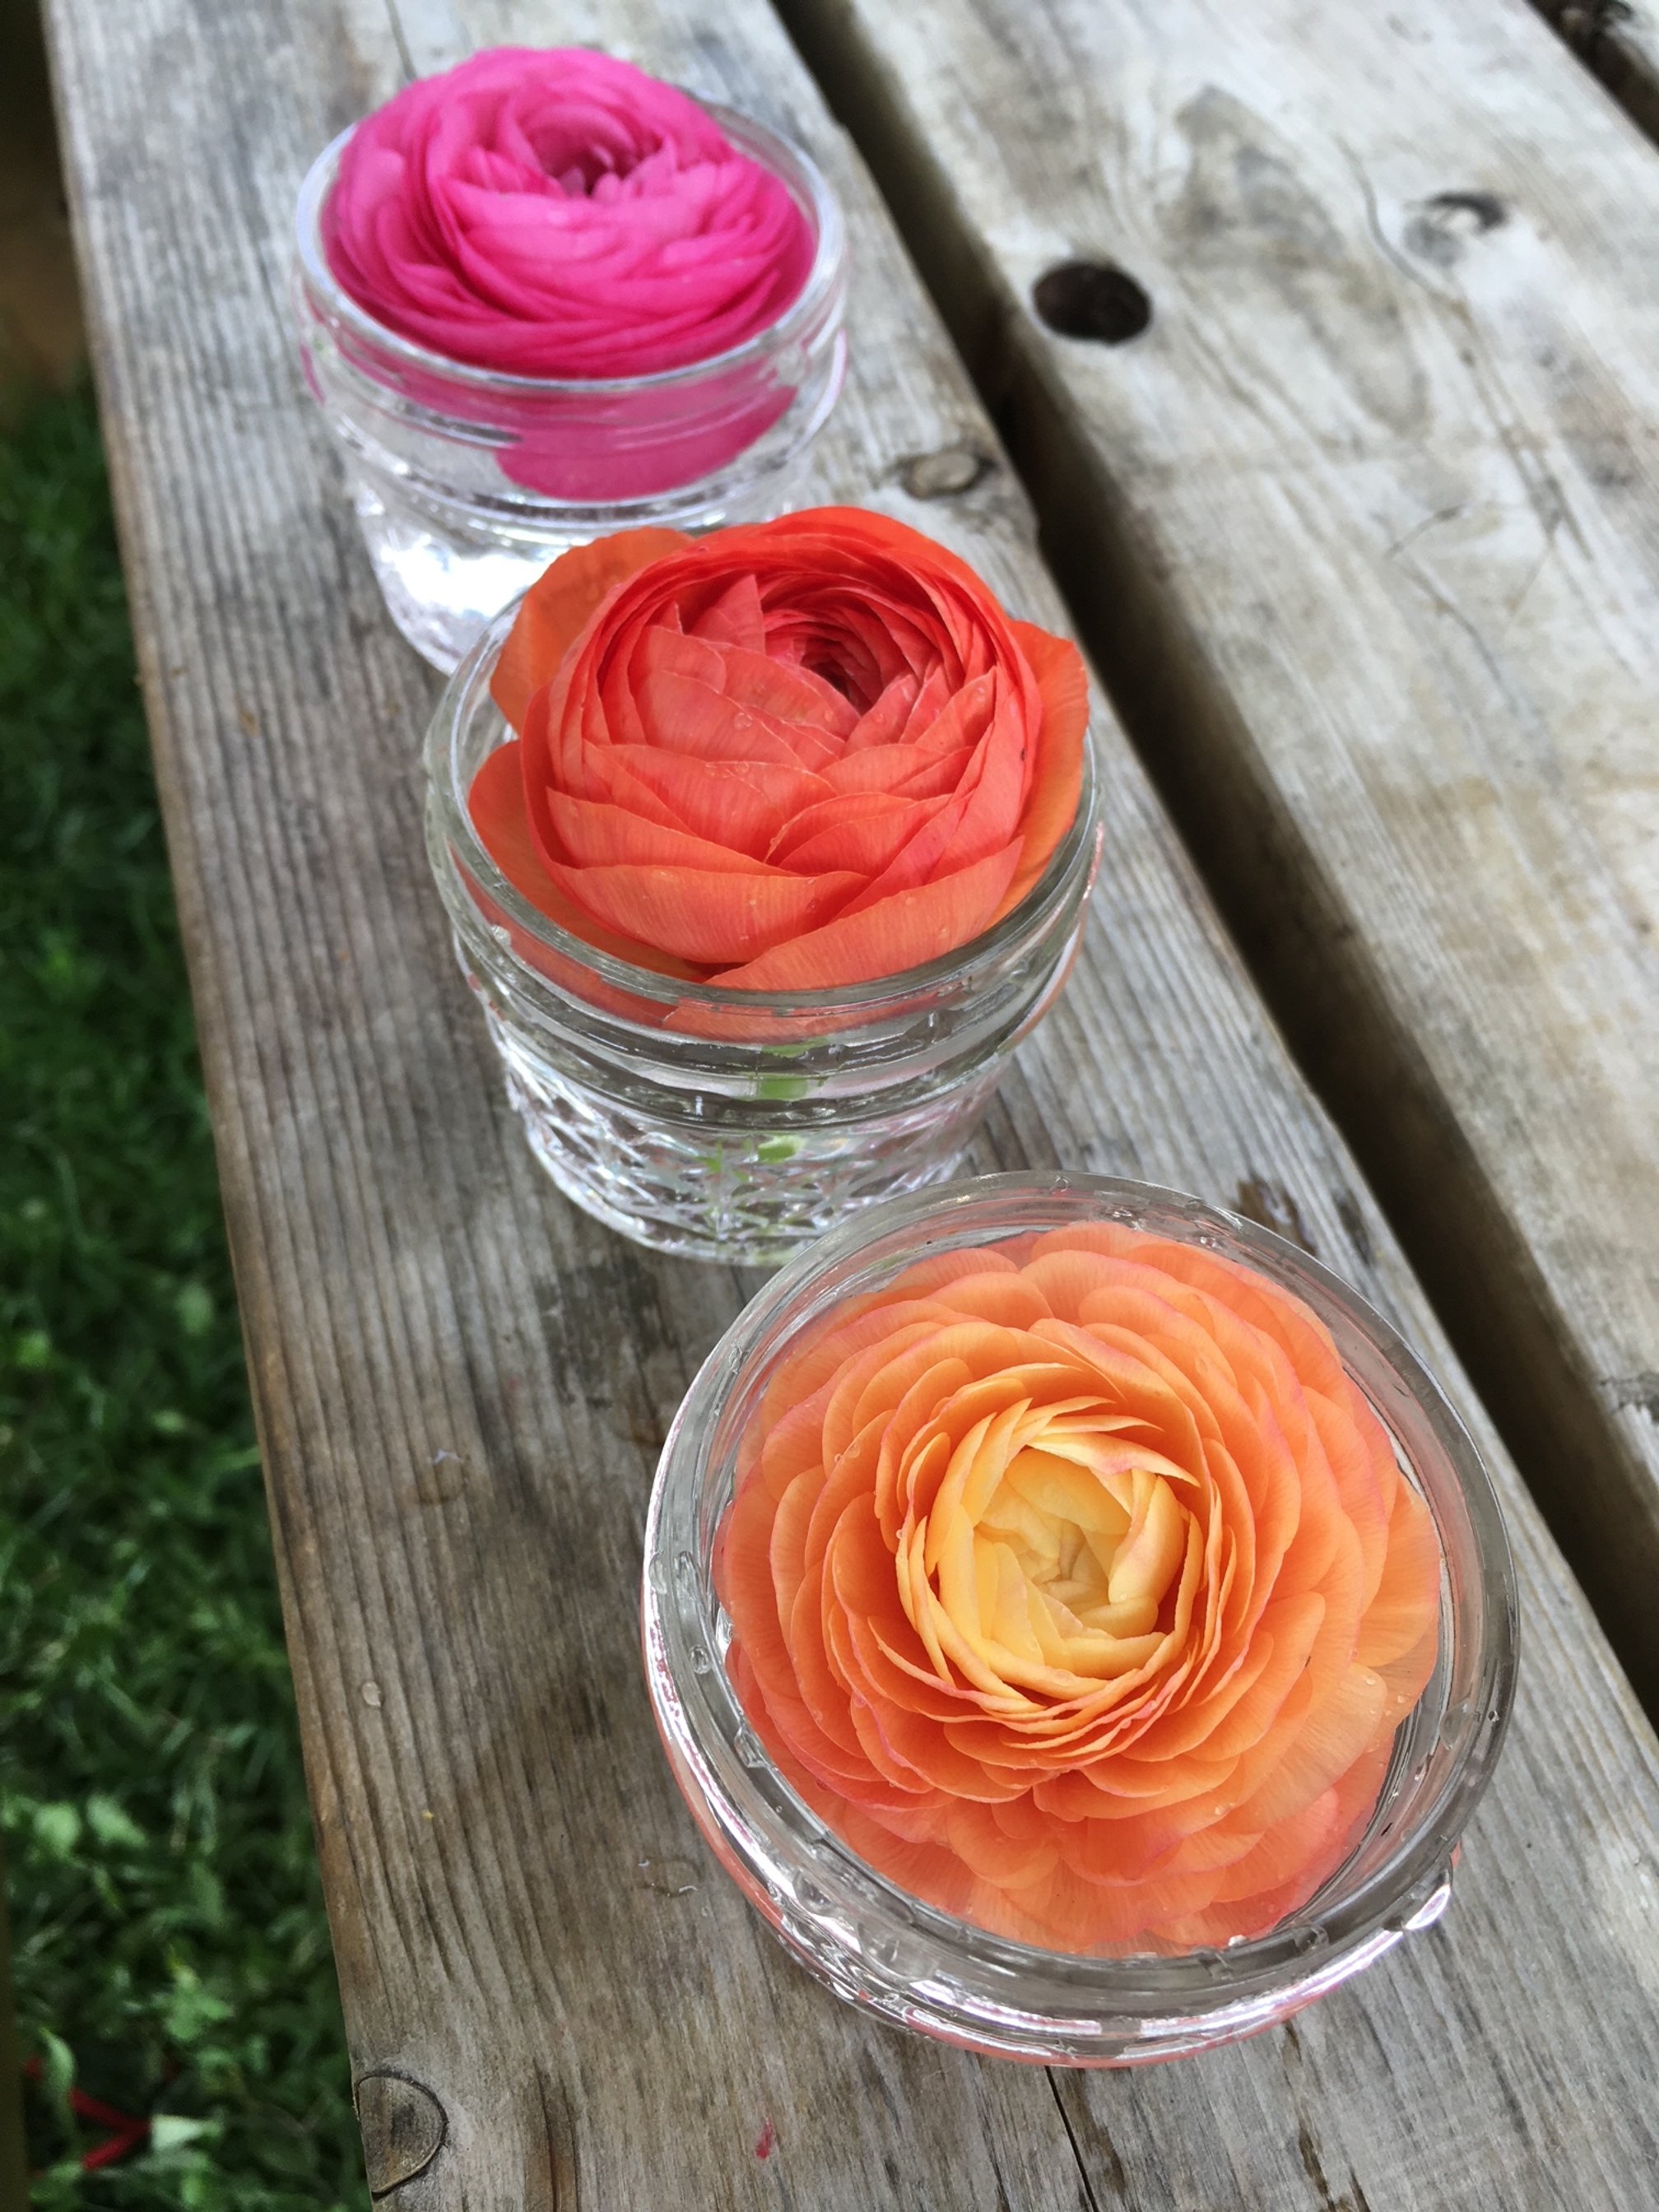
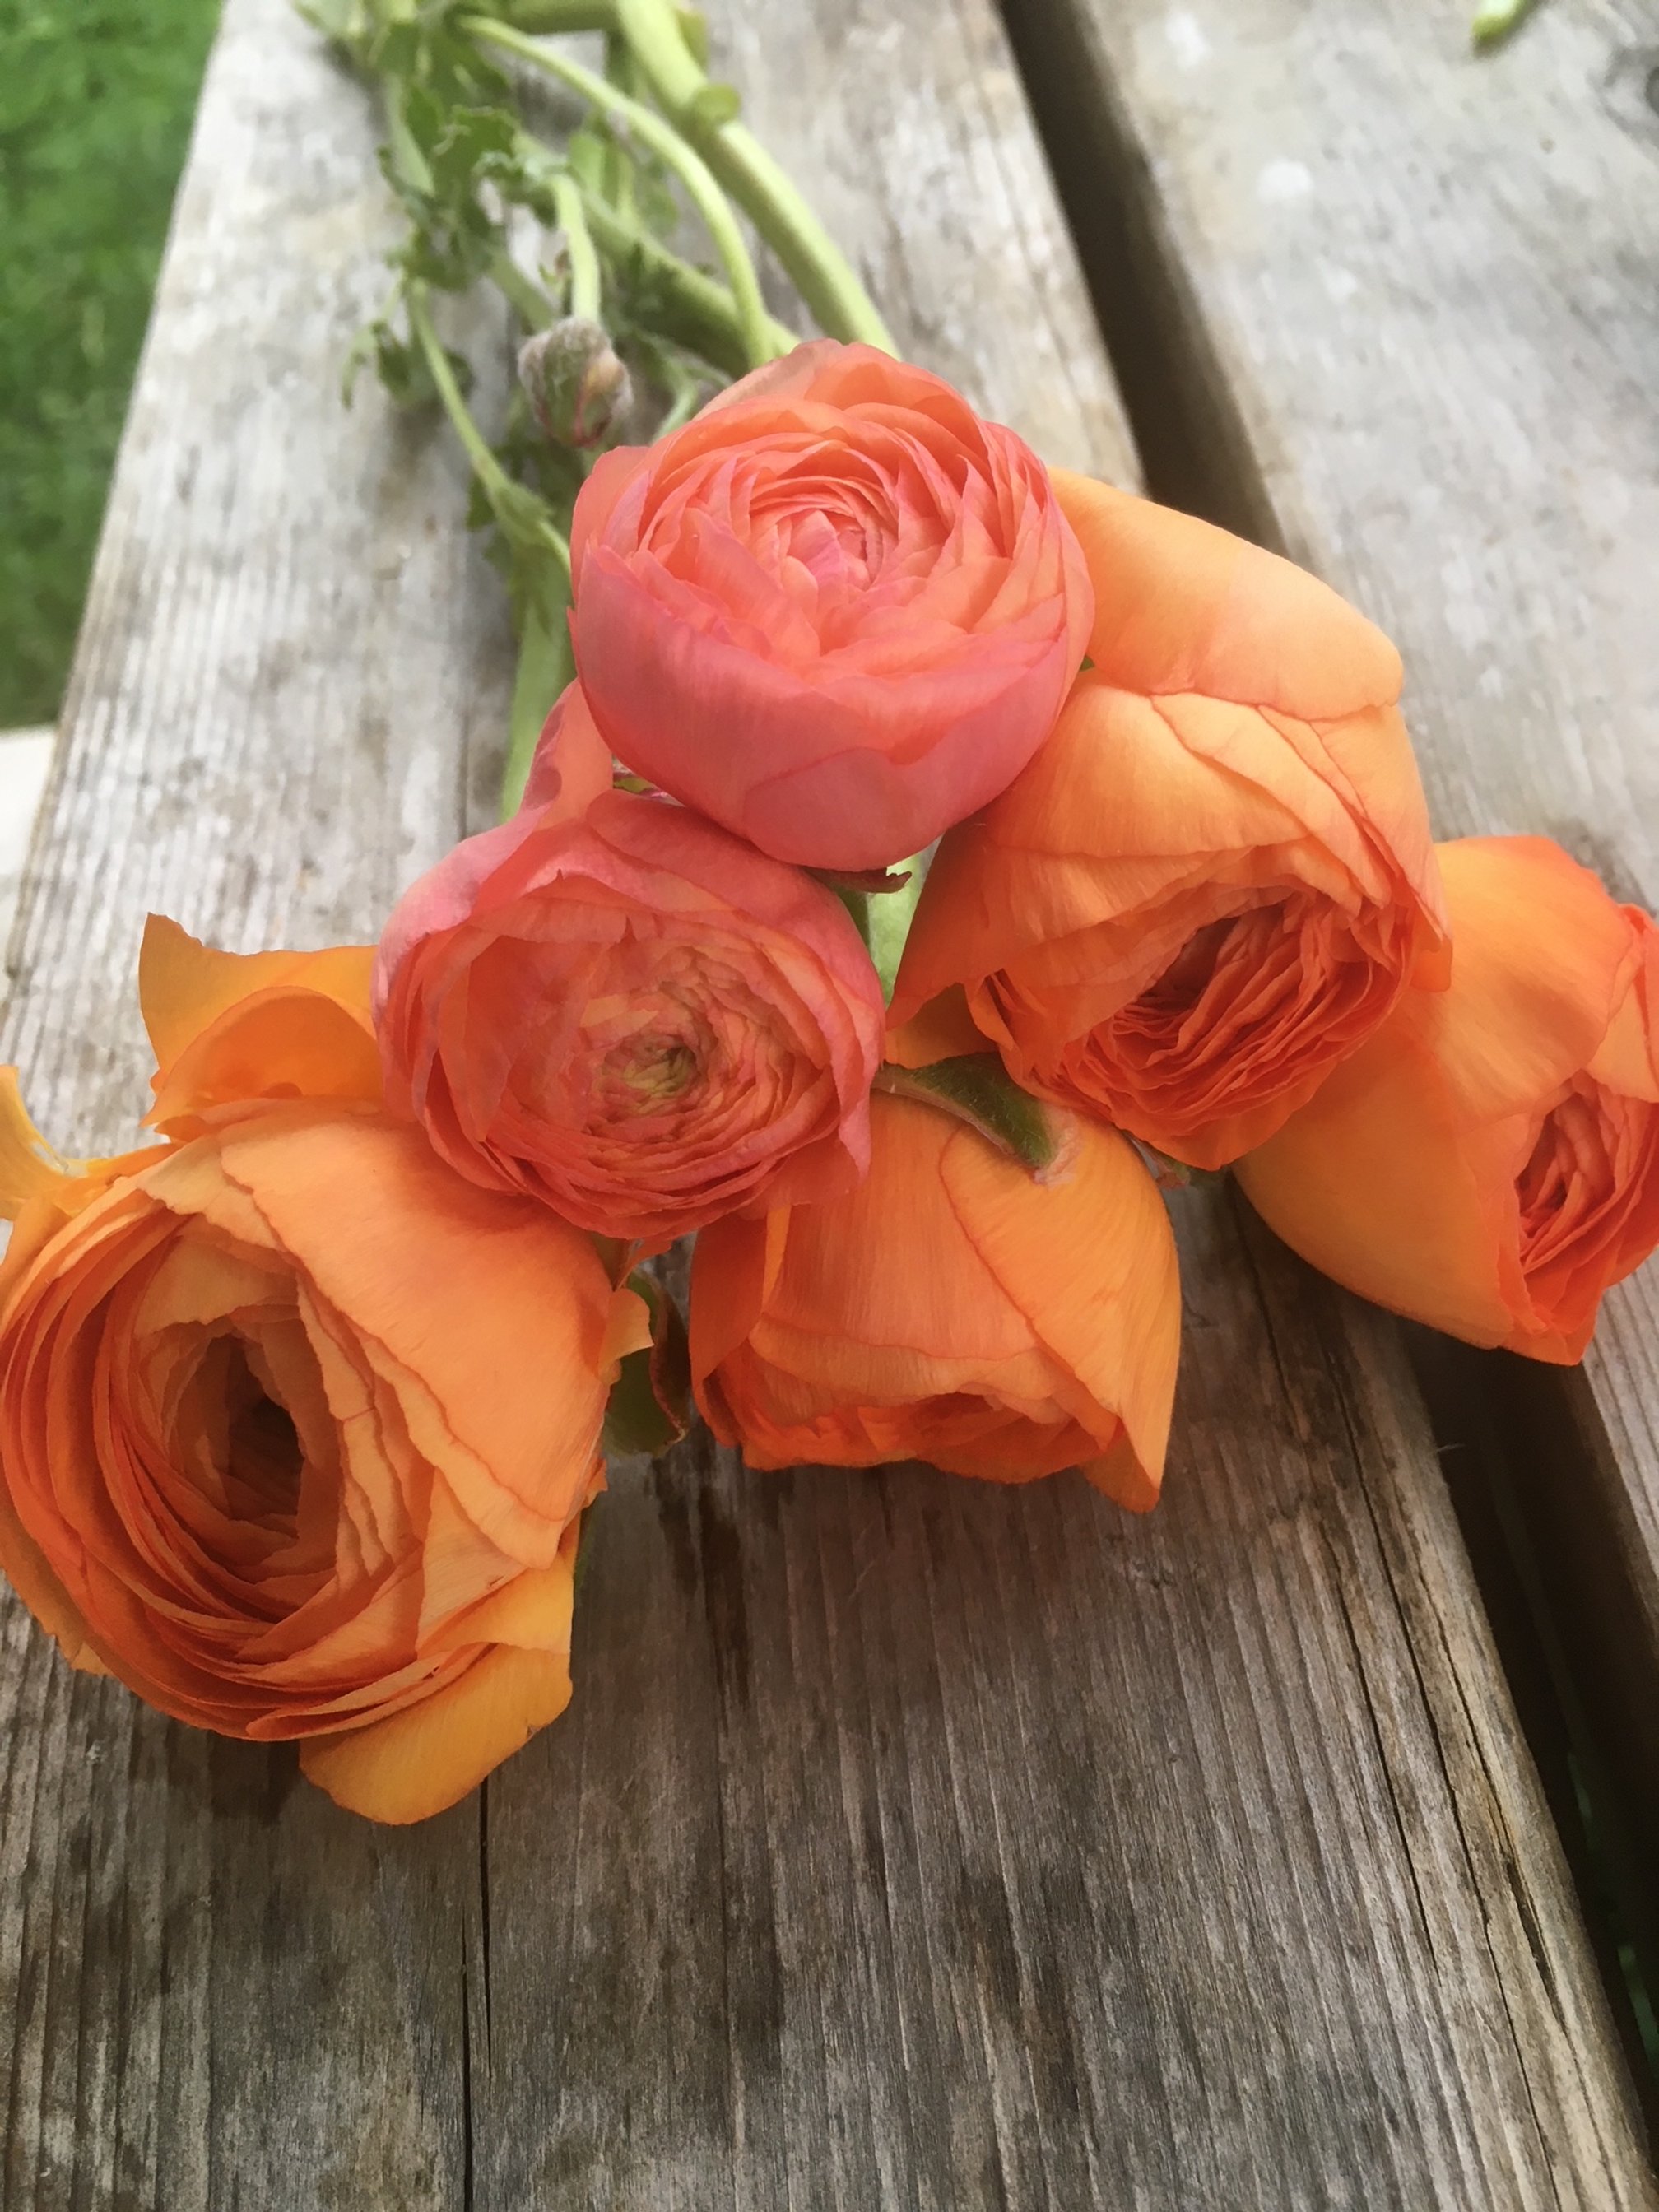
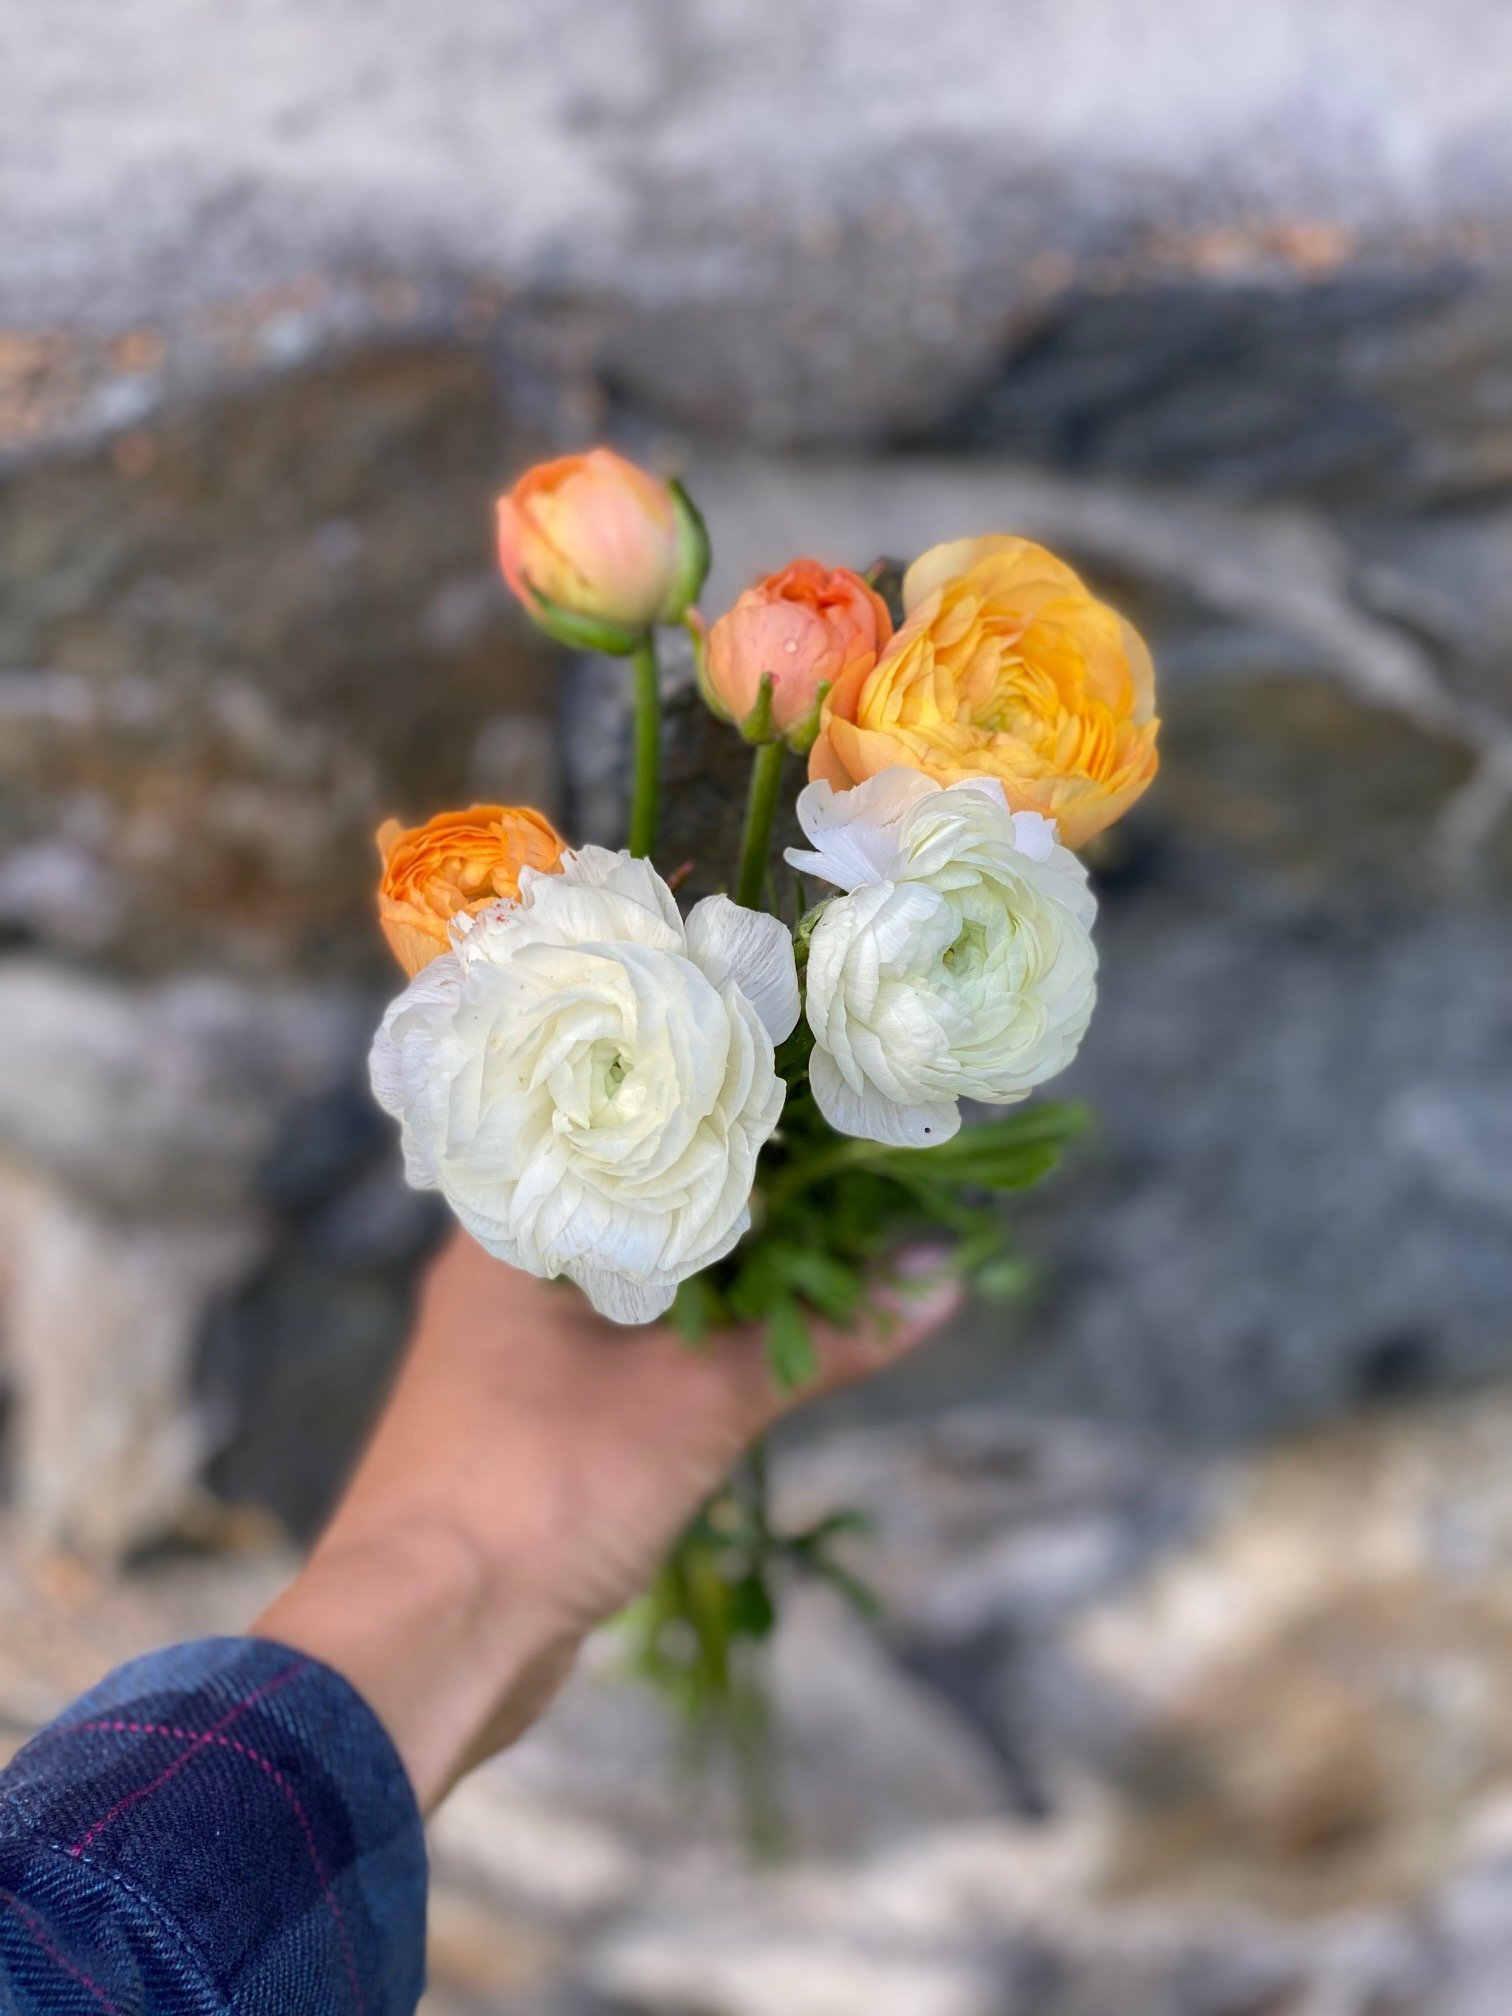
And for good reason! These beauties are amazing. They have this multi-petaled rose-like quality and they last forever in the vase, especially when grown locally (like in your backyard).
Plus, as garden flowers, they are so bright and beautiful! I want to see these growing in more gardens around town.
I do consider these a more advanced flower to grow, mainly because the process of starting these is a bit different than other cut flowers.
But do not fear! I am here to walk you through the entire process. From ordering corms to harvesting blooms for the vase.
So let’s jump right in.
Where do I get ranunculus corms?
Since ranunculus is started by corms (root matter saved from the previous year’s growth), you must first source and order these.
I sell a mixed bag of 20 corms each spring. Be sure to hop on my email list HERE in order to get first dibs on all my sales. For 2023 I am selling Picotee varieties in purple, orange, and pink. I order hundreds of corms each fall and save my own varieties from year to year, so I end up with plenty to share.
If you’re looking for other varieties check out Ferna Farms. They are another small farm offering these awesome corms to home growers.
When do I start ranunculus corms?
I start all my ranunculus about 2 weeks before planting out.
My plant-out date will be early May, so I’m starting all my corms the 3rd week of April.
Once sprouted, these guys grow fast! Plus, they do well in cooler temps, so if covered, they can weather a few touches of frost.
How do I start them?
First, you’ll need to soak your corms.
What the heck does this mean? It simply means, popping your corms in a bucket, adding cool water, and letting them sit for about 4 hours.
Some farmers recommend gently agitating the water while they are soaking (using a fish tank bubbler or leaving a stream of water running). I’m here to say, I’ve done it without any agitation and everything turns out OK.
Once properly soaked, they will look relatively plump. Now you’re ready to pre-sprout.
Pre-sprouting consists of layering a grow flat with potting mix. I use ProMix seed starting mix (ideally organic if I can find it locally).
Once a layer of the mix is in the flat, place your corms root-side down in the tray. If you think of your corms as little octopuses, the “tentacles” go down.
You can place them pretty close - I do about 2 finger-widths apart. Then, cover them with soil.
Lightly water (err on the side of too dry than too wet otherwise your precious corms may rot) and place somewhere dark at room temp.
Check these daily. Once they have started to grow green shoots out of the soil, it’s time to place them under lights at about 16 hours/day or if your garden beds are ready for them, it’s time to plant.

Planting soaked corms in seed starting mix for pre-sprouting.
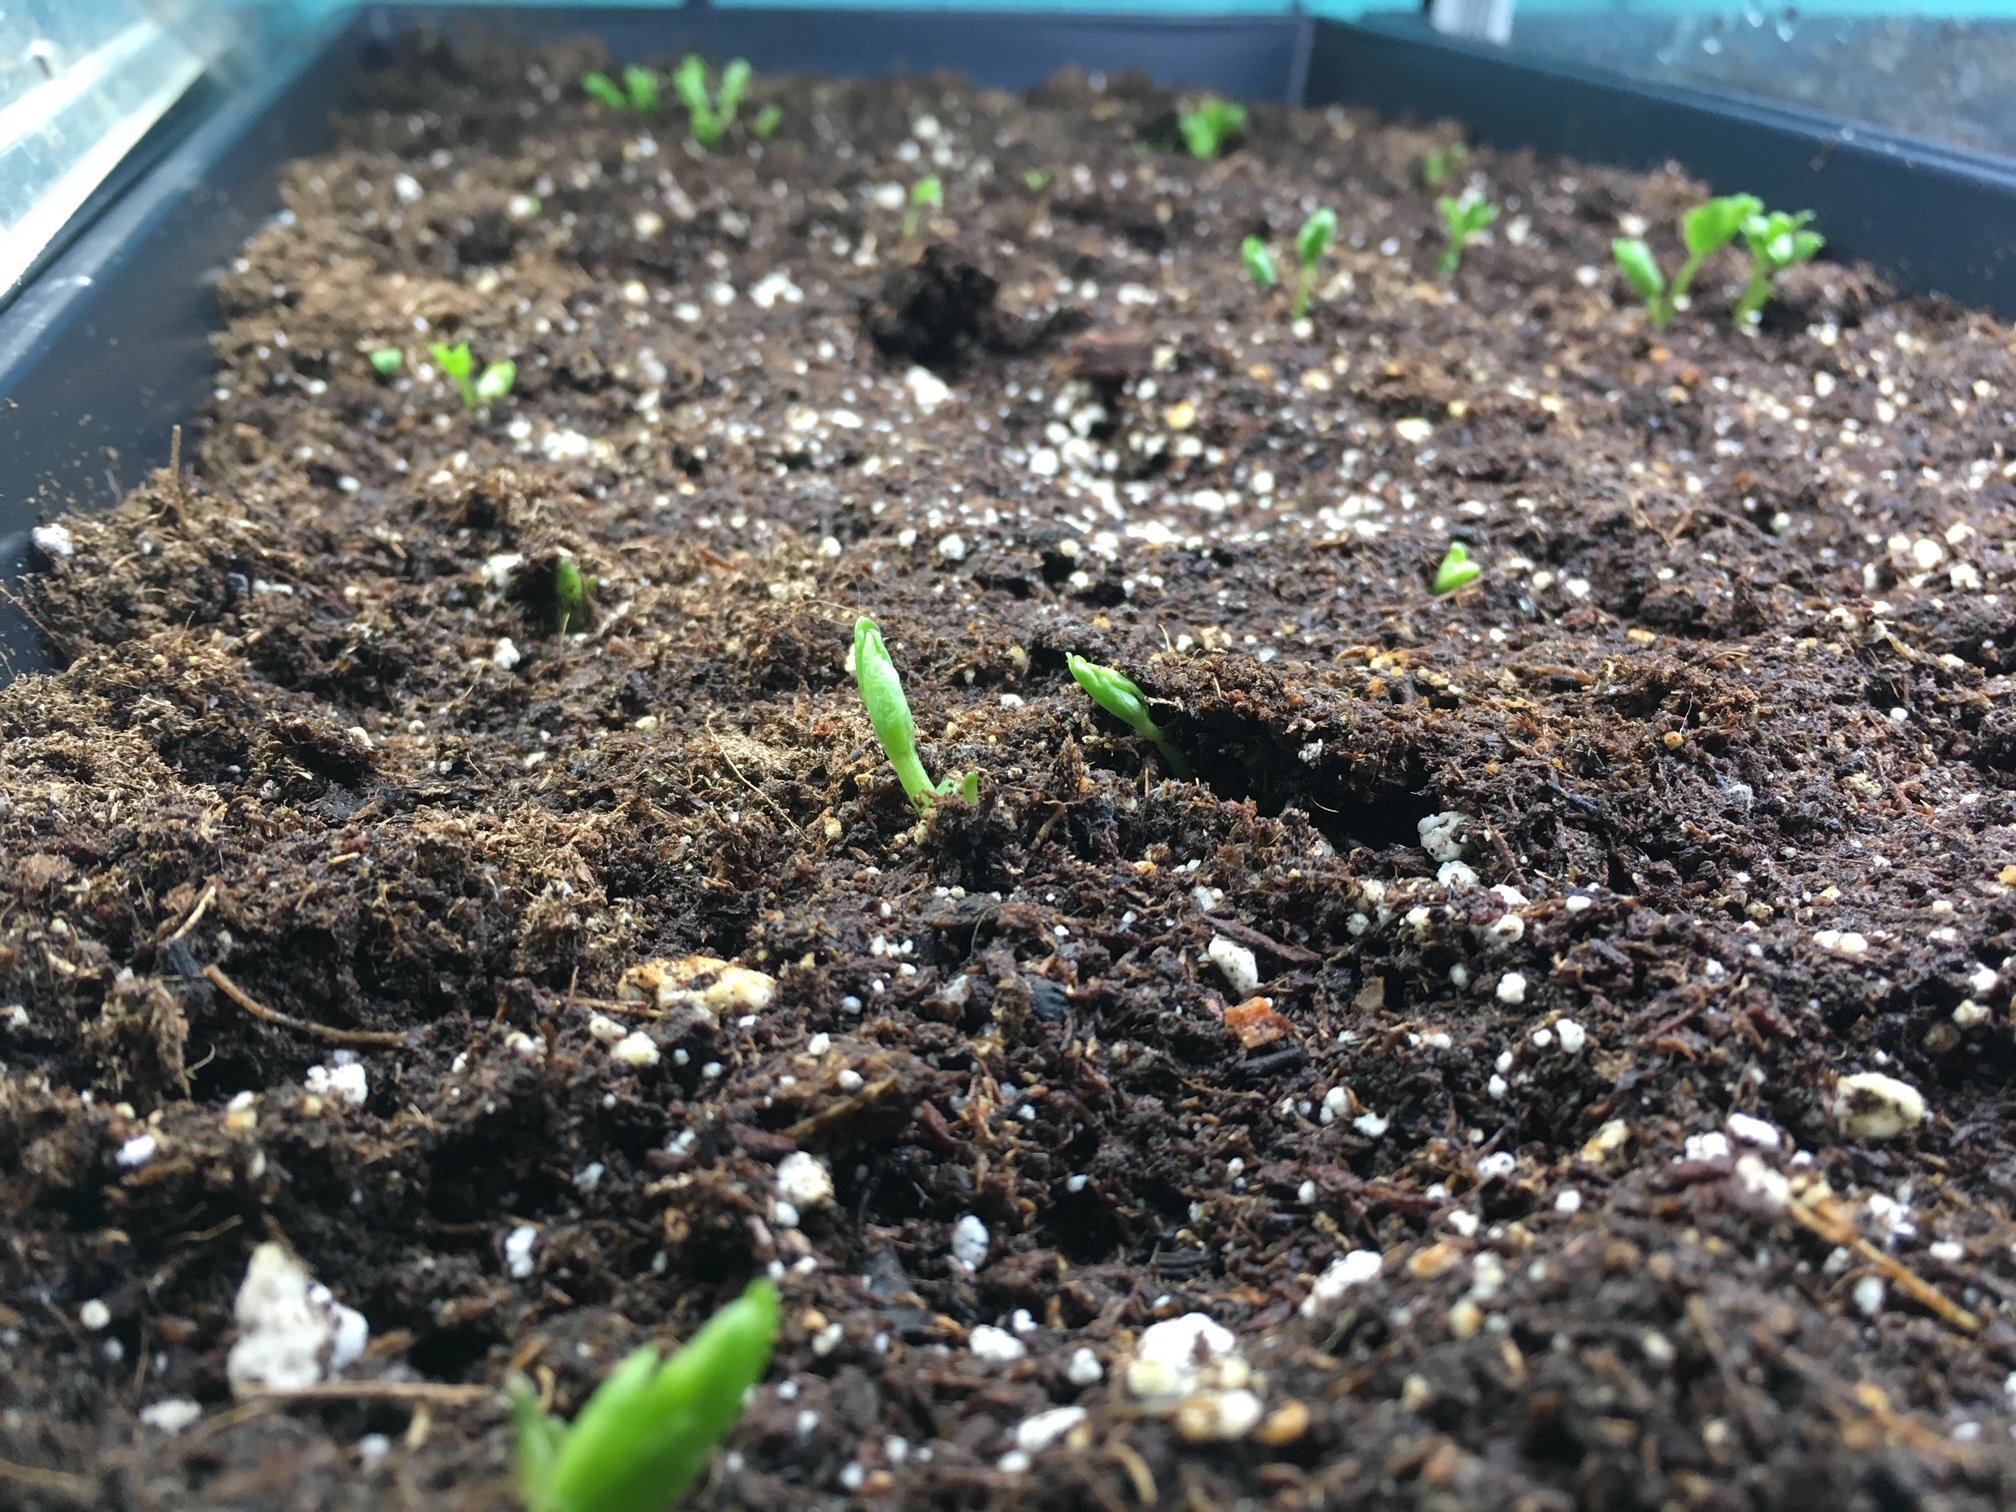
Ranunculus beginning to sprout and grow under lights.
How do I plant ranunculus in the garden?
After pre-sprouting your ranunculus, they are ready to plant in the garden. Gently loosen each corm from the potting mix, dig a shallow hole, and place them in your garden bed. I plant mine about 9'“ apart.
They will benefit from a general-purpose organic fertilizer and bone meal application at planting time.
How do I tend my ranunculus plants?
Ranunculus care is similar to other cut flower care. As they can grow taller, they will be susceptible to wind and heavy rain. I suggest staking or netting them in your garden. Or at least, planting them in a sheltered location, out of any spring or summer winds.
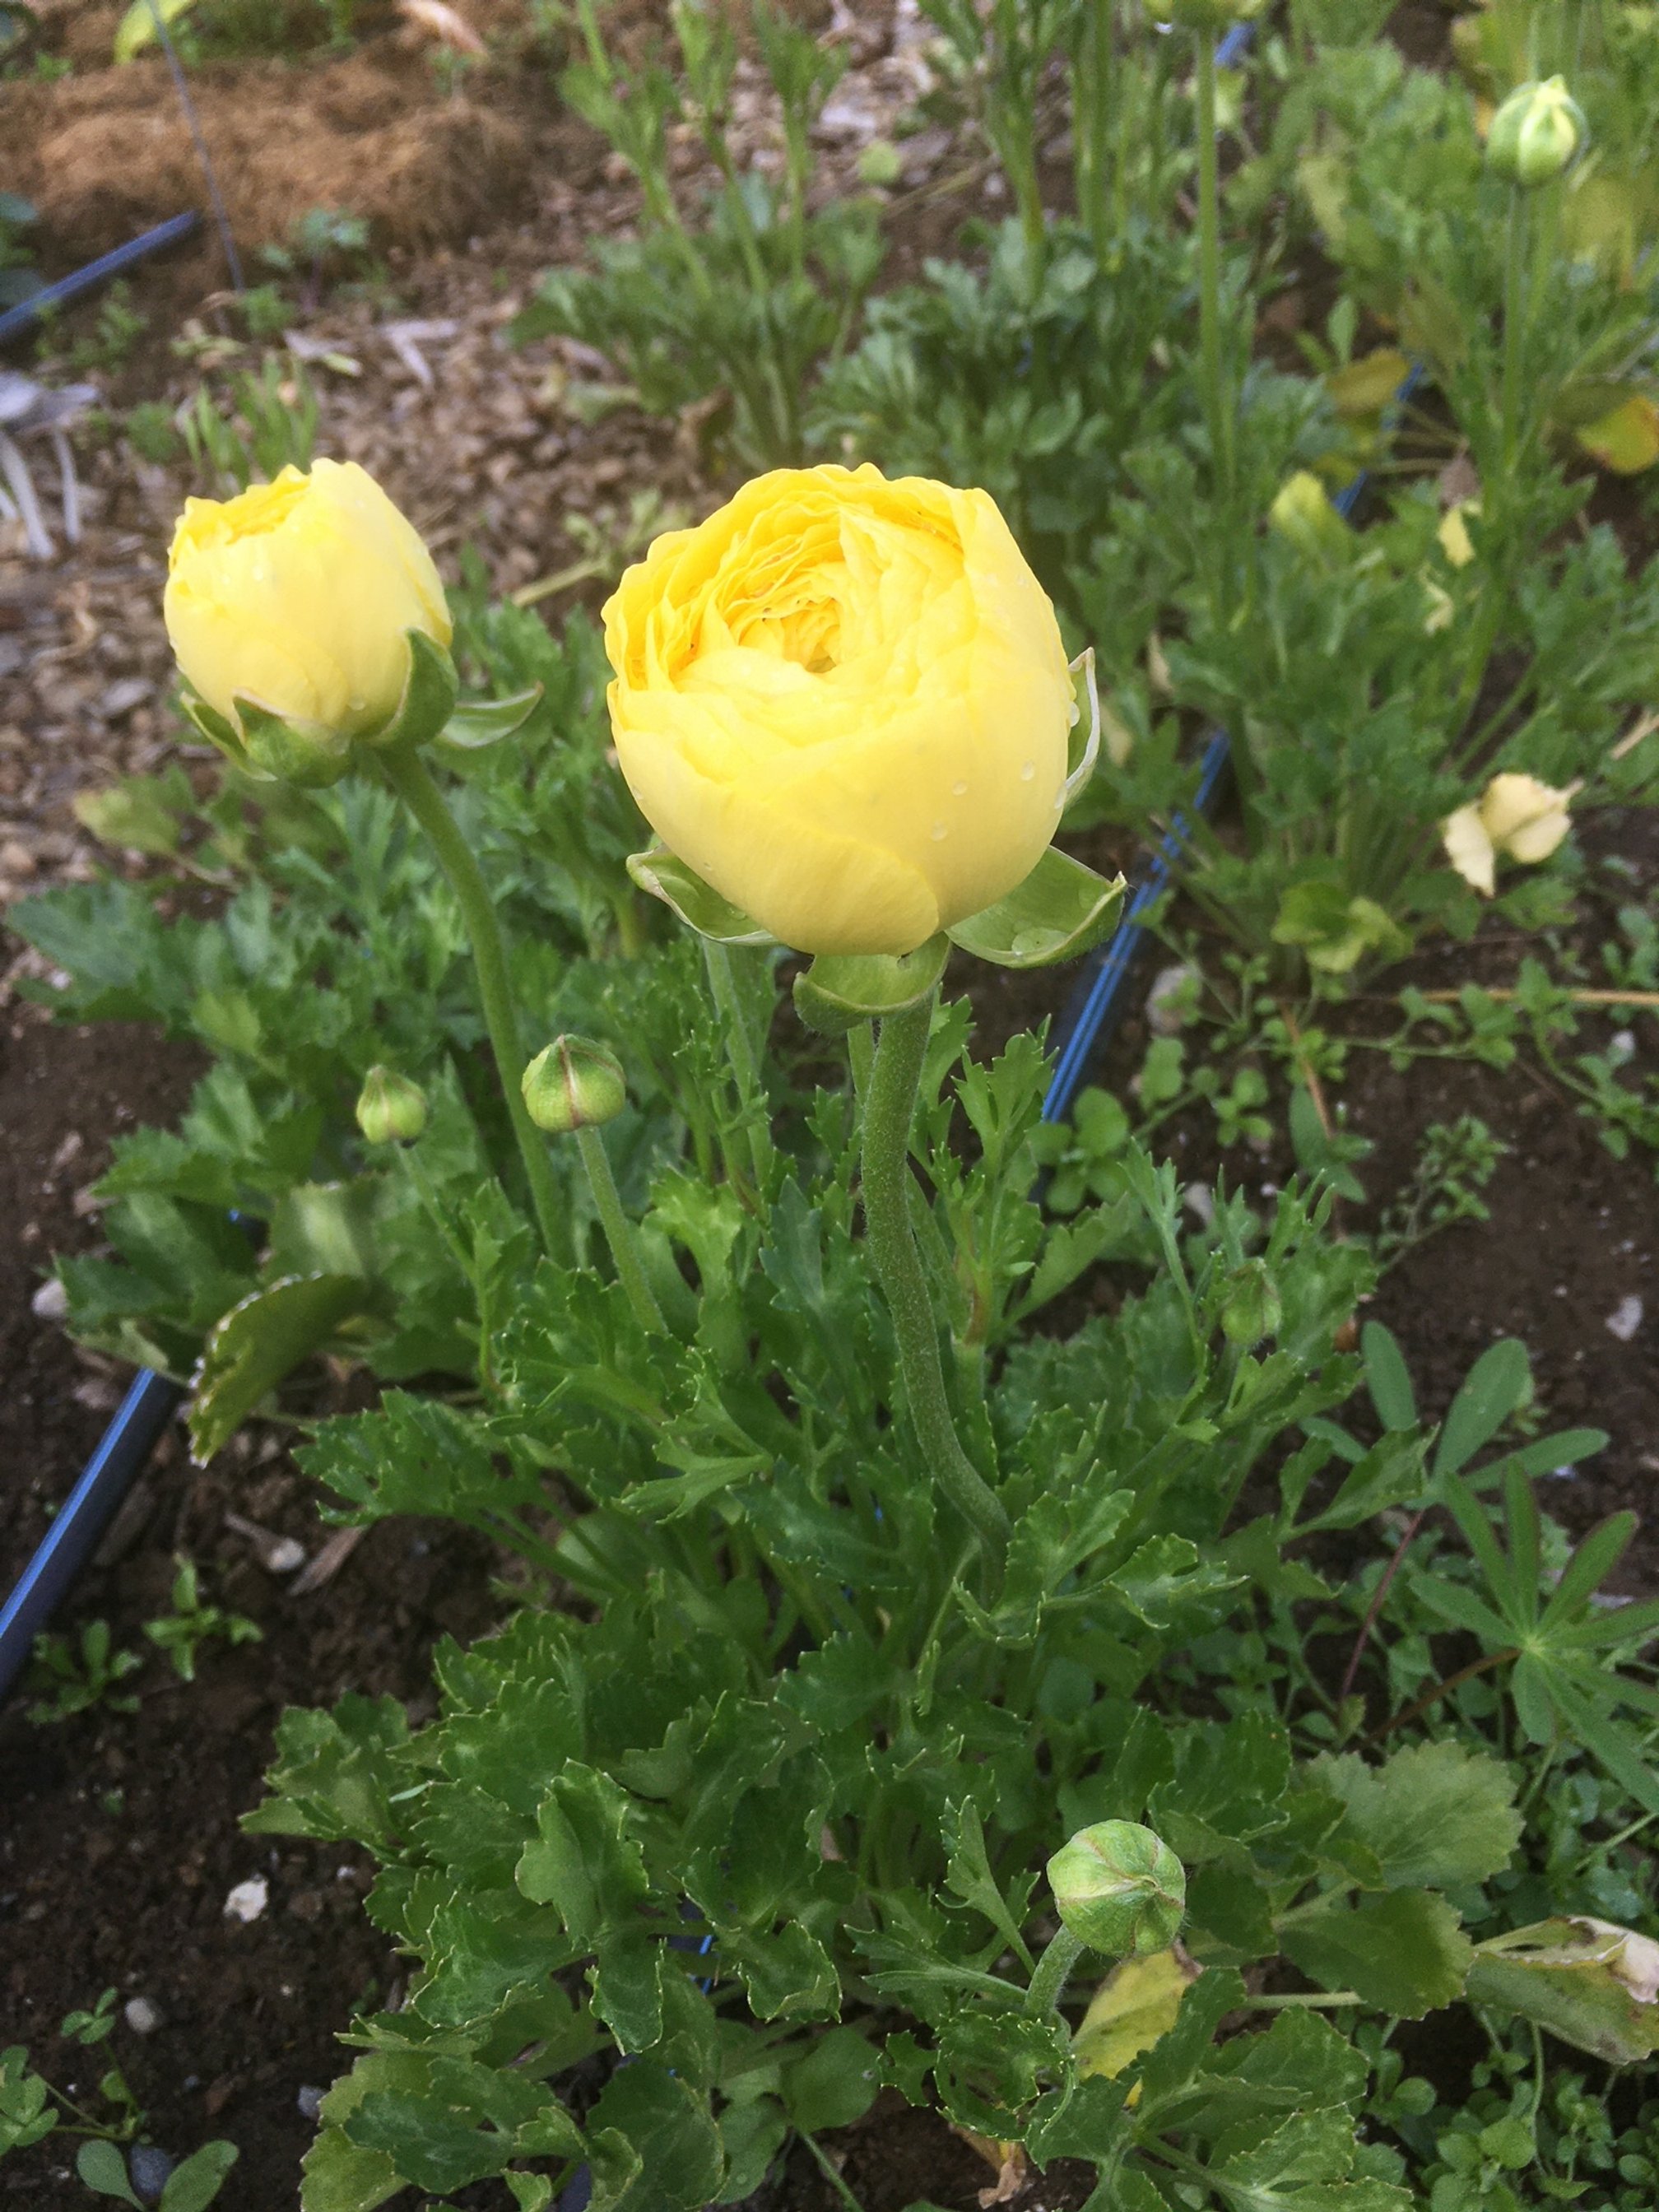
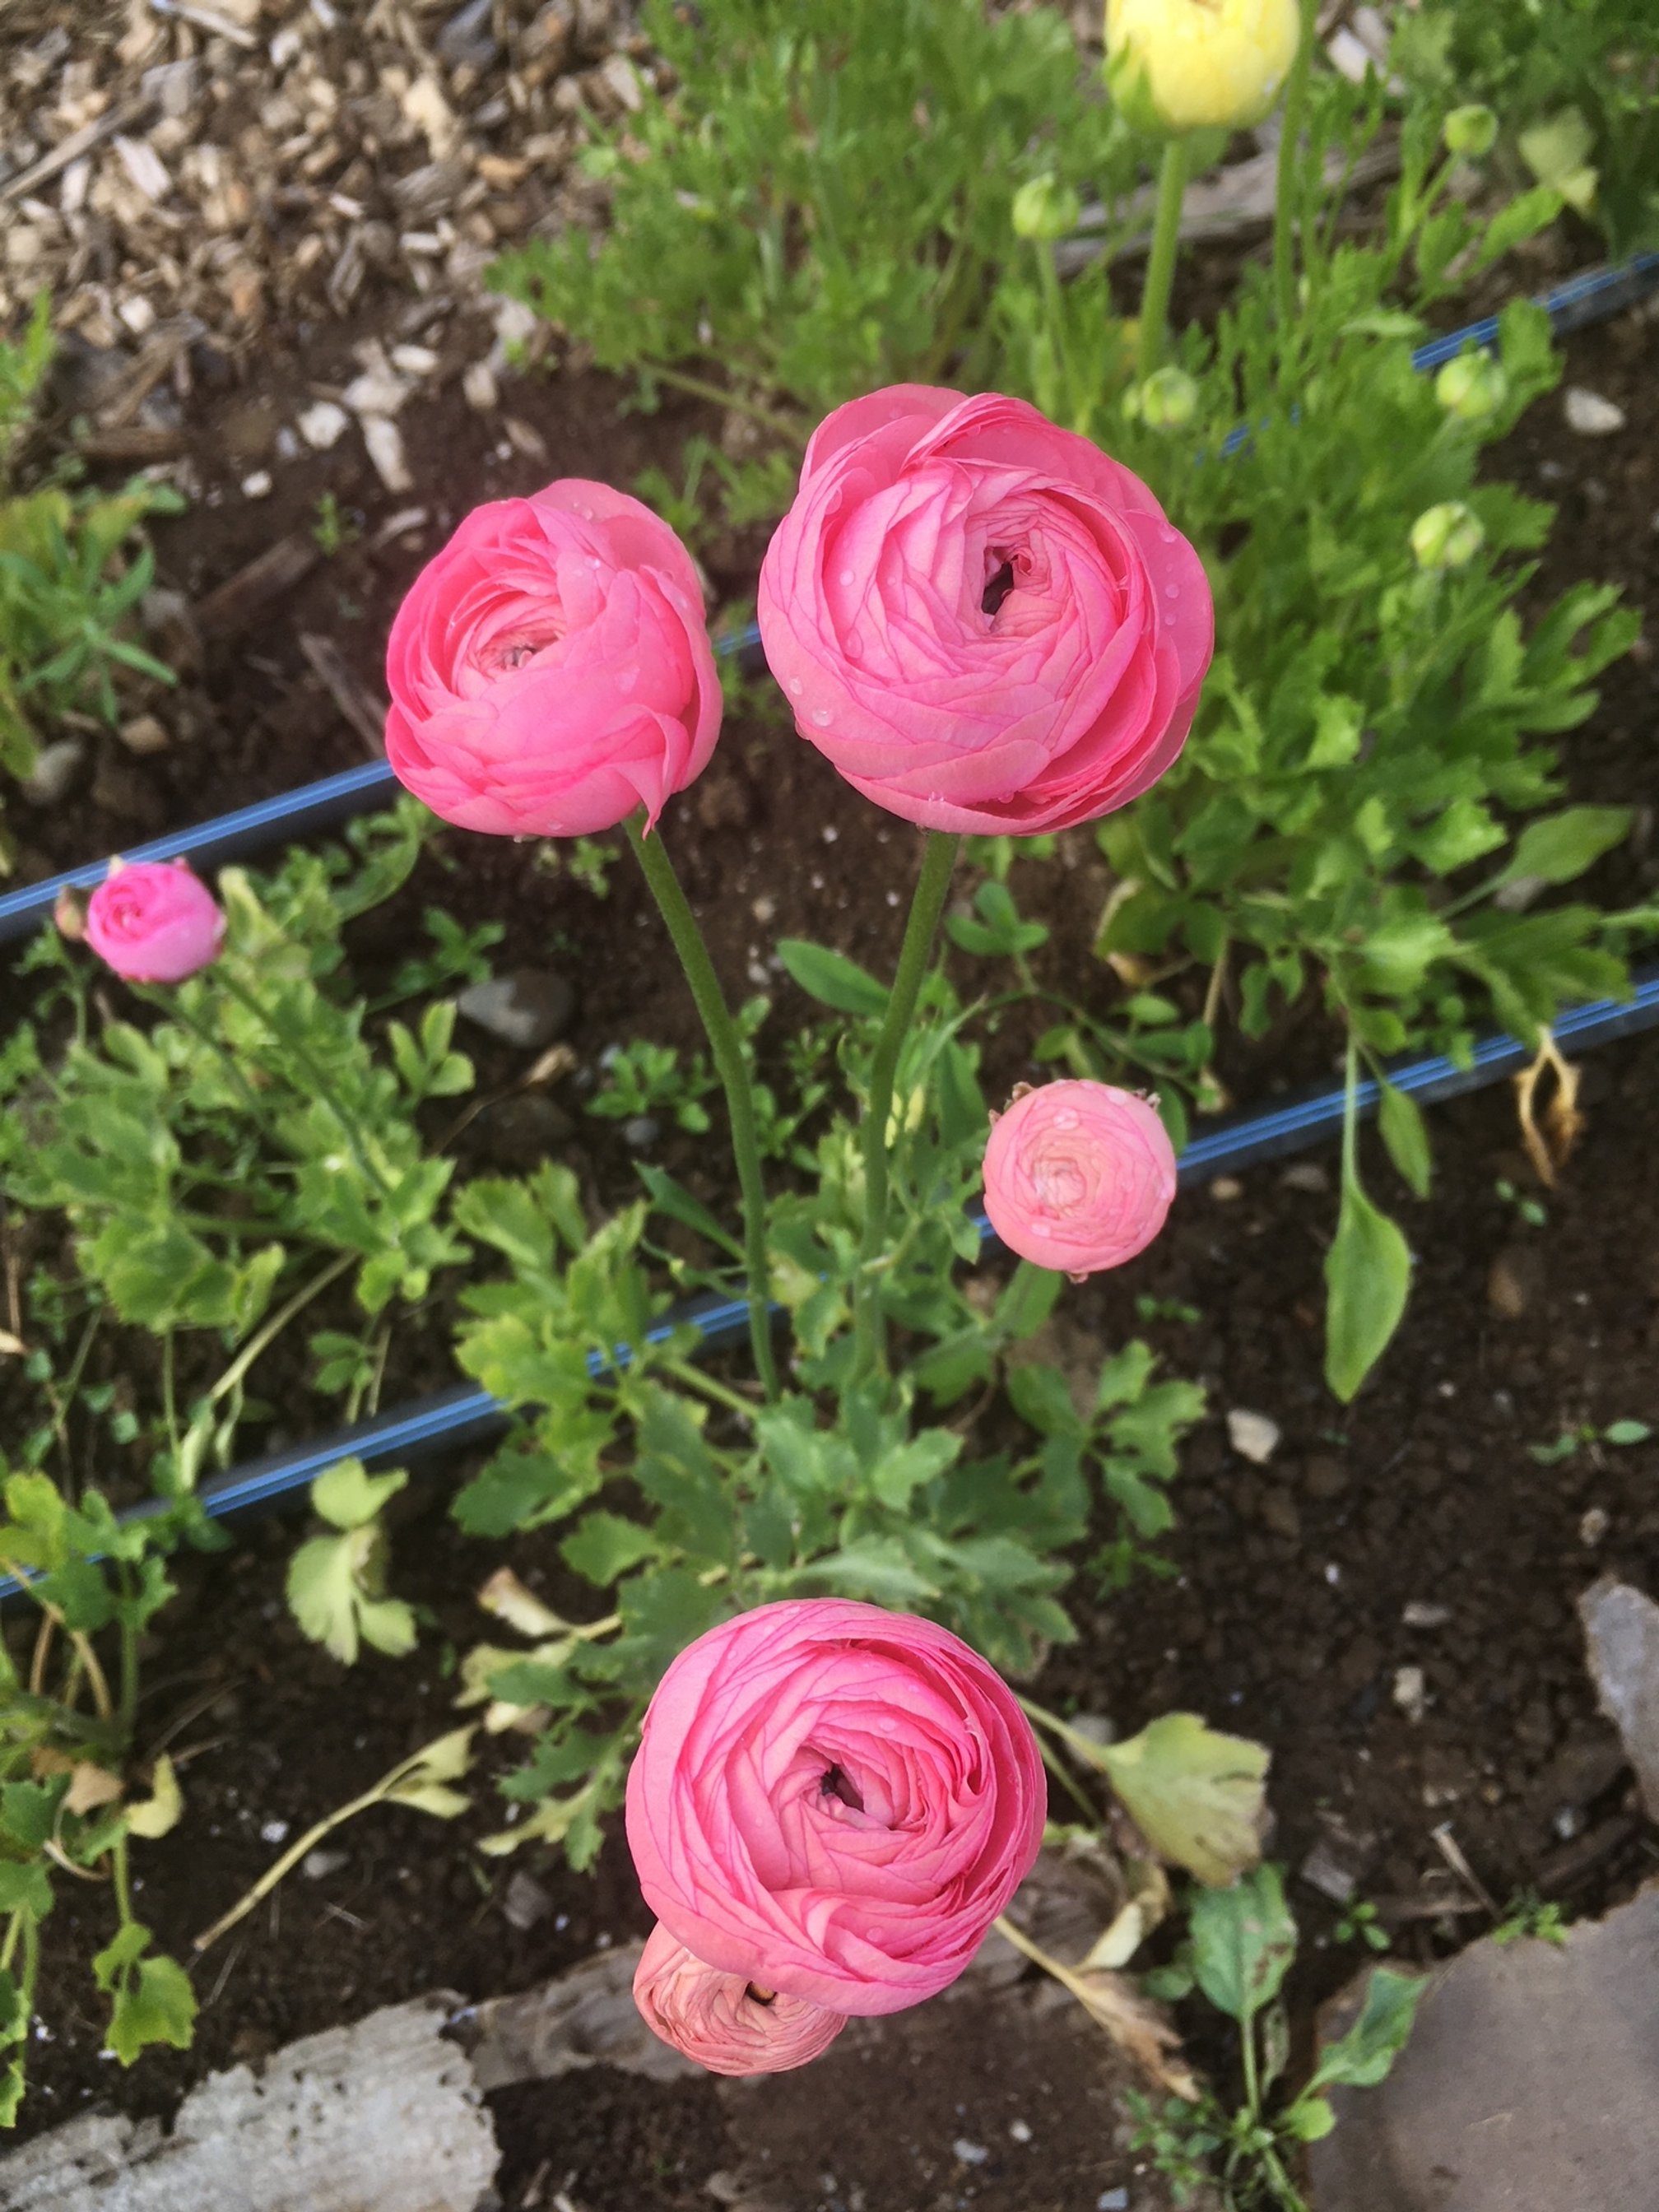
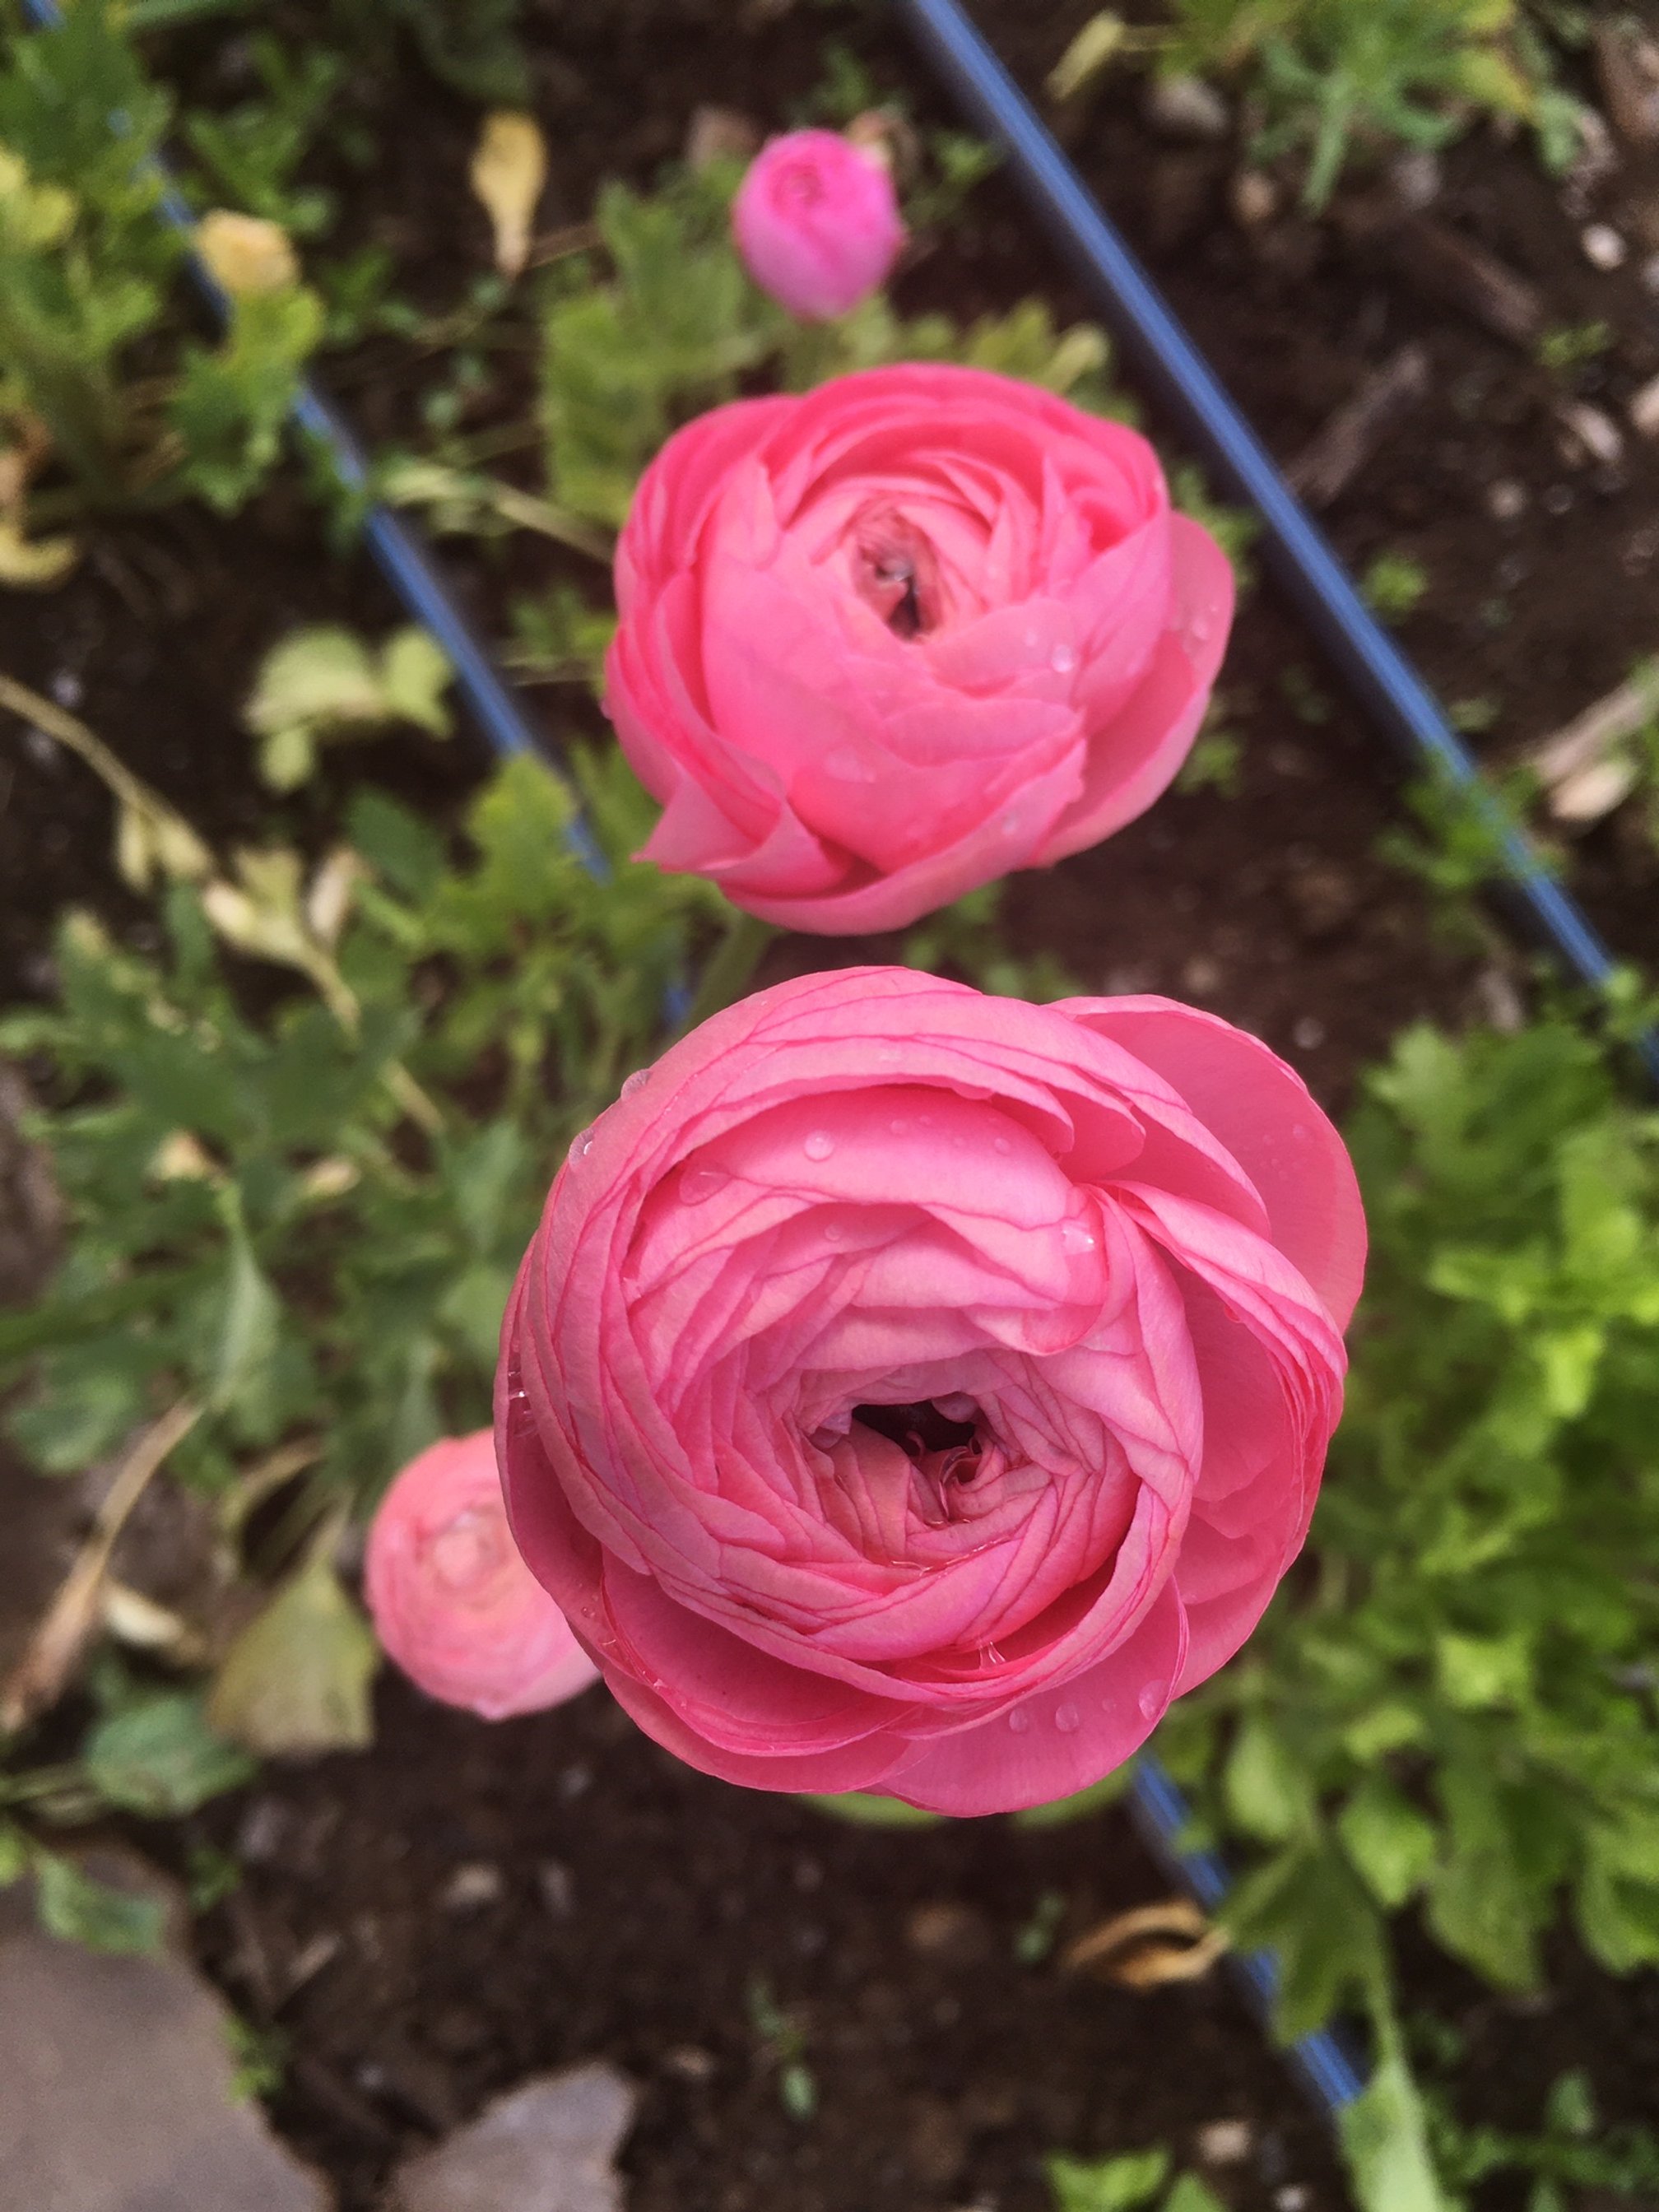
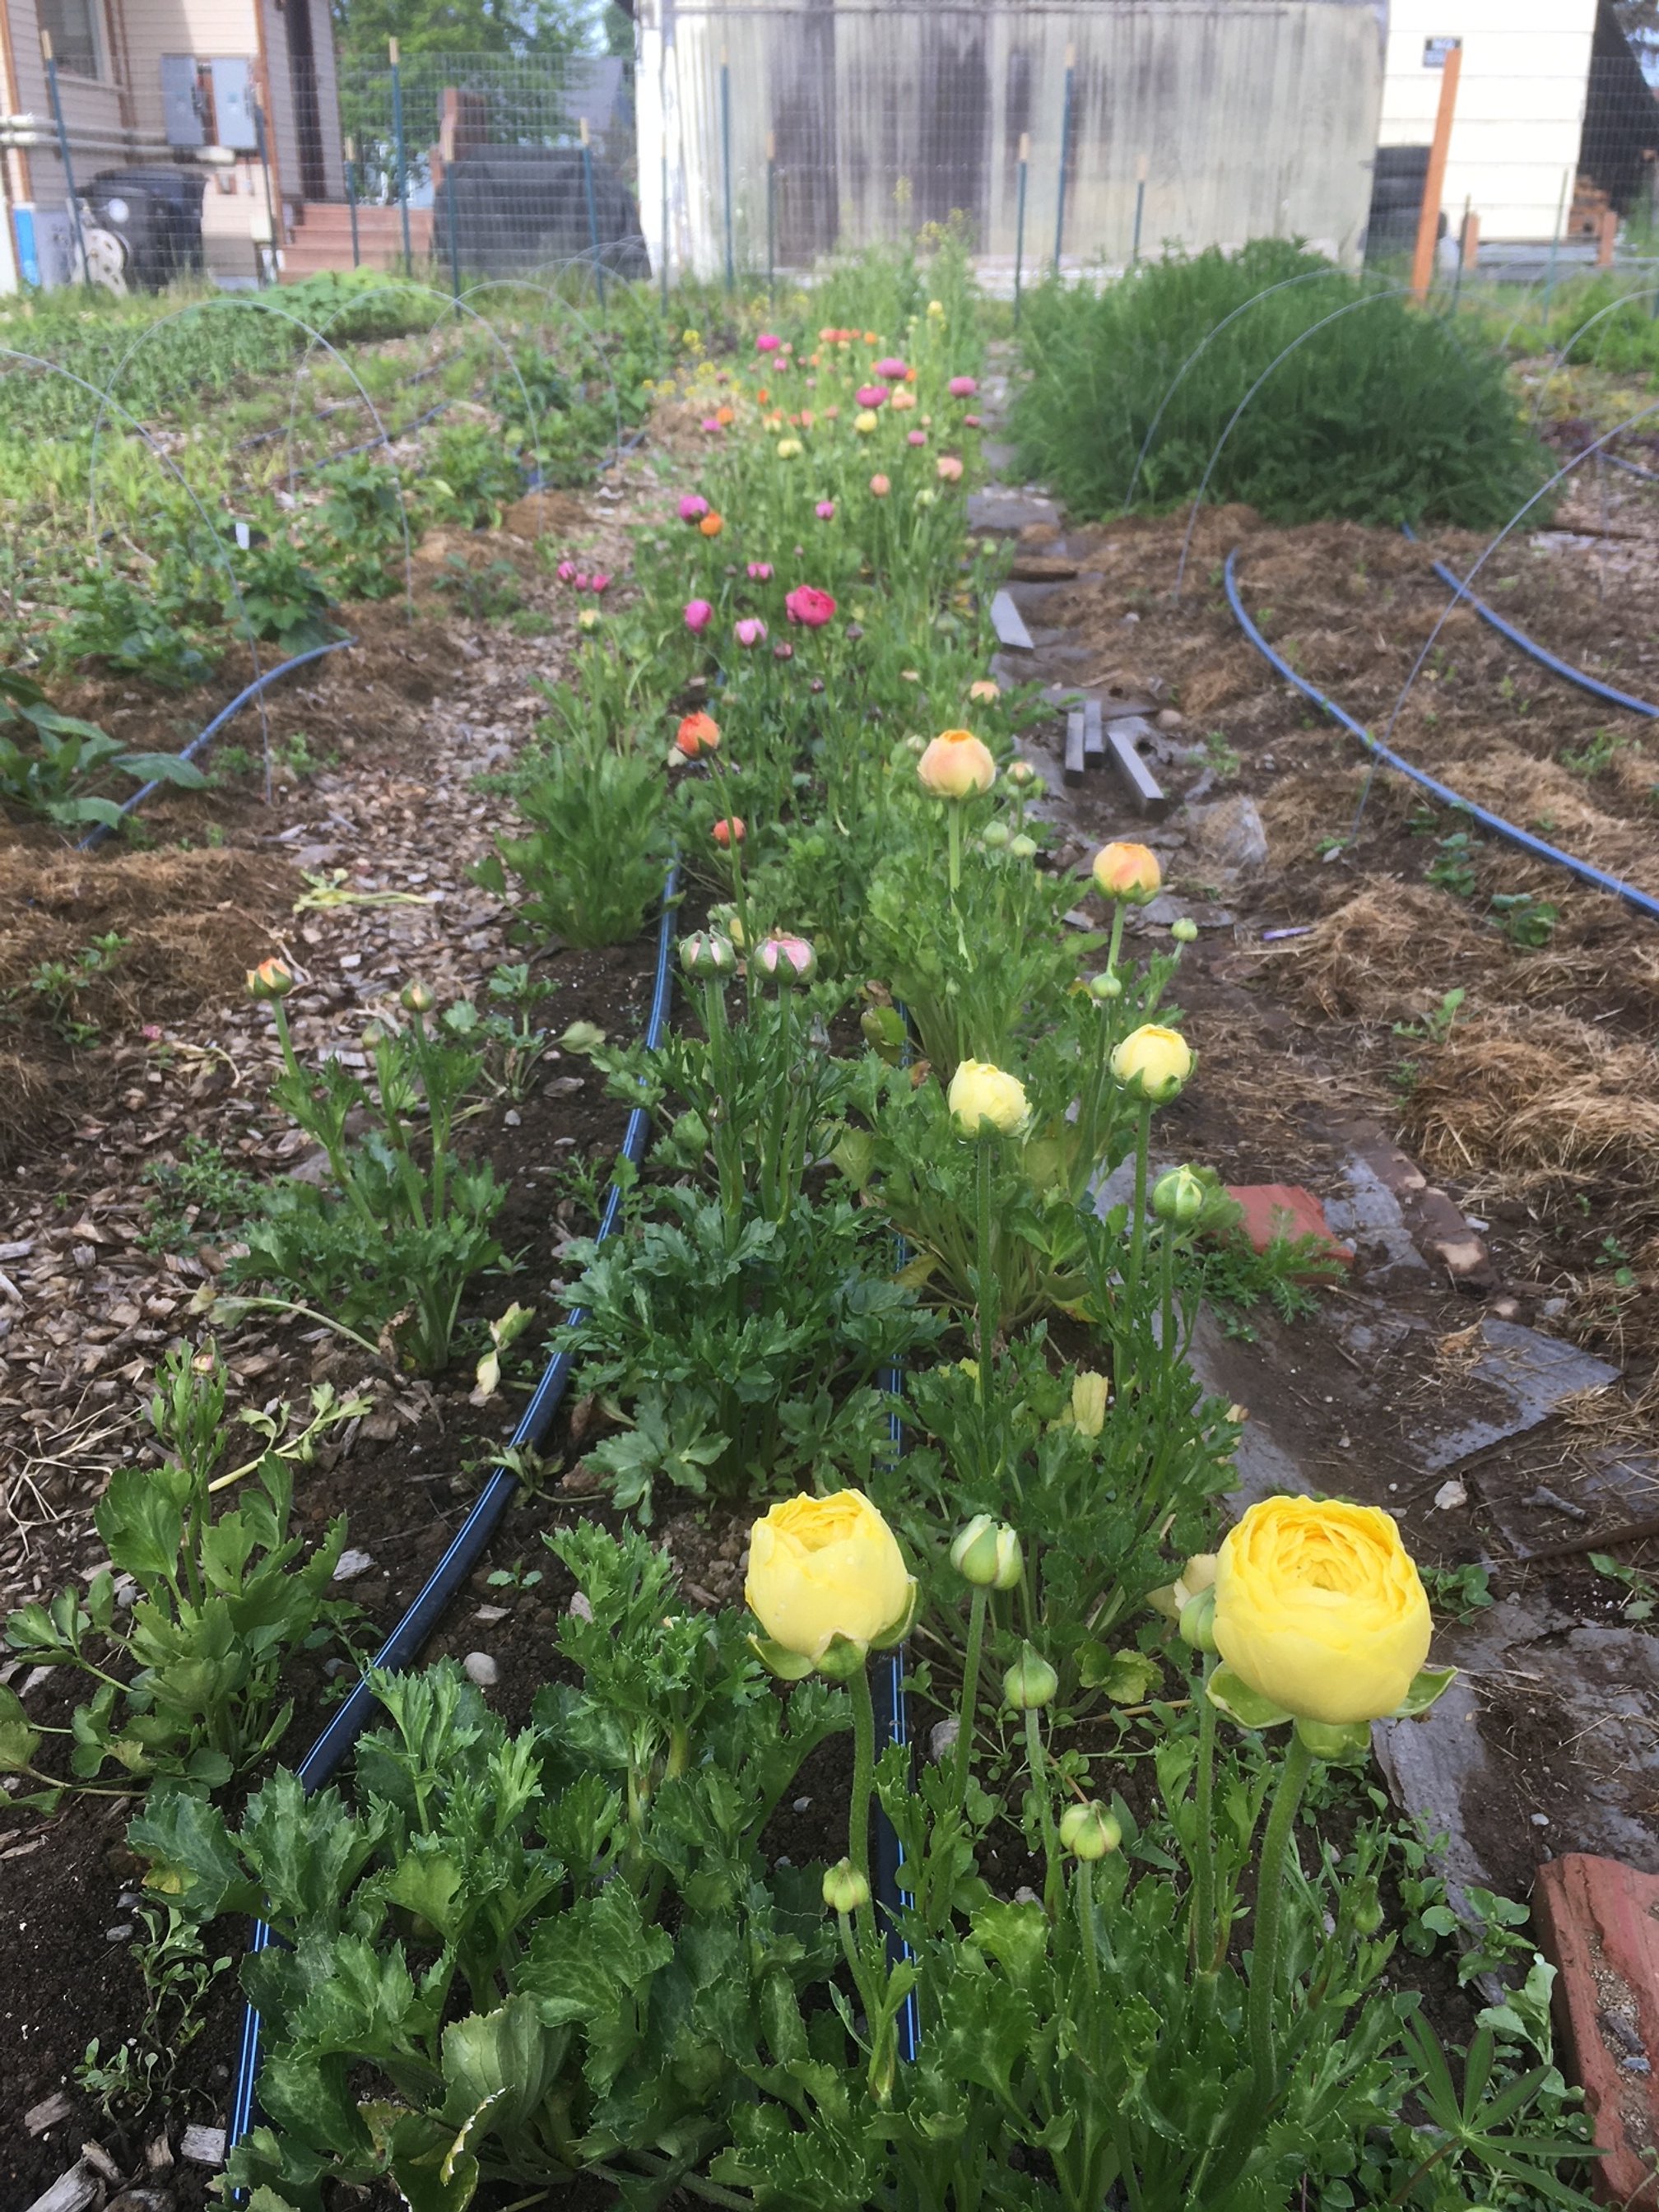
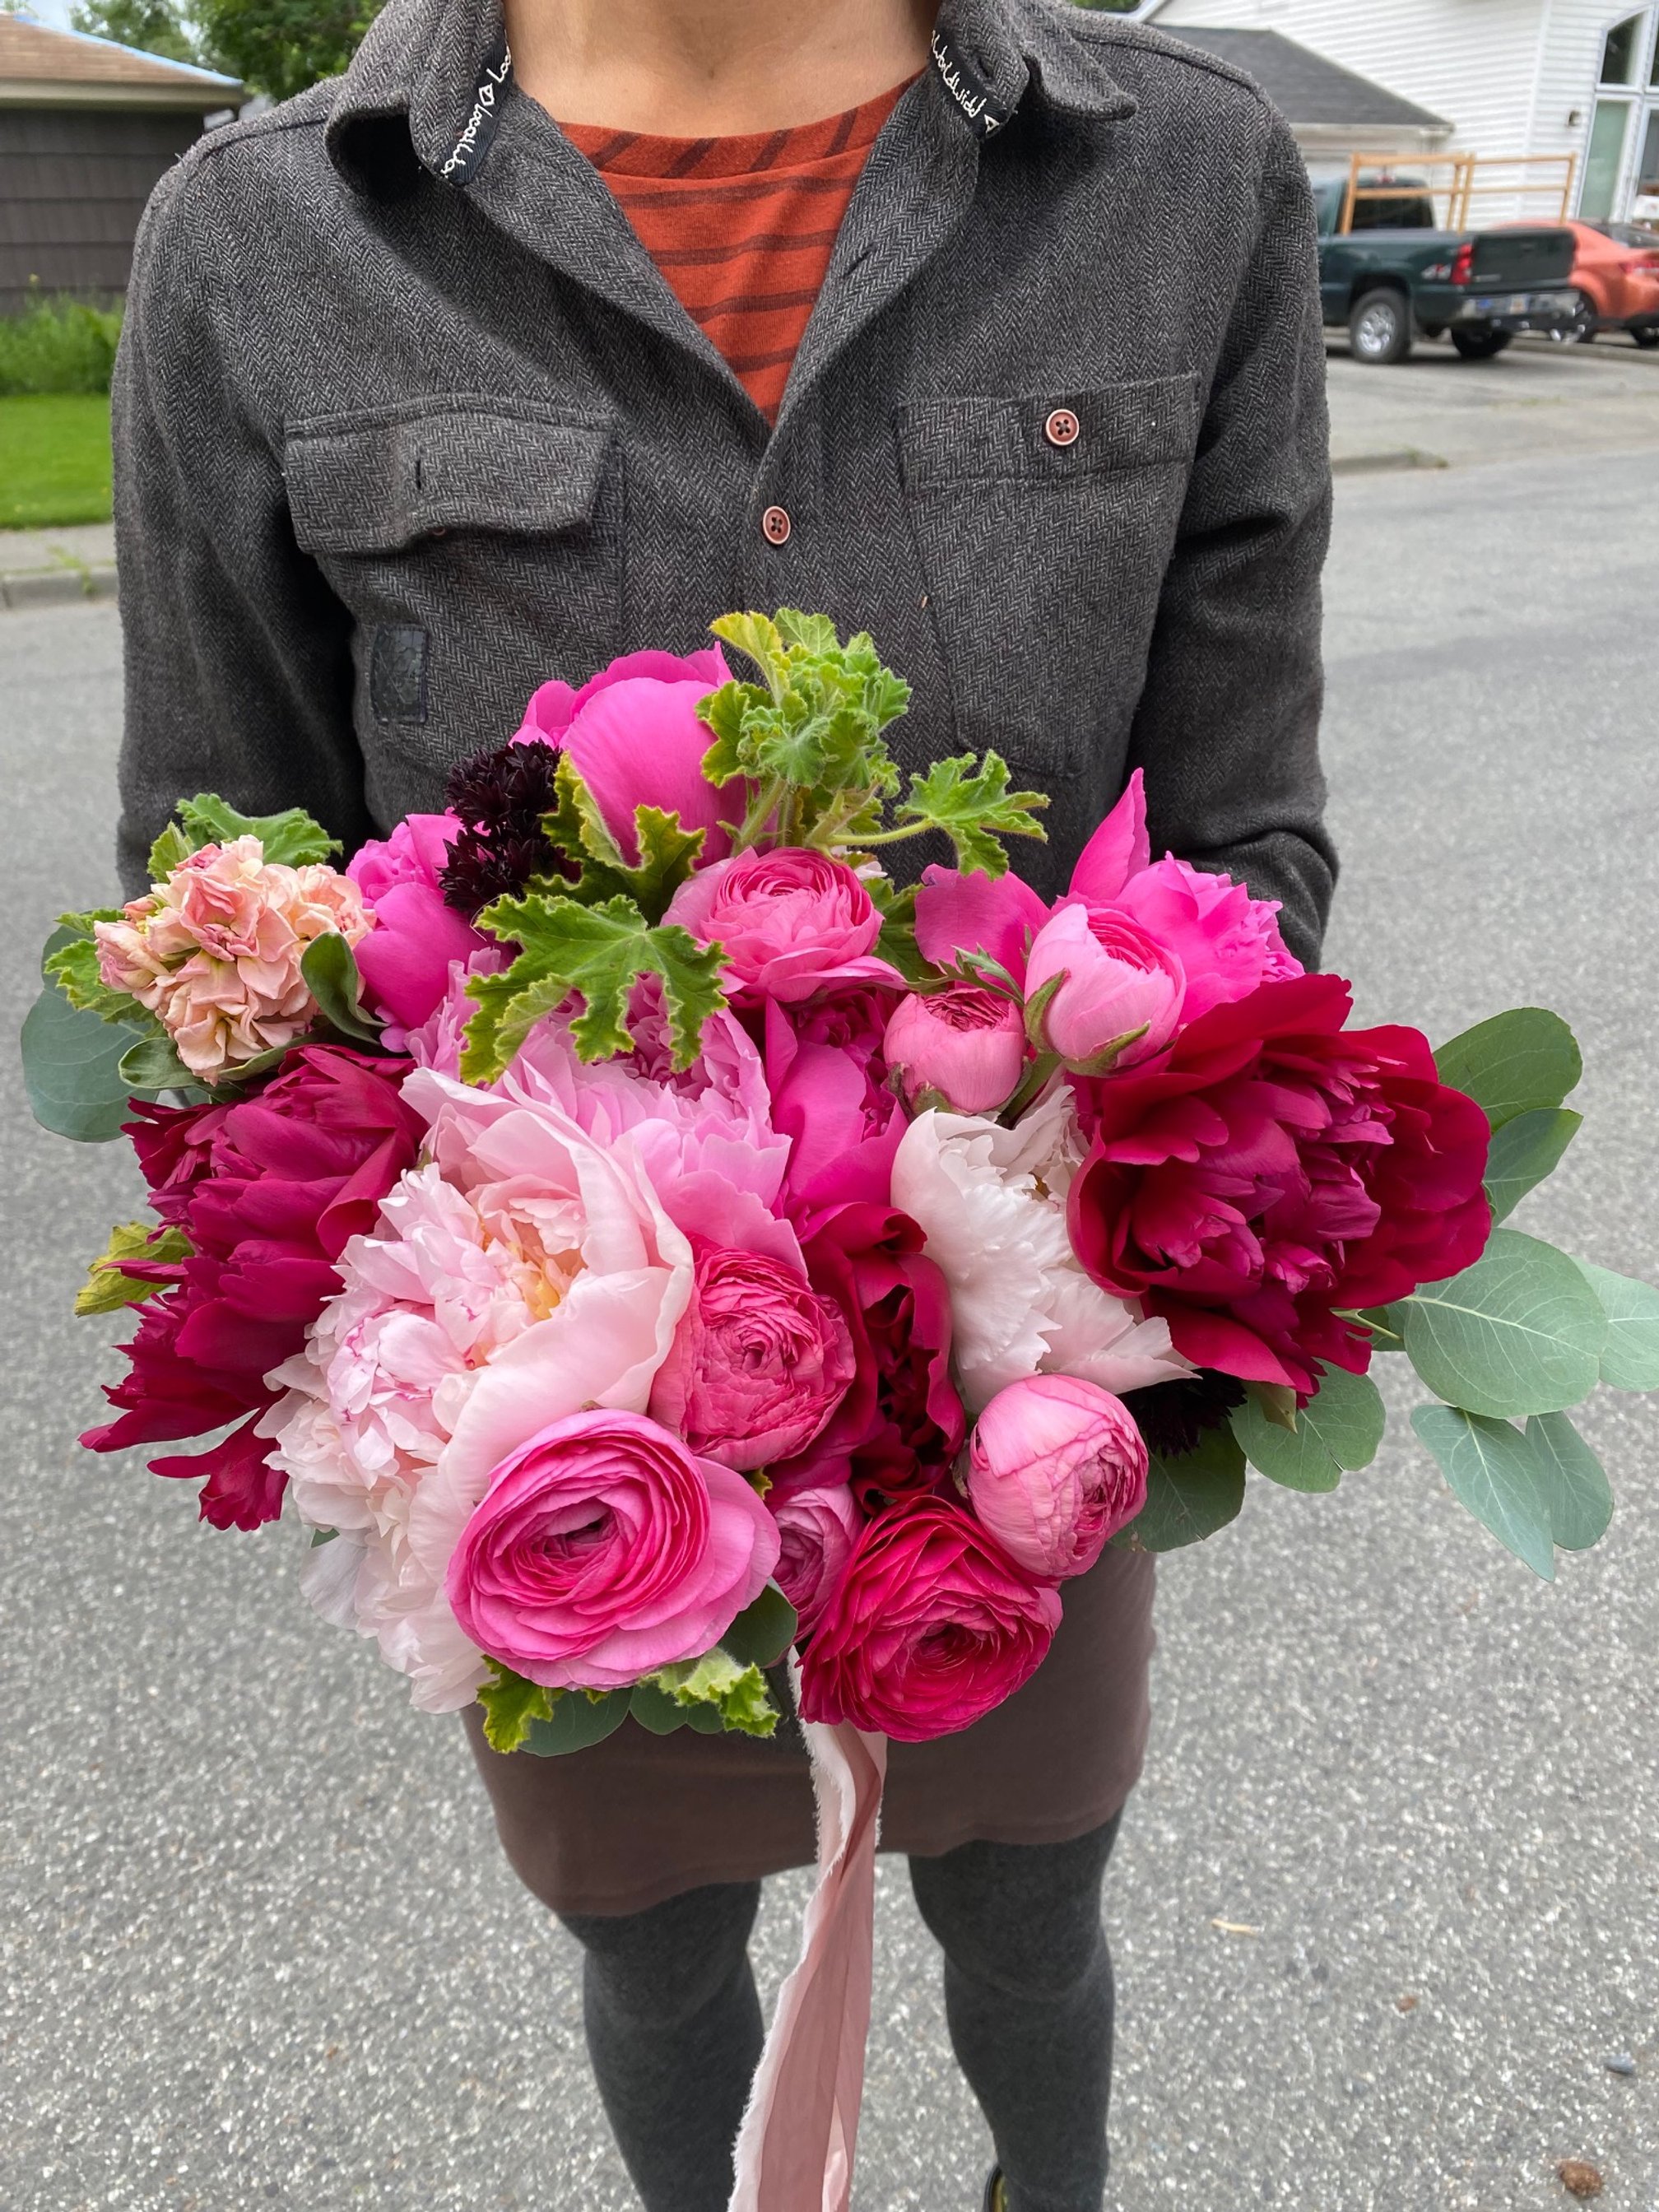
How do I cut my ranunculus for the vase?
Ranunculus is cut as soon as the flowers reach the “soft marshmallow” stage. If harvested too soon, they will not open. You can wait until they are fully open to harvest but their vase life will be diminished slightly.
Please know that you don’t have to cut for the vase. Ranunculus looks gorgeous in the garden! And they bloom prolifically until the heat of the summer comes on strong.
SPECIAL NOTE ON GROWING A FALL RANUNCULUS CROP:
I learned this technique from a farming friend in Norther Alberta who has similar summers to where I grow.
Since the first planting of ranunculus will most likely peter out in late July, I loved the thought of a second planting. Last year I tried it for the first time.
Here’s what I did:
I saved about half my corms (you can just hold them at room temperature in a paper bag).
Go through the same steps of soaking and pre-sprouting starting in mid-June.
Plant in the garden once they have pre-sprouted and tend normally.
If you live in an area with cooler summers, you will be blessed with a late crop that will bloom until the first frost!
10 reasons to grow a garden

Whether you’re a newbie to gardening, a wanna-be gardener, or an intermediate gardener who just needs a reminder, I’m here to…
1) offer a little inspiration for why we all need to tend a garden
and
2) show you how to be successful in any garden endeavor (CLICK HERE to check out my online gardening class, which goes on sale again in March of 2023)
Now for the inspiration part…
Here’s why to garden:
You’ll get regular low-intensity exercise: Here’s what your body does when your gardening: standing, squatting, bending over, walking all over, reaching, stretching, hauling, lifting, pulling, carrying, etc. Science tells us that longer periods of low-intensity exercise may offer more benefits than shorter periods of intense exercise. I’m not advocating you stop running or going to the gym but I am advocating that you create more enjoyable activities in your life that keep you moving and standing (just pretty much anything besides sitting on your duff).
You’ll feel a sense of accomplishment: In a fast-paced world loaded with tech, creating something with your hands that YOU can harvest for your family is truly sacred.
You’ll get more outside time: Most people spend their whole days working inside. Being outside is a true balm for the soul. Having a garden to tend to, kind of like having a dog to walk commits to you spending more time outside.
You’ll meet your neighbors: If you garden in your front yard I guarantee you will get to know your neighbors well! This is such a fabulous byproduct of gardening.
You’ll teach your kids solid life skills: Here’s what your kids can learn from a backyard garden: responsibility, love of nature, care of living things, curiosity, cooperation, self-sufficiency, that veggies taste good, just to name a few. Plus, once someone knows how to garden, they’ll know it forever (just like riding a bike). Imagine giving your kids the gift of being able to grow their own food!!
You’ll eat the healthiest food on the planet: If you grow using my methods… organically and with solid soil-building techniques, your vegetables will be loaded with nutrition. The health of the soil directly affects the nutrient density of your food.
You’ll eat the most delicious food on the planet: I’m not surprised why some people don’t like vegetables, especially if their only method of consumption is through frozen or “fresh” veggies from the grocery store. You guys, if you haven’t experienced fresh garden strawberries or fresh garden peas, or fresh garden anything YOU are missing out on a culinary wonder. Veggies were meant to grow, pick and eat immediately. Yes, it is great to learn to store them for later too but let’s face it, if you are growing your own veggies, you will eat way more veggies because they are so damn good. Make eating healthy easy! Start with superb taste by growing your own.
You’ll enjoy beauty every day: Now, technically this is possible to do every day without a garden BUT gardening has the opportunity to enhance our yard so beauty is EVERYWHERE. Plus, if you follow my steps to start growing your own cut flowers, you can fill your home with beauty too. Fresh flowers smiling at you from your kitchen counter is truly a beautiful thing.
You’ll feed pollinators: Bees and butterflies and other beneficial insects love gardens. They love flowering gardens. So let your herbs go to seed, let your mustards and broccoli go to seed (after you’ve harvested some of course), plant flowers, and your yard will be a playground for all the good bugs. Good bugs help pollinate our food crops and they eat other not-so-good bugs.
You’ll have gifts to give: My neighbors grow tons of basil and garlic and every year all of us neighbors on the street get the most amazing jar of pesto. Sharing your garden’s bounty is one of life’s greatest pleasures.
So there you have it.
I hope I’ve convinced you how amazing growing a garden can be.
And now, I want to personally invite you to join my March 2023 launch of The IncrEdible Garden Course - a three-week online course designed to teach you the fundamentals to create a backyard oasis full of food and flowers your family will love.
GO HERE to learn more!
Garden Supply Check-list
Spring will be here faster than you think and with that, it’ll be planting time! So let’s get organized.
I want to get you set up early so you’re ready to break ground, or pop those seeds in the soil, as soon as you can.
With supply chain issues going on this year I also want to make sure you buy anything additional that you need soon so you have EVERYTHING you need for a great growing season.
Here’s my challenge to you: over the next 10 days, grab this checklist and head into your garden shed for an early season inventory!
Seeds - inventory what you have - most seeds are viable for 2-3 years
Potting soil for seed starting
Grow lights
Shelving for your plants and lights
Trays and domes - you can use these again and again just be sure to wash before planting
Heat mats & thermostat
Timer for your lights
4 packs or 6 packs - you can use these again and again just be sure to wash before planting
3 inch pots or 4 inch pots - you can use these again and again just be sure to wash before planting
Gallon pots - you can use these again and again just be sure to wash before planting
Plant labels - buy or make your own
Dish gloves or latex gloves - for seed sowing indoors these help keep my hands from getting all dried out
Watering can - I like a kids specific one for watering indoors
Soil test - DIY kit or identify a lab to send out to
Organic soil amendments per your soil test
Compost - home-made or commercial
Trowel
Weeding tools
Pitch fork or broad fork
Bed prep rake or stiff tined rake
Pots and planters and/or garden beds - I know they’re all covered in snow, just make a plan, especially if you need more
Trellising and staking supplies
Garden journal or calendar
Your garden plan and garden map
Garden gloves - I love having a leather pair and a more waterproof pair
Knee pads or equivalent
Did I forget anything? Comment below to share your must-haves for the season.

Tried & True Garden Varieties

Giant Orange Marigolds.
In order to get you growing an amazing and fail-proof garden, I want to get you started with some of my tried and true varieties.
Since I’m a flower LOVER and flower grower this list will be flower heavy. BUT I also want you to have some of my favorite varieties for your veggie garden.
Over the years I’ve rubbed shoulders with vegetable farmers (quite literally - my husband managed a large vegetable CSA at the same time I started my flower farm) and tested different varieties myself.
Often just choosing the right varieties will set you up for success in the garden. And with SO many fun and beautiful varieties out there - how do you know what to choose?
By putting your ear to the ground and being committed to experimenting!
Wiser growers than I have told me to commit 20% of my farm to new varieties. I’m recommending this to you now too.
Don’t go overboard with new stuff - then you risk wasting too much valuable garden space to varieties that you’re not actually sure will produce well. Stick to tried and true varieties and dip your metaphorical toe into fun and exciting new ones each year.
So now on to my tried and true varieties that I know, you’ll love.
First, for the flower garden:
Ammobiom

Ammobium aka Winged Everlasting.
Centaurea - Classic Magic, Blue Boy OR Black Button
Calendula - Orange Button
Cosmos - any Double Click Variety
Cynoglossum - Chinese Forget-me-not OR Firmament
Dill - Bouquet
Ornamental Grass - Frosted Explosion
Marigold - Giant Orange
Nasturtium - Trailing
Nigella - Albion Black Pod
Poppy - Breadseed OR Shirley

Shirley Poppy.
Rudbeckia - Cherokee Sunset
Saponaria - Pink Beauty
Scabiosa - Black Knight
Snapdragon - Potomoc varieties OR Madame Butterfly varieties

Bunches of Potomac Snapdragons.
Strawflowers - Copper Red OR Purple Red
Sunflowers - Procut varieties OR Sunrich varieties
Now for the veggie patch:
Beets - Touchstone Gold & Chiogga
Broccoli - Belstar

Belstar Broccoli just starting to grow crowns.
Carrot - Yaya
Cilantro - Calypso OR Cruiser
Cucumber - Diva OR Socrates
Kale - Red Russian OR Lacinato (also called Dinosaur or Black)

Red Russian Kale co-housed with Dahlias.
Peas - Sugar Ann OR Sugar Snap
Pumpkin - Cinnamon Girl
Spinach - Corvair
Tomato - Sun Gold
Zucchini - Dunja OR Blck Beauty
There you have it! This is by no means a comprehensive list but it’s meant to get you on the right track to a highly productive garden this season.
So now on to ordering seeds! GO HERE to read all about my favorite places to place your order.

Starting your seeds indoors
After a long winter there’s nothing more hopeful than pushing seeds into fresh potting mix.
For many years I have been starting my seeds indoors under lights before transitioning them to an outdoor unheated hoophouse.
I want to share with you how easy seed starting can be!
I’ll start by outlining what you’ll need to get started:
Pots and domes
Seeds
Potting mix or growing medium
Lights
Heat mats
Shelves
Now I’ll walk you through each of the above items in more detail…
Pots and Domes
I use 11x21 inch trays and fill them with soil blocks. Interested in soil blocking? Read more HERE!
You can also use 4 pack or 6 pack plastic containers. Or plant straight into 3-4” pots. You can find all these options at your local garden store.
So should you choose a larger pot or smaller pot? If you plant into larger containers you won’t have to worry about transplanting later when your plants are getting big. But if you’re growing a lot of plants you’ll get more plants in less space if you use the 4 or 6 packs.
Also invest in a few plastic domes! These will help keep the humidity perfect for seed germination.
Seeds
Ready to order seeds? Go to my blog on where to order seeds HERE. It’ll help you get off to a great start.
Potting Mix
There are a few products that I really like. If you’re in Anchorage, you can find them at Southside Garden Supply or Alaska Mill and Feed.
1) Pro-mix MP Mycorrhizae Organik. This is a great all-round potting mix and it’s organic! I’m using this for all my seed starting needs this year. It is also working great for soil blocking! Find this in cubes at Grow Generation.
2) Fishy Peat or Alaska Earth - made in Alaska! I’ve had success with both products. They are not organic but are made with wholesome natural ingredients. Both can be found at Alaska Mill and Feed.
3) Fox Farm Light Warrior or Ocean Forest- this company has a variety of potting mixes and seed starting mixes. They use natural products and they work great! Grow Generation and Alaska Mill and Feed carry these.
Note, that if you’re growing a lot of starts, buying a cube will be more cost effective than buying individual bags. Ask your local garden store if they offer these products in cubes!
Lights
To be honest, I tend to be opportunistic when it comes to lighting. I look for free stuff and cheap stuff. And what’s great is that they’ve all worked just fine. So here’s what I’ve used: LED shop lights from Costco, florescent shop lights as found in any hardware store, grow-specific LED lights. All these will do the job! I say buy whatever fits your budget best.
The most important steps when it comes to lighting is 1) to keep the lights just a few inches from the plant to prevent “leggyness” and 2) to give your plants 16 hours of light (an inexpensive outlet timer works great for making this happen).
Heat Mats and Thermostats
For the BEST germination, invest in a a seed starting heat mat AND thermostat made specifically for this. This will cost you around $70.00-$80.00 If you can’t afford this your first season, don’t sweat! But even soil heat at around 75-80 degrees will give you the best seedling germination (for most plants).
Soil temperatures are roughly 10 degrees cooler than ambient room temperature, so often your soil may be cooler than you think without a heat heat mat.
Shelves
I use simple metal wire shelving so I can stack my seedlings. But get creative here! You’ll just need a place to hang the lights and a place underneath to set your trays.
NOW you’re READY TO PLANT!
1) Fill your pots with damp soil.
2) Put 1-2 seeds on top. Your seed packet will give you a germination rate for each seed. If its less than 80% put 2 seeds in each pot.
3) Lightly cover with soil. Just barely cover as light aids the germination of most flower seeds. I like to cover just so there is a bit of soil contact on top of seed.
4) Cover with a plastic dome and place under lights and on heat mats.
5) Keep seeds damp but not overwatered. Once seeds germinate I vent the domes by making sure there’s a bit of airflow between the tray and the dome. You can also take the dome off if it’s getting too moist in there.
Happy planting out there!

Spring Fever: 5 Veggies you can Plant NOW (Before the Last Frost)
I’ve been talking to folks lately who are antsy to get into their gardens but are waiting till the last frost (usually sometime in mid may).
Don’t wait! There are hardy vegetables you can sow now for early season bounty. Get fresh produce from your own yard weeks before your neighbors by planting these crops now:

1) Peas: plant as soon as the soil can be worked, 1-1 1/2” between seeds in rows 12” apart. Plan and install your trellis early, as growth can come on quick once they’re up. Keep in mind that as they grow they will cast shade onto whatever crop is north of them. Because of this I like to save the northern edge of my bed for peas.
2) Radish: another crop that prefers cool soil to warmer soil. Plant seeds 1/2-1” apart in rows that are 2-4” apart. These grow fast! So I like to make extra use of space and plant in between my carrot rows. You will have eaten them all by the time the carrots are starting to fill in!
3) Carrots: plant now for a summer harvest! Plant about 1/2-1” apart in rows about 12” apart. Thin to 1” apart once seedlings germinate. Be patient - germination often takes 1-3 weeks and may be closer to 3 in cooler temps.
4) Spinach: a SUPER cold hardy crop and grows best in the spring or fall when temperatures are low. Leaves can freeze and then thaw when the sun warms them. Sow as soon as the soil can be worked. For baby salad leaves plant 60 seeds per foot in rows 2-4 inches apart. Harvest outer leaves when they reach the size you most prefer for salad.
5) Kale: baby kale can be planted for continuous cutting as soon as the soil can be worked. Plant 60 seeds per foot, 2-4 inches between each row. Once you have salad sized leaf, you can cut baby leaves for salad. Cut outer leaves, so the inside ones can continue to grow for continuous production.
Yay! Now you’ll be harvesting a full salad in no time!
Be forewarned: germination time may take longer in cooler temperatures. Be patient and keep beds moist but not drenched.
Comment below and tell me what your favorite early season veggie is!
Happy Gardening!