


7 aromatic herbs that also look great in a vase!
I grow lots of herbs. Most are easy to grow and have many multi-purpose benefits for the home gardener and flower farmer.
In this blog, I want to introduce you to 7 herbs I grow every year that not only do culinary wonders but also look great in a vase.
In addition to being a fun addition to the vase, here are some additional benefits of growing herbs:
If you have a tiny garden, growing herbs maximizes your space since you’ll be growing a plant for both culinary and cut flower purposes. I’m all about the multi-purpose plant!
If you don’t have much space to grow, most herbs do great in planters on your porch. In fact, since I like to keep mine close at hand I often grow them in pots just so I can quickly pop out to the porch to pick them.
Once gone to flower, herbs attract and nourish beneficial insects which help keep away the insects you don’t want around.
Fresh herbs are often hard to find and can be expensive at the grocery store. Lucky for you, they are best from the garden anyway!
Picking herbs and keeping a small jar of herbs on your kitchen counter is the best way to keep them once harvested (don’t let them rot in the crisper). My husband and I joke that the crisper is where veggies go to die. This will give you super easy access to them the next time you cook and will bring a nice pop of greenery into your kitchen.
So here are 7 herbs you must add to your home garden.
Chive: Chives, while not easy to start from seed are easy to grow once established. They spread steadily, so every few years you’ll have to dig and replant or give away a clump. The flowers on chives are SO delicious and do great in a vase.
Cilantro: Calypso is a slow to bolt variety great for growing in any northern climate. Use this culinary herb in your favorite dishes. I love a good homemade salsa with lots of cilantro.
Once it has gone to flower, harvest for an aromatic bouquet. The seed heads are also a lovely and fun addition in a bouquet.
Dill: Bouquet variety is specifically for the cutting garden but is also edible so it’s a win-win! This is a super fast grower. You can use the flower or seed head once fully open. The seed heads are also great for drying.
Fennel: Bronze leaf is a beautiful variety. It produces gorgeous flowers and seed heads. Harvest flowers once they are beginning to bloom or use foliage to add texture and a unique color.
Mint: both Common and Mountain varieties are fantastic. Common mint is a rapid spreader so make sure to plant in pots or be prepared to cut it back every year.
Mountain mint is not a spreading variety but in my experience, is very slow to grow and doesn’t always come back year after year. If I plant 10 plants I may get 2-3 to come back again the following year.
Oregano: Greek variety is a best bet. My oregano comes back year after year but even so, I usually start a few plants every spring just in case.
I love letting these go to flower before I cut for the vase. They are long lasting in the vase and fill in an arrangement nicely. Oregano leaves dry well for later use.
Sage: Common sage is a perennial that will flower the second year. Use foliage in culinary dishes, dry for use all winter or use foliage or flowers as greenery in a bouquet.
In my garden, sage will come back for 2 to 3 years and then die out. Because of this, I start a few new plants each spring to keep my garden well stocked.
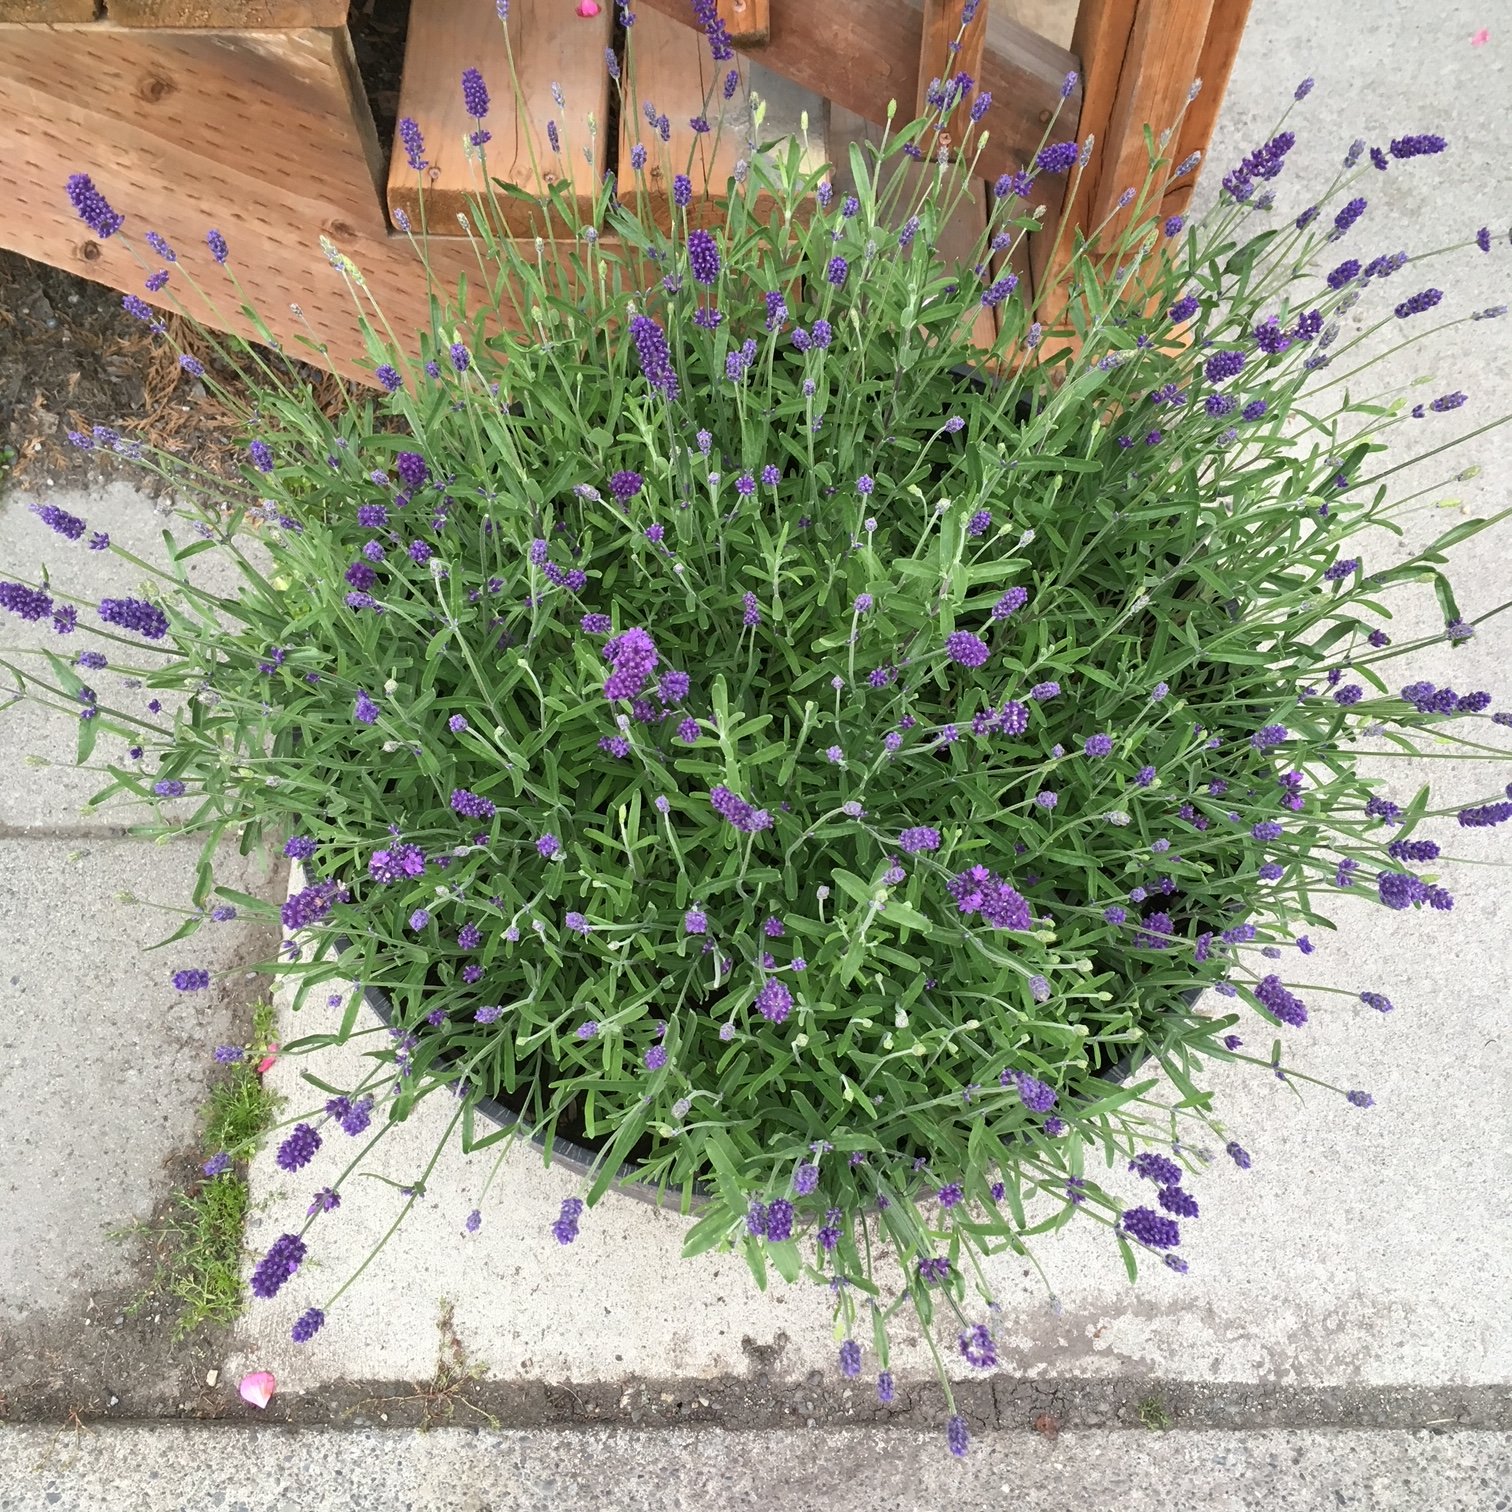
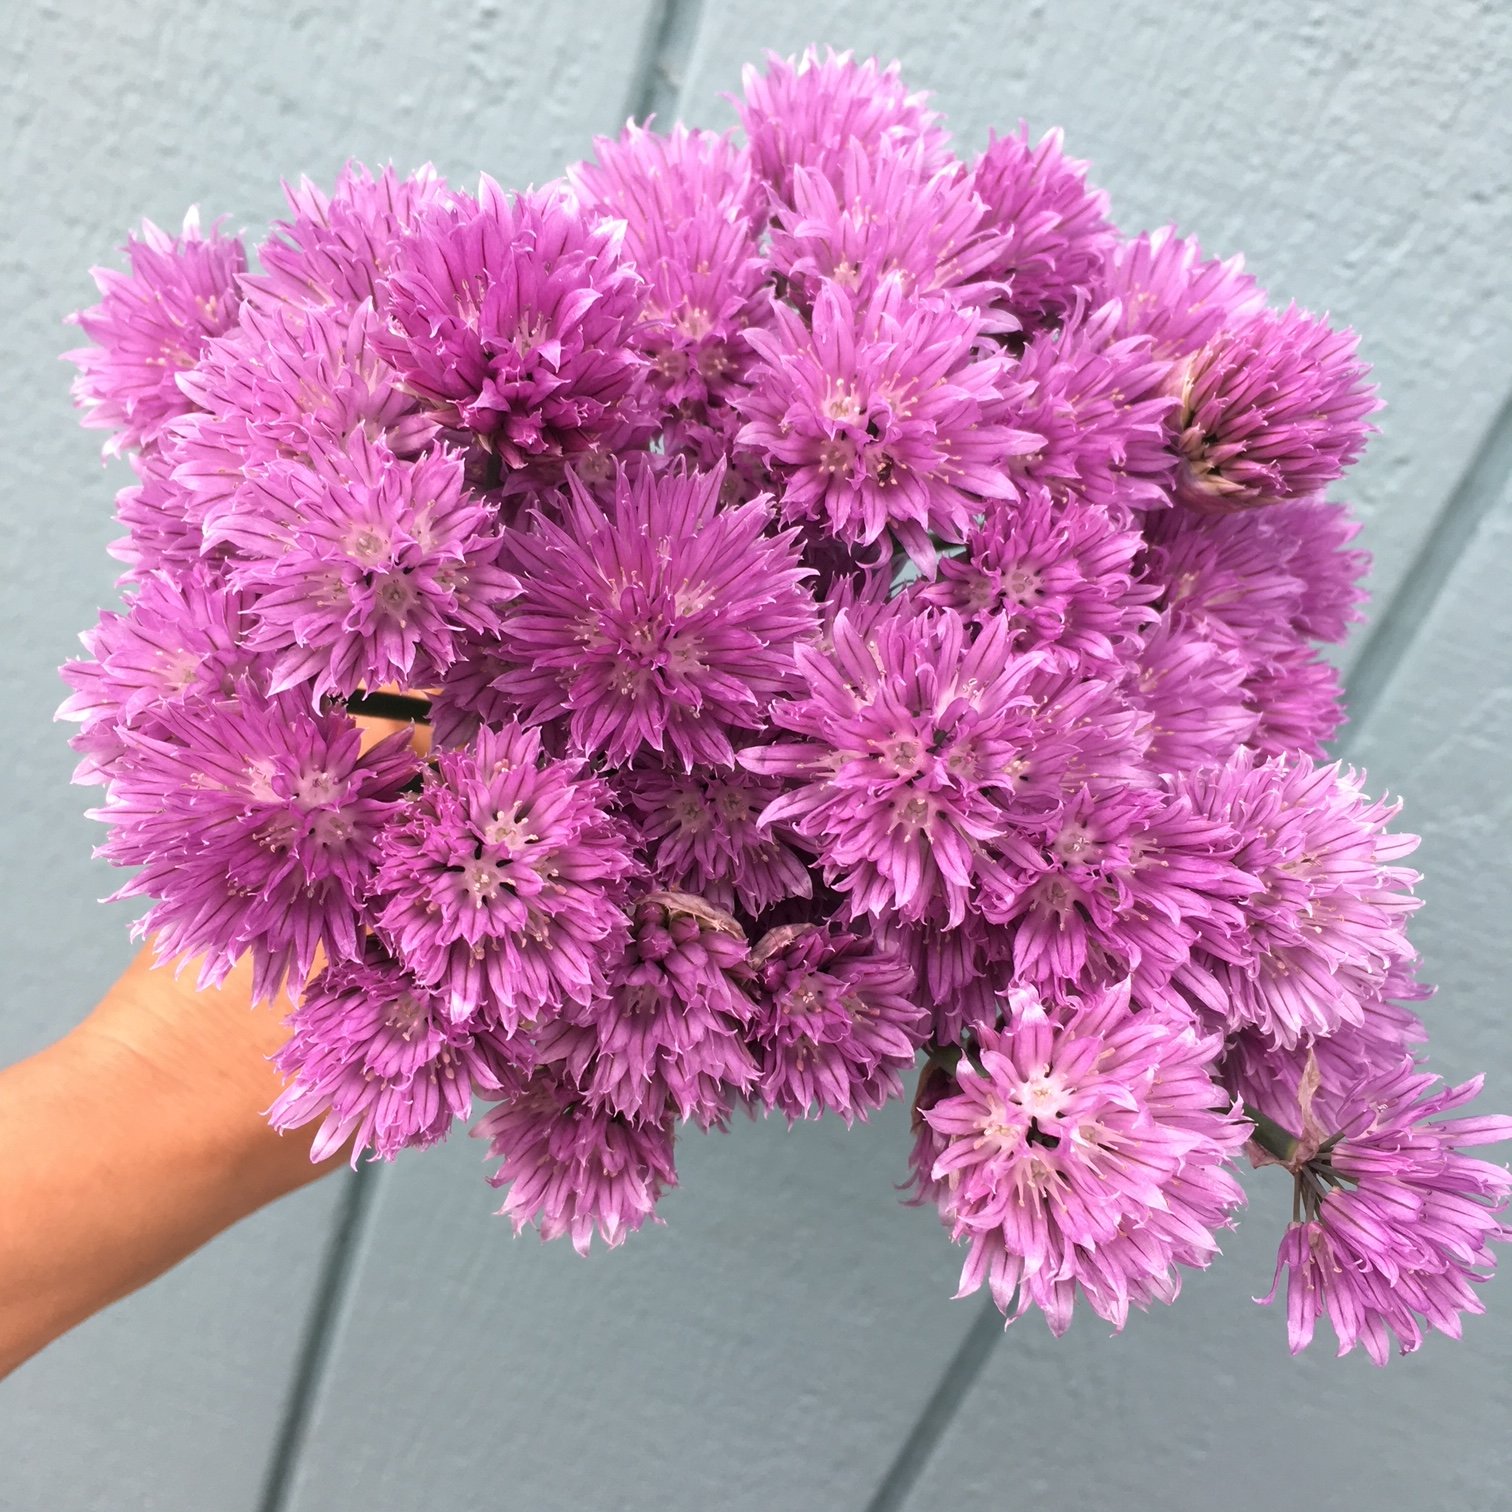
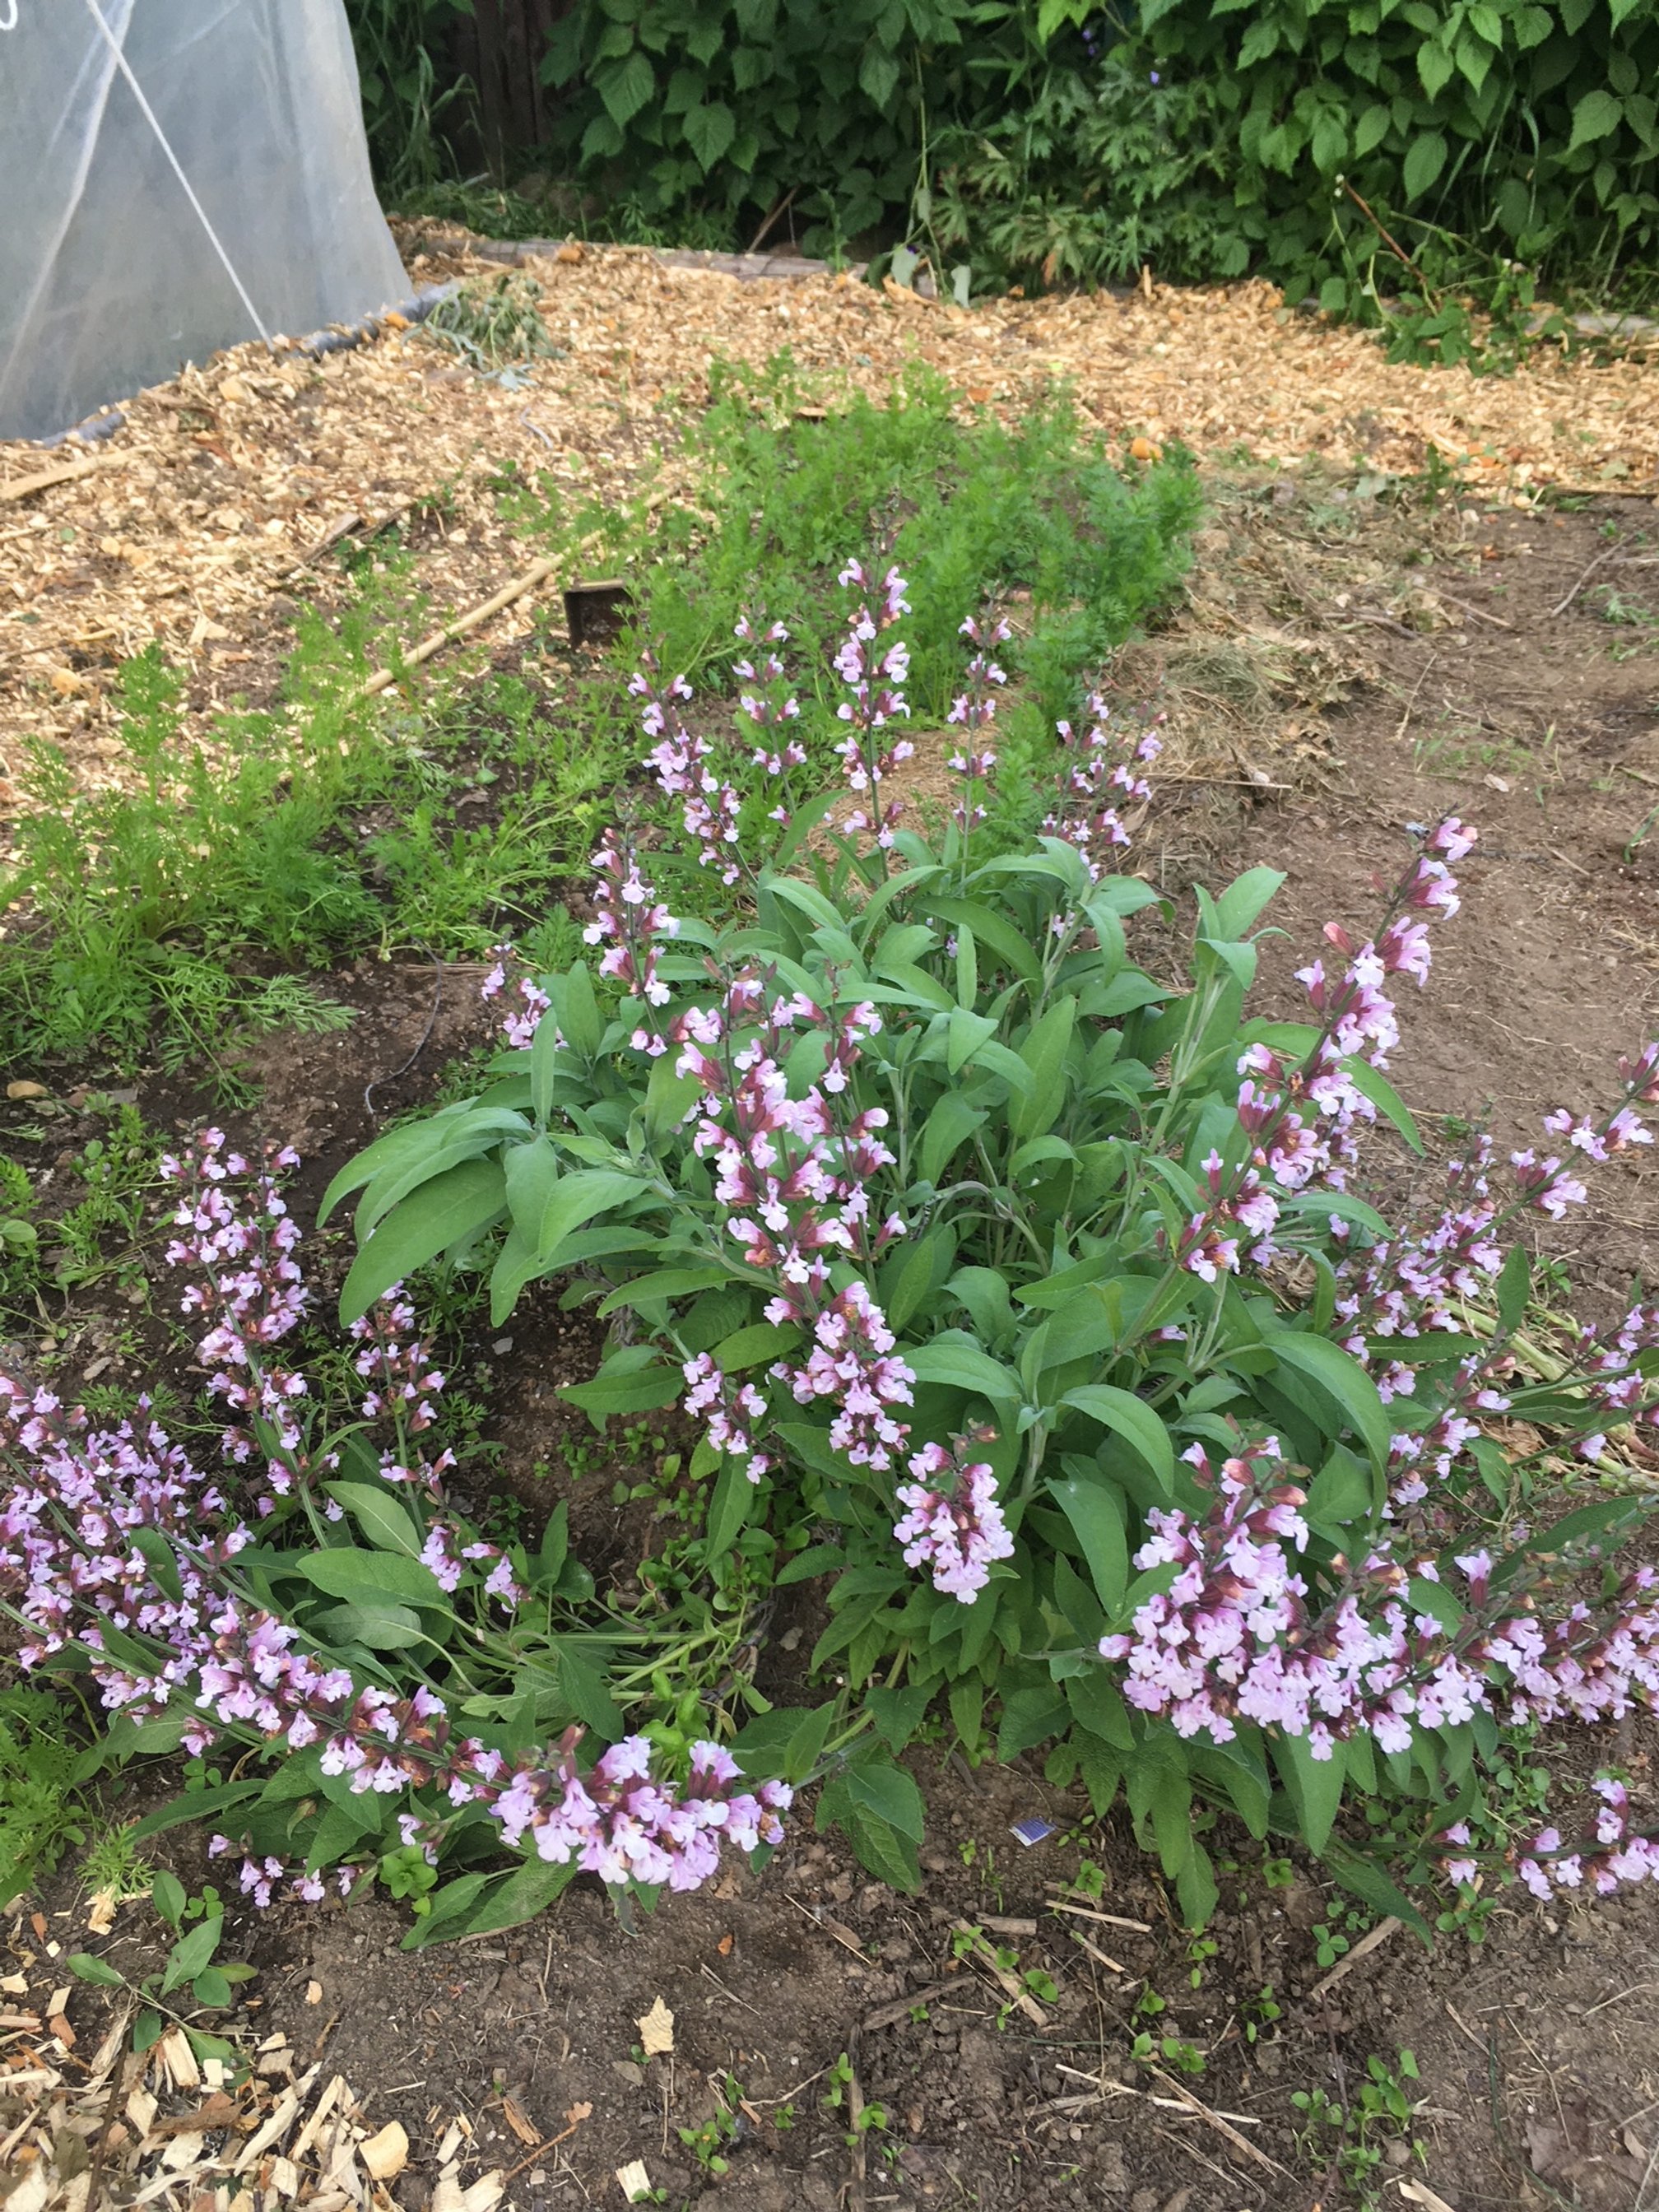
Left to right: Lavender thriving in a planter, Chive flowers - my mouth is watering just looking at these, Sage flowering big time in my home garden.
Plus a bonus herb I encourage you to try!
In addition to these fabulous and relatively easy-to-grow culinary herbs I also want to mention another favorite flower/herb: Lavender. I grow the Elegance variety.
Lavender is more challenging to grow in my northern climate. It is a slow grower and thrives in warmer temps.
This is one of the earliest plants I start by seed. I then make sure to plant it in a warm, sheltered environment which usually means in a pot on my super sunny front porch.
Harvest mature flowers for the vase or harvest each stem when flowers are budding if you want to hang for drying. Lavender keeps its aroma and color well after drying.
If you’re up for a challenge, try this amazing herb. The beauty, aroma, and happiness you will enjoy from this plant are priceless and well worth the difficulty!
10 reasons to grow a garden

Whether you’re a newbie to gardening, a wanna-be gardener, or an intermediate gardener who just needs a reminder, I’m here to…
1) offer a little inspiration for why we all need to tend a garden
and
2) show you how to be successful in any garden endeavor (CLICK HERE to check out my online gardening class, which goes on sale again in March of 2023)
Now for the inspiration part…
Here’s why to garden:
You’ll get regular low-intensity exercise: Here’s what your body does when your gardening: standing, squatting, bending over, walking all over, reaching, stretching, hauling, lifting, pulling, carrying, etc. Science tells us that longer periods of low-intensity exercise may offer more benefits than shorter periods of intense exercise. I’m not advocating you stop running or going to the gym but I am advocating that you create more enjoyable activities in your life that keep you moving and standing (just pretty much anything besides sitting on your duff).
You’ll feel a sense of accomplishment: In a fast-paced world loaded with tech, creating something with your hands that YOU can harvest for your family is truly sacred.
You’ll get more outside time: Most people spend their whole days working inside. Being outside is a true balm for the soul. Having a garden to tend to, kind of like having a dog to walk commits to you spending more time outside.
You’ll meet your neighbors: If you garden in your front yard I guarantee you will get to know your neighbors well! This is such a fabulous byproduct of gardening.
You’ll teach your kids solid life skills: Here’s what your kids can learn from a backyard garden: responsibility, love of nature, care of living things, curiosity, cooperation, self-sufficiency, that veggies taste good, just to name a few. Plus, once someone knows how to garden, they’ll know it forever (just like riding a bike). Imagine giving your kids the gift of being able to grow their own food!!
You’ll eat the healthiest food on the planet: If you grow using my methods… organically and with solid soil-building techniques, your vegetables will be loaded with nutrition. The health of the soil directly affects the nutrient density of your food.
You’ll eat the most delicious food on the planet: I’m not surprised why some people don’t like vegetables, especially if their only method of consumption is through frozen or “fresh” veggies from the grocery store. You guys, if you haven’t experienced fresh garden strawberries or fresh garden peas, or fresh garden anything YOU are missing out on a culinary wonder. Veggies were meant to grow, pick and eat immediately. Yes, it is great to learn to store them for later too but let’s face it, if you are growing your own veggies, you will eat way more veggies because they are so damn good. Make eating healthy easy! Start with superb taste by growing your own.
You’ll enjoy beauty every day: Now, technically this is possible to do every day without a garden BUT gardening has the opportunity to enhance our yard so beauty is EVERYWHERE. Plus, if you follow my steps to start growing your own cut flowers, you can fill your home with beauty too. Fresh flowers smiling at you from your kitchen counter is truly a beautiful thing.
You’ll feed pollinators: Bees and butterflies and other beneficial insects love gardens. They love flowering gardens. So let your herbs go to seed, let your mustards and broccoli go to seed (after you’ve harvested some of course), plant flowers, and your yard will be a playground for all the good bugs. Good bugs help pollinate our food crops and they eat other not-so-good bugs.
You’ll have gifts to give: My neighbors grow tons of basil and garlic and every year all of us neighbors on the street get the most amazing jar of pesto. Sharing your garden’s bounty is one of life’s greatest pleasures.
So there you have it.
I hope I’ve convinced you how amazing growing a garden can be.
And now, I want to personally invite you to join my March 2023 launch of The IncrEdible Garden Course - a three-week online course designed to teach you the fundamentals to create a backyard oasis full of food and flowers your family will love.
GO HERE to learn more!
Time to Plant Garlic
I’m a flower farmer but the one thing that I also let into my commercial garden is garlic. I LOVE garlic. It is easy and SO FUN to grow. Plus, once you’ve tried it fresh from your garden there is no going back to store-bought.

Freshly harvested garlic from the Turnstone Farm gardens.
Hopefully, after reading through these easy steps, you too will find BIG success with growing garlic.
But before we begin let’s do a brief garlic primer! So that we’re all on the same page, here are some basic garlic definitions.
A HEAD of garlic is the entire bundle that is made up of 2+ cloves.
A CLOVE is the individual piece of garlic that you would peel before cooking.
SOFTNECK garlic is a variety typically grown in more southern climates. Each head has many cloves and it is easily braided together into those quintessential garlic braids (maybe you’ve seen these at markets or in your grandma’s kitchen!?).
HARDNECK garlic is the best variety for Alaskan growing. It tends to produce fewer but larger cloves than softneck.

Garlic emerging in the early summer.
Ok, now on to the fun stuff. Here are 4 easy steps to successful garlic growing:
1) Prep your site: I like to start by clearing any old garden remnants and weeds, then adding any amendments like compost or soil nutrients that you may need. A comprehensive soil test will give you all the necessary info here. Loosen the soil with a broadfork or pitchfork.
2) Make your rows. I plant 4 rows to a 2.5ft wide bed. Dig a shallow trench about 3-4 inches deep with a flat-ended shovel.
3) Plant garlic. Place garlic cloves in the ground, about 3 inches deep with the pointy side pointing up. There is no need to peel the garlic clove but you do need to separate it from the garlic head (each head holds 2+ cloves).
4) Mulch. Mulching will protect the garlic cloves from any freeze-thaw action that occurs in the fall or spring.
NOTE, if you ordered seed garlic and it’s not here yet, don’t despair! MULCH your beds now to keep the soil insulated until you’re ready to plant.
Easy, right?! Now go do some planting. Your future self will thank you :)
In general, you will have the most success planting at any point from mid-September through mid-October. Although I have planted in early November in a pinch.

Lush garlic plants in the Turnstone Farm garden.
Field Notes: Week 11
March 15-21
Here’s what I seeded this week:
Achillea-Cloth of Gold (40). Love this name. Also ordered Cassis, but there was a crop failure.
Asclepias-Wild Orange Type (20), Snowy Milkweed (20)
Gomphrena-QIS Orange (40)
Echinacea-Bravado (20), Green Twister (20)
Eryngium-White Glitter (40)
Solidago-Golden Baby (20).
Rudbeckia-Green Wizard (20), Cappuccino (20), Denver Daisy (20), Triloba (20)
A few dahlias are starting to sprout: Thomas Edison, Ben Huston, Cafe au Lait. So glad I’m not heating a greenhouse yet! It’s been cold (negative last night) and we got over a foot of snow in the last week.

Thomas Edison dahlia is the first to sprout! Once they sprout, put them under lights and start to water them regularly.

Planning Your Dream Garden
I know it’s the middle of winter but believe it or not, it’s time to plan your dream garden!
To be honest, here on the farm this is a HUGE undertaking. Every year it gets a bit easier but I am always surprised by the time this takes.
As a home gardener your task is a little simpler but give yourself time and have fun!
I want to break down your garden planning job into a few smaller tasks. Next to each task I will have a description on how I do this and a link to an actual PDF sample of my planning tools.
1) Make a crop list. List all the crops you are going to grow!
How do you decide? I like to grow things I like to eat! Start there then browse through your seed catalogs and find a few other things you might like to try.
How do you choose varieties? Read about each variety carefully. For Alaska, shorter days to maturity is important especially with very long season crops (like tomatoes). Also try to read between the lines. What are the descriptions NOT saying. For example, I tried a short season cucumber advertised as a great variety for northern growing. Sure win right? Not quite. The flavor and texture was almost unpalatable. Our chickens feasted on those.
I make a simple spreadsheet with the following information on it: crop (i.e. broccoli), variety (Belstar), source (where I bought my seed), days to maturity or DTM (you’ll see this in the description online or on the back of the seed packet), weeks to maturity WTM (just divide your DTM by 7 - I like to do this cause it’s way easier to count back by weeks than for days to figure out when you need to plant), notes (YOU MUST TAKE NOTES THROUGHOUT THE SEASON ON EACH CROP).
CLICK HERE to see a sample of my planing spreadsheet! I have left on a few extra columns here in case you want to add these on yours too.
2) Draw your garden. Sit down and draw your garden!
I like using grid paper for this. Then each grid increment can be a 1 foot or 6 inch increment. OR you can just draw on plain paper and just mark off your actual garden dimensions.
Pencil in where you want each of your chosen crops to grow. Remember to think about taller plants (or plants that need to be trellised) - place these on the north side of your garden so they don’t shade smaller crops. Crops that stay in the ground the whole summer (like broccoli or potatoes) can be further away from your paths than crops you might harvest more often (like salad greens).
This helps you plan where things go and how much you can fit in your area. This also becomes a record (keep your dated drawings) so you can rotate where you grow each crop in subsequent years.
3) Make a planting calendar
CLICK HERE to see a sample of my planting calendar. I plan by week. Week 1 is the first week of the year - using week numbers (and not just dates) is helpful in order to use past planting calendars to plan for future planting dates since actual dates may fall into different weeks each year.
In order to make sure I’m seeding things when I need to I usually start by planning when I want to harvest each crop.
For example, if I need all my broccoli harvested by September 1st, I’ll count back its weeks to maturity (days to maturity/7). If broccoli has 66 days to maturity (or 9.5 weeks to maturity) I will make sure my plants are planted in the ground by the end of June. Note that since broccoli is usually started indoors, I need to add additional time for germination (maybe a week) and indoor growth (a few weeks). So I would start my seeds the first week of June.
Remember you don’t want ALL your beans or broccoli or whatever to be ready at once, so stagger your plantings. Each plant is different but Johnnys and High Mowing, two of my favorite seed saving companies, are usually good at suggesting how far to stagger your plantings in order to get a steady supply of crops all summer.
CLICK HERE to read my previous blog all about ordering seeds.
A note on days to maturity (DTM): DTM is a best guess the seed company can give based on when the plant goes in the ground. Crops usually direct seeded (salad mix, peas, beans, carrots, etc) have a DTM from date sown. Crops usually transplanted (cucumbers, tomatoes, etc.) have a DTM from the time you plant them in the ground. I know this is a bit confusing so remember to use DTM as a guide but not as a written-in-stone rule.
So there you go! Now you’re ready to get started planting.

Do you need holiday gift ideas?! Here are 5 Favorite Books from my Gardening Library
Looking for that special gift for a gardening friend?! Or need an addition to YOUR gardening library? I’ve got you covered this season.
While I know it can be overwhelming to sift through ALL those gardening books (there are so many), when you come across a winner it can be SO valuable in helping your skills grow.
Here you can see a handful of my favorite books that are currently on my farm/garden library shelf.

1) Cool Flowers by Lisa Mason Ziegler.
Flower growers this book will blow your mind! It will debunk all sorts of conventional advice on when to plant your flowers. Use this book to grow super hearty blooms that are ready to enjoy from EARLY in the summer to LATE in the fall. A perfect how-to in a compact book. Flower gardening
2) The New Organic Grower by Eliot Coleman.
I grow organically. And as far as I’m concerned there is no other way to grow (or eat for that matter). No one needs more toxic chemicals in their lives.
At some point down the road I might move toward certifying my farm but at this point I’m too small for it to make financial sense. BUT I follow organic guidelines and Eliot is the man to learn from if you need some extra info!
In addition, he grows in a cold climate so has pertinent information on northerly food production. A CLASSIC READ THAT NEEDS TO BE PART OF EVERY GARDENERS LIBRARY. Vegetable gardening
3) Mini Farming: Self-Sufficiency on 1/4 Acre by Brett Markham.
Ok, I admit when I read titles like this I tend to roll my eyes. But my husband bought this book awhile ago and when I was hungry for something to read I picked it up and was 1) surprised how much I learned and 2) a little taken aback that I hadn’t read it sooner!
The chapter on compost alone is worth the price of the book. I’ve read a lot about compost (and honestly have struggled with implementing a good system on my farm) but for some reason this book really made composting make sense (finally!) and simple.
In addition, you will learn how to grow way more veggies on your tiny urban plot by following Brett’s guidelines. Vegetable gardening
4) Grow your own cut flowers by Sarah Raven.
Although Sarah writes from the perspective of growing in a much more temperate climate, this comprehensive book is loaded with valuable information for every flower gardener.
It is conveniently organized by flower type so is easy to reference. She also throws in some great info on cutting and arranging from your garden flowers! Flower gardening
5) The Flower Farmer: An Organic Grower’s Guide to Raising and Selling Cut Flowers by Lynn Byczynski.
Although this is meant to be a manual for commercial flower growers it is loaded with gorgeous photos and packed with GREAT information for every flower grower. In fact, the person who recommended this book to me was a home gardener!
Lynn gives the home gardener a simple plan for a personal cutting garden, covers everything you need to know to grow great flowers and has fun profiles on flower farmers from around the country. Flower gardening